For those looking to update tracking information for a single order in Ordoro, this guide will walk you through the process step-by-step. If you need to update tracking information for multiple orders at once, please refer to our bulk update guide.
Topics
What happens when you enter a tracking number
Once you enter a tracking number, the following steps will happen.
- The order will be marked as shipped, and its status will change from Awaiting Fulfillment to Shipped.
- The tracking number will automatically write to your sales channel.
- Depending on your configured sales channel settings, it may then notify your customer with the tracking details.
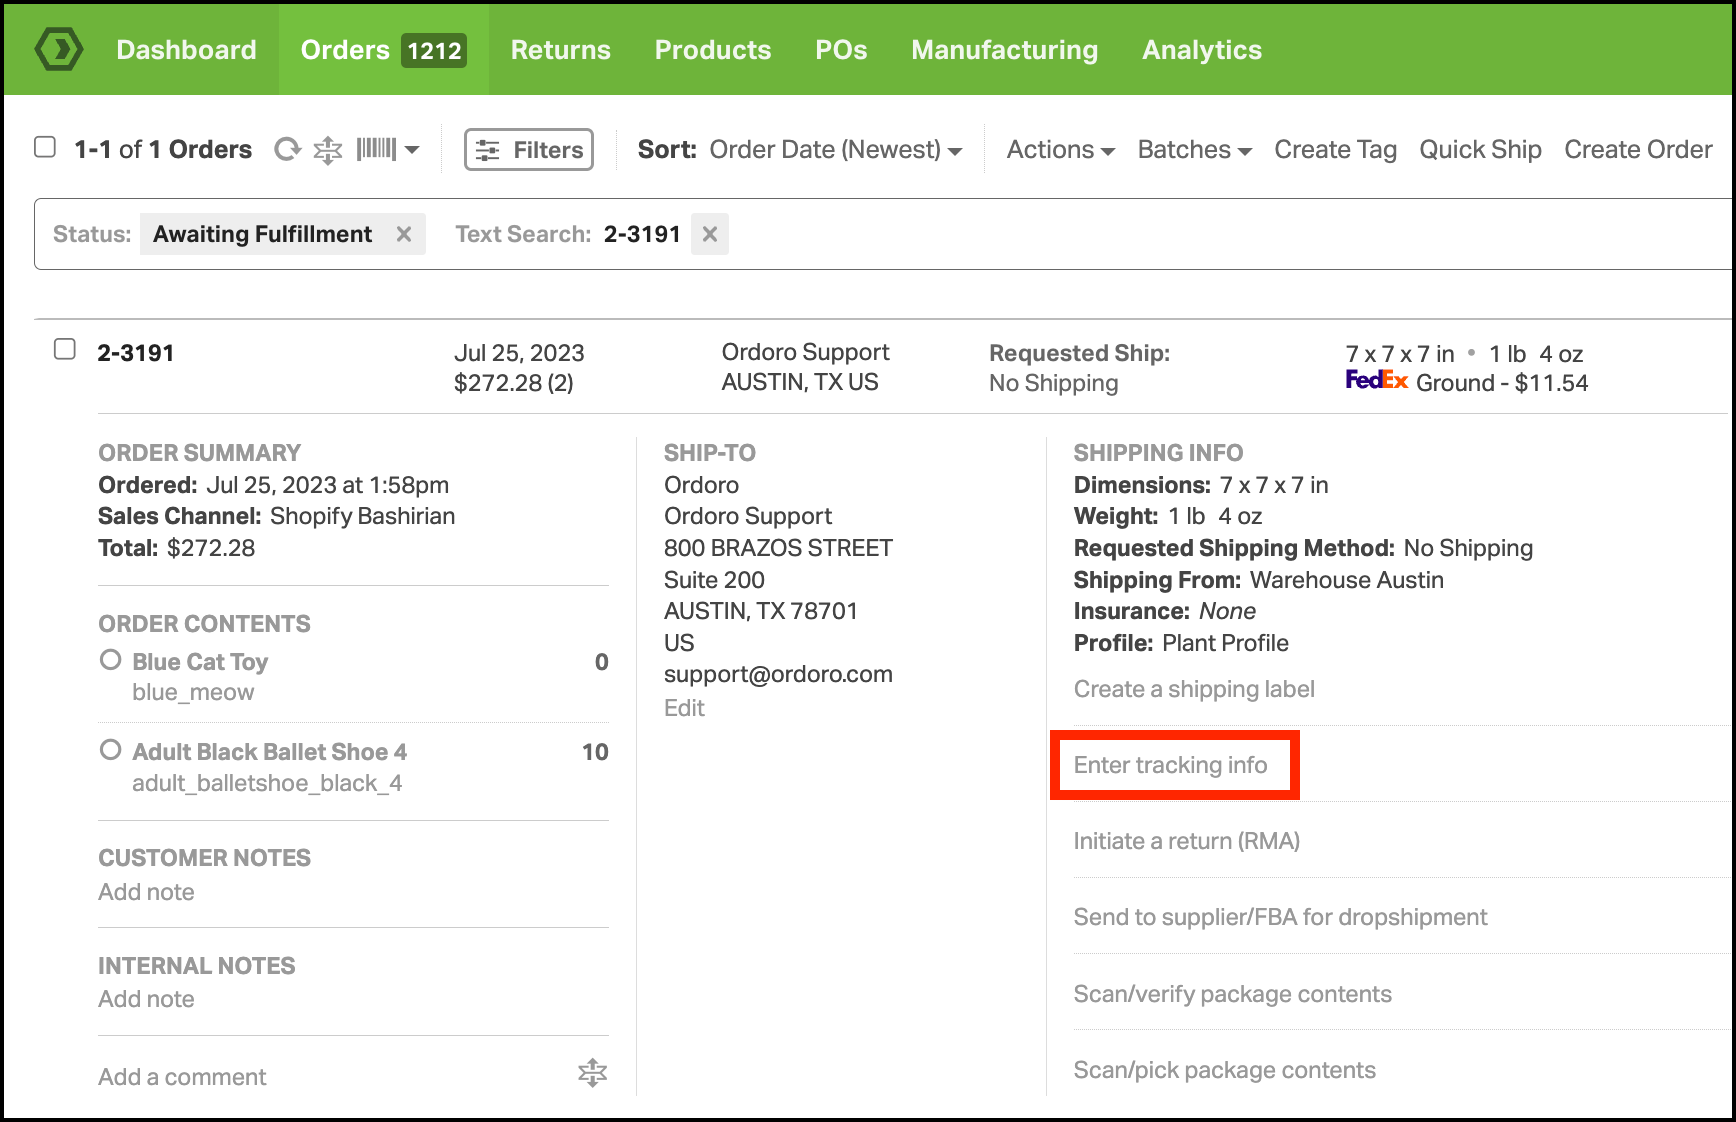
How to manually enter a tracking number
1. In Orders, expand the order and select Enter tracking info.
2. A pop-up will appear. You can enter the tracking information here. See what each field means below.

- Carrier: Choose from one of the shipping carriers below.
- Amazon SFP
- Amazon Shipping
- Australia Post
- Canada Post
- China Post
- DHL
- DHL eCommerce
- Fastway
- FedEx
- OnTrac
- Other
- If Other is selected, see this support article on how the tracking info is handled.
- Parcelforce
- Purolator
- R+L Carriers
- Royal Mail
- UPS
- USPS
- X Delivery
- Shipping Method: Specify the shipping method used, such as Priority Mail, Ground, or Next Day Air. This is a required field.
- Tracking Number: Enter the tracking number. This is a required field.
- Tracking URL: Enter the tracking URL if you would like.
- Shipping Cost: Enter how much the label costs.
- Ship Date: The date the package entered the mail stream.
- Notify Bill To / Notify Ship To: Opt to send an email directly from Ordoro to your customer with the tracking number.
- By default, these options are not selected because Ordoro automatically communicates tracking details to your sales channel, which in turn informs the customer. This feature is particularly useful for manual orders not associated with a sales channel.
- See this support article for more details.
3. Once you save the tracking number information, the order will move from Awaiting Fulfillment to Shipped.