Adding tracking numbers to your orders in Ordoro can be a tedious task if done one by one. But there’s a more efficient way! You can upload tracking numbers in bulk using Ordoro’s Data Import tool. This guide will walk you through the steps to make this process as smooth as possible.
Topics
Download the Example File
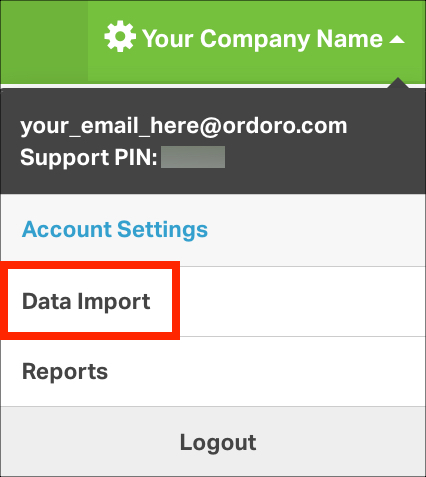
- Select your company name in Ordoro.
- Choose Data Import from the dropdown menu.
- Select Create Tracking Numbers as the type of data you want to import. This will generate the appropriate example file.
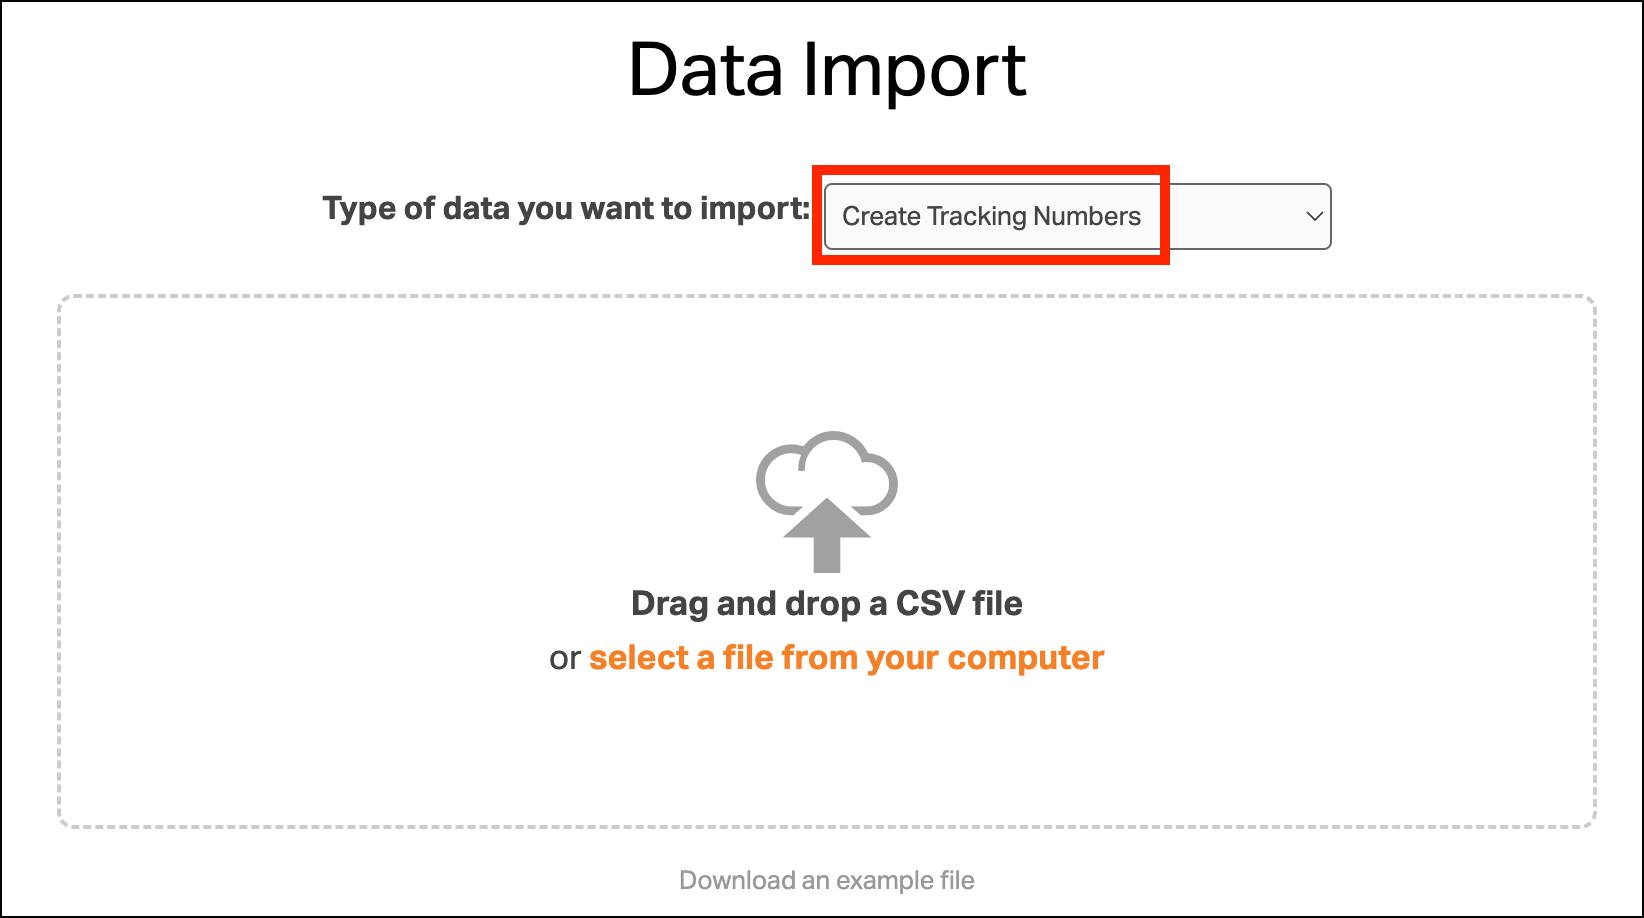
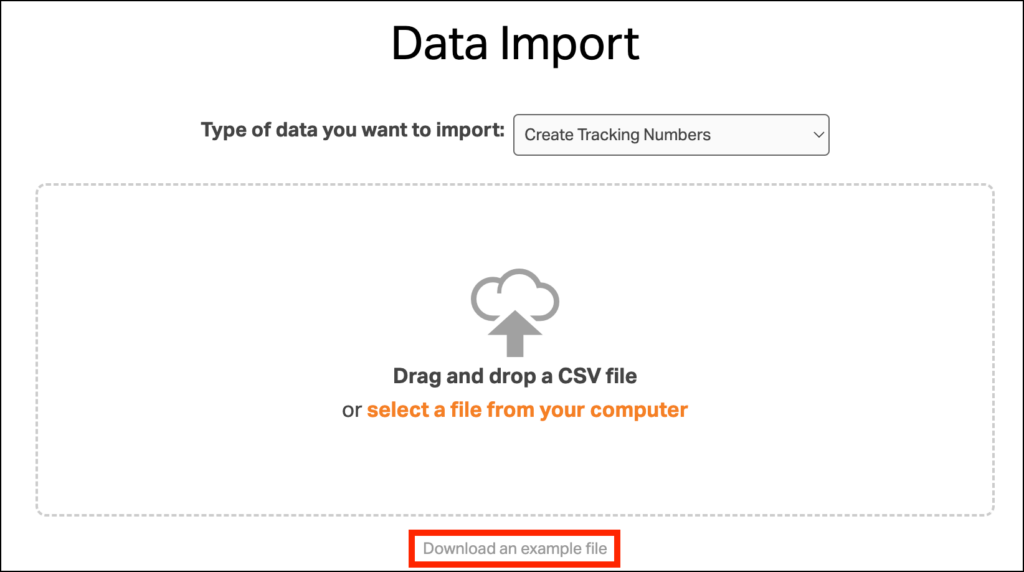
- Download the Example File
Edit the Example File
You can edit the downloaded example file or create a new CSV file that matches its template. Here are the columns you’ll need:

- Order Number (Required): This must match the Order Number in Ordoro exactly.
- Shipment Date: The date the package was shipped.
- Tracking Number (Required): The tracking number for the shipment.
- Carrier Name (Required): The shipper’s name, which can be one of the following:
- Other
- Australia Post
- Canada Post
- DHL
- Endicia
- Fastway
- FedEx
- OnTrac
- Parcelforce
- Purolator
- UPS
- USPS
- Royal Mail
- Custom carrier (Note: Ordoro may not map custom carriers accurately to your sales channels).
- Shipping Method: E.g., Priority, Ground, Next Day Air.
- Cost: The cost of the label, stored only in Ordoro (enter numeric values without currency symbols).
- Email Ship To:
- This field can either be marked as TRUE / FALSE
- If marked as TRUE, Ordoro will send a tracking number email directly to your customer
- If marked as FALSE, Ordoro will not send a tracking number email directly to your customer
- If the order came from one of our supported carts, it is best to mark this as FALSE. When the tracking number is entered into Ordoro, we will automatically write the tracking number back to your cart. Then your cart will email your customer with the tracking number notification.
- Email Bill To: Same behavior as Email Ship To.
- Notify Cart:
- This field can either be marked as TRUE / FALSE
- If marked as TRUE, Ordoro will write the tracking number back to your sales channel
- If marked as FALSE, Ordoro will not write the tracking number back to your sales channel
- For the most part, you’ll want to mark this field as TRUE. However, you may want to mark this as FALSE, if you dropship your items and the order came from Amazon. Amazon requires that orders ship within a certain time period. If you enter the tracking number outside of that date range, then your Amazon account may be penalized.
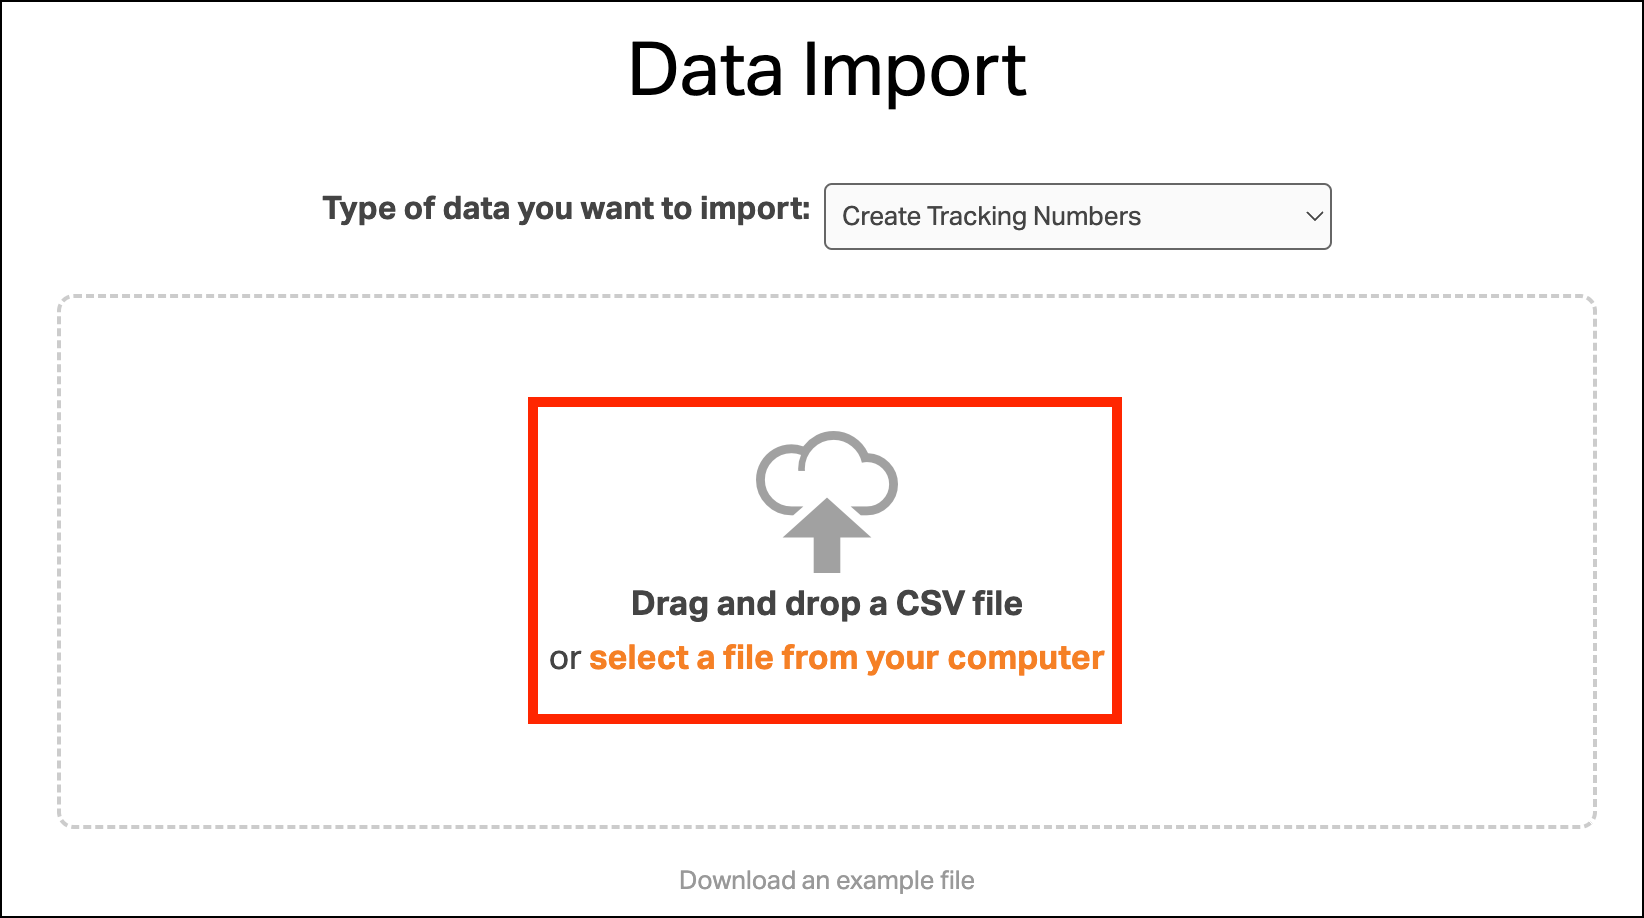
Upload the Edited File
- Use the drag and drop feature or select the file from your computer.
- Ensure Create Tracking Numbers is selected in the dropdown list before uploading the file.
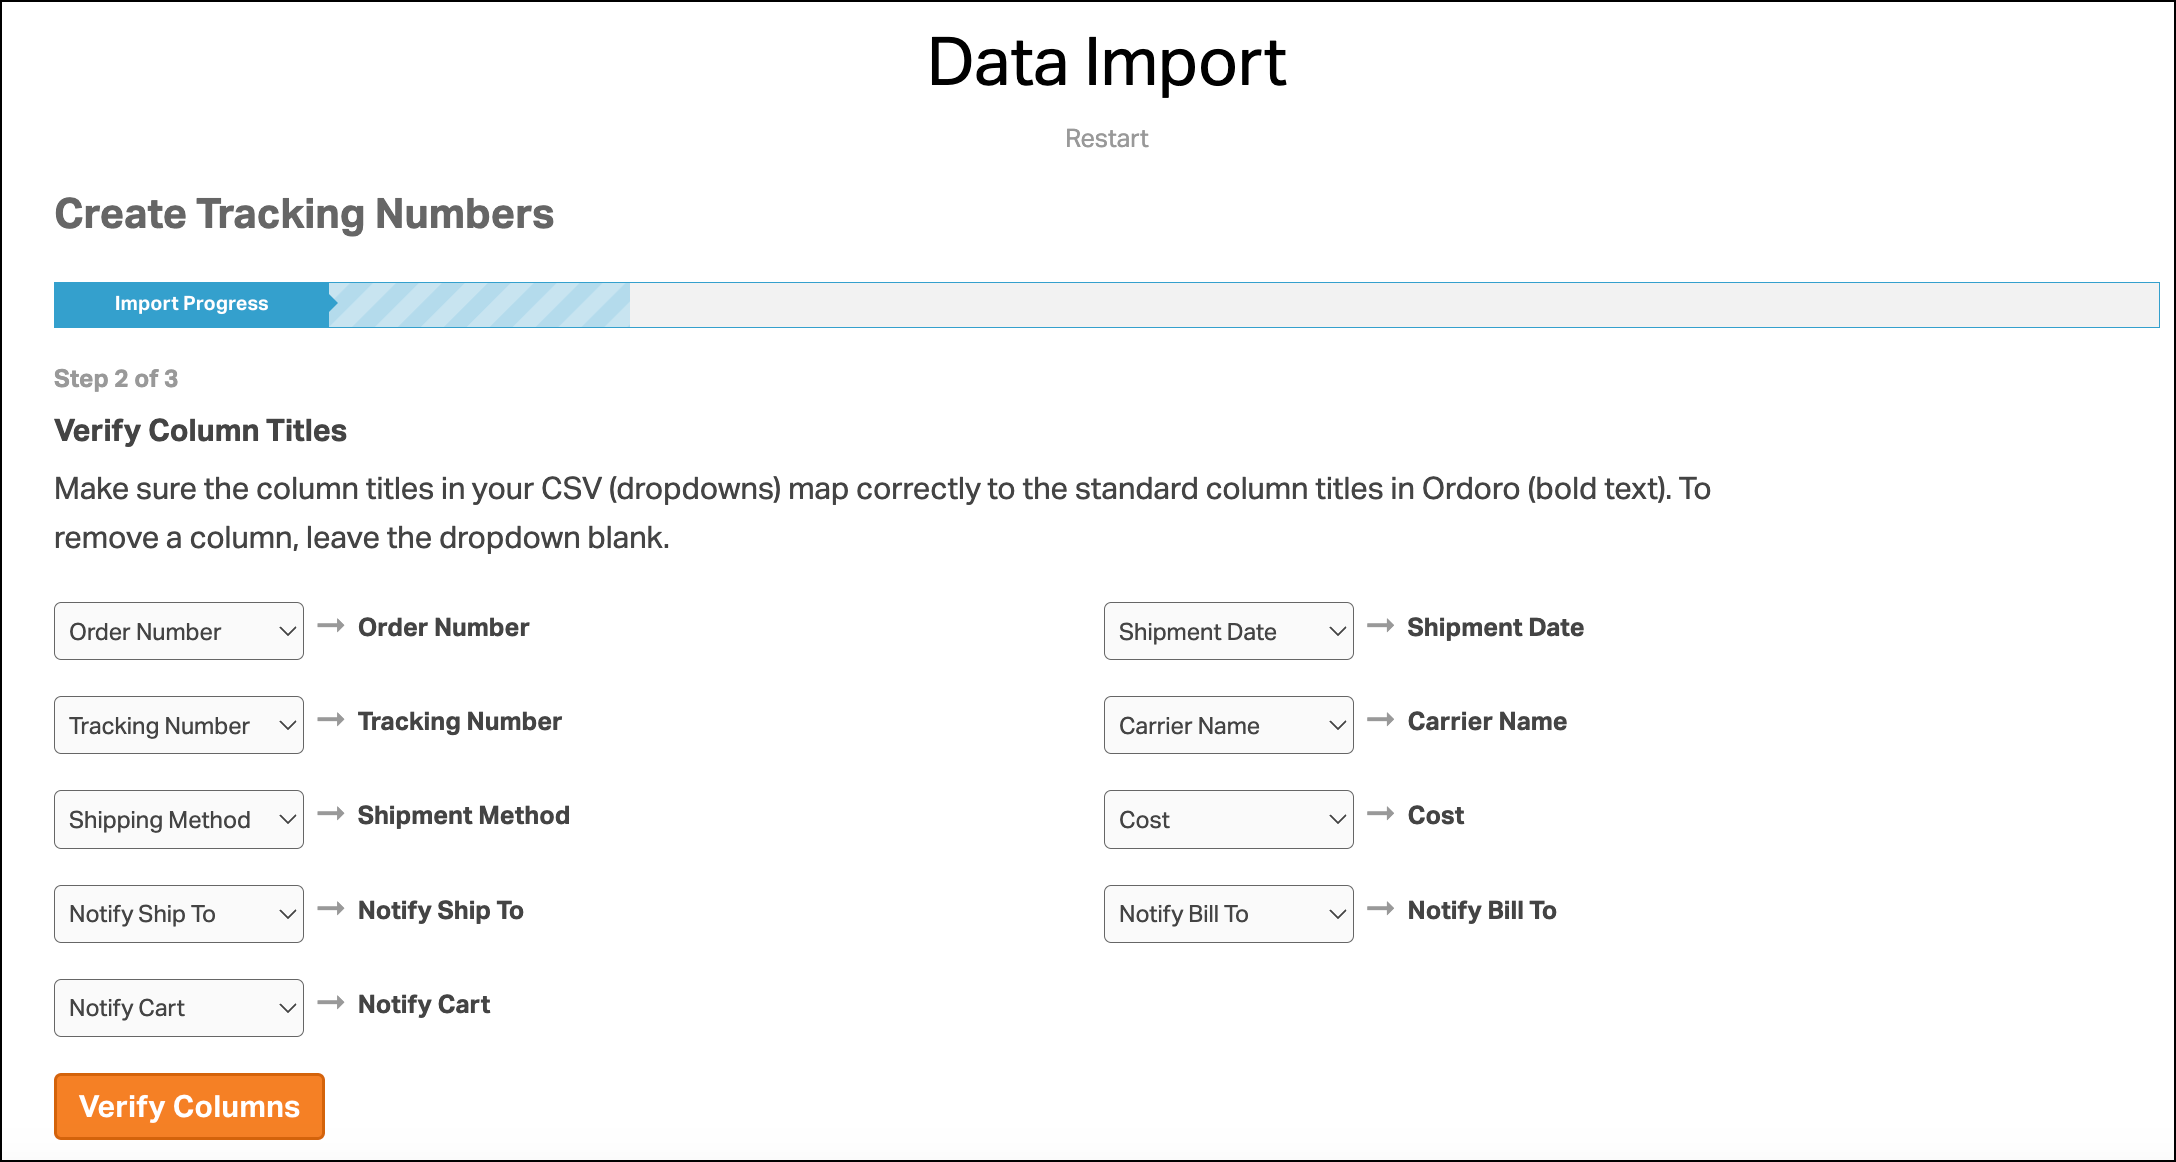
- Match your column titles and click on Verify Columns. Leave the dropdown blank to remove a column.
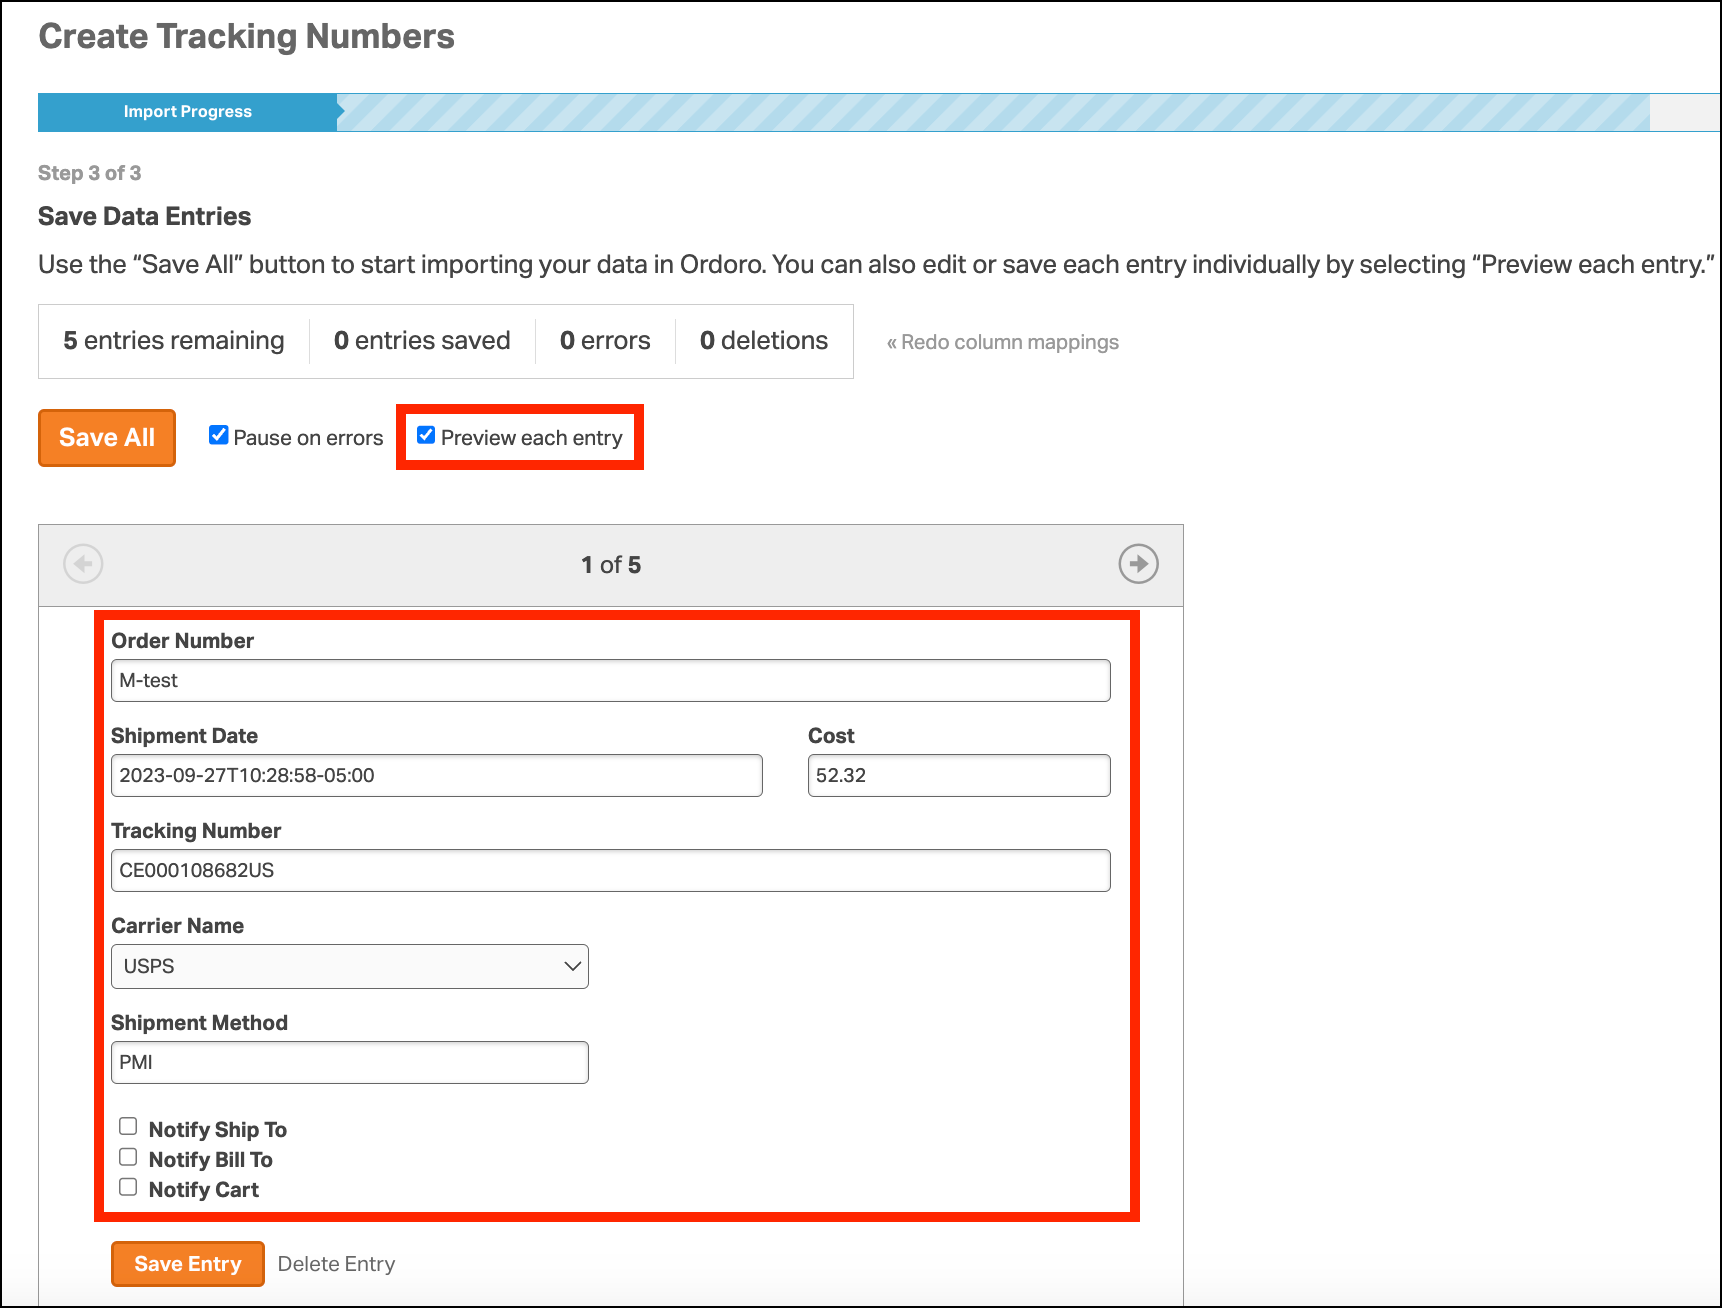
- Double-check your data. Click Save Entry for individual entries or Save All to save all data from the file.
- You have the option to:
- Preview each entry: Review and edit information before saving.
- Pause on errors: Choose to pause on errors and see orders with errors immediately or view all errors at the end of the Data Import.
- If there are errors, you’ll see a red error message on each entry. You can update, delete the entry, or click Restart if the CSV file format needs adjustment.
- You have the option to:
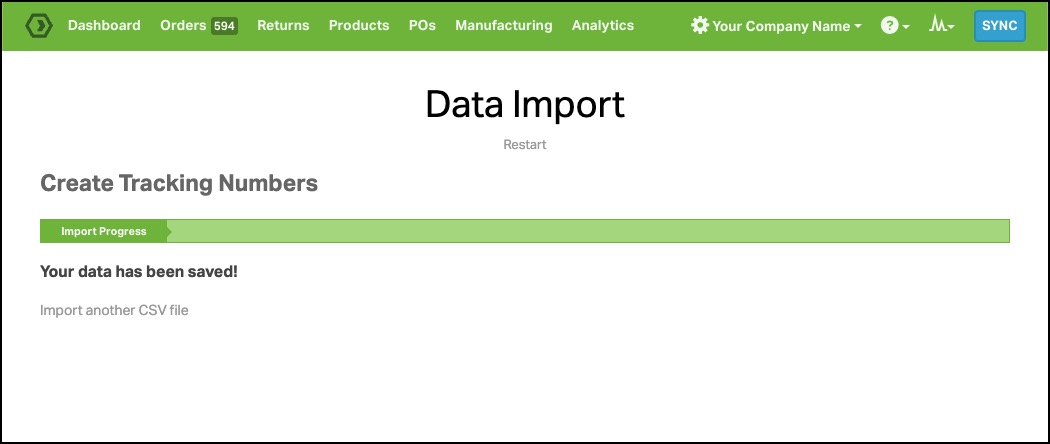
- If your Data Import was successful, you’ll see, “Your data has been saved!”
- Note: Each successfully saved entry is uploaded to Ordoro, even if the entire Data Import isn’t completed yet.