Absolutely! You can allocate a specific aisle bin location for each product within Ordoro.
In the case of multiple warehouses, you can conveniently designate the appropriate product location for each warehouse. Let’s walk through the process of setting it up to streamline your operations.
Topics
- How to update an individual product’s location in warehouse
- How to update multiple products’ warehouse location
- How the warehouse location appears on the Packing Slip
How to update an individual product’s location in warehouse
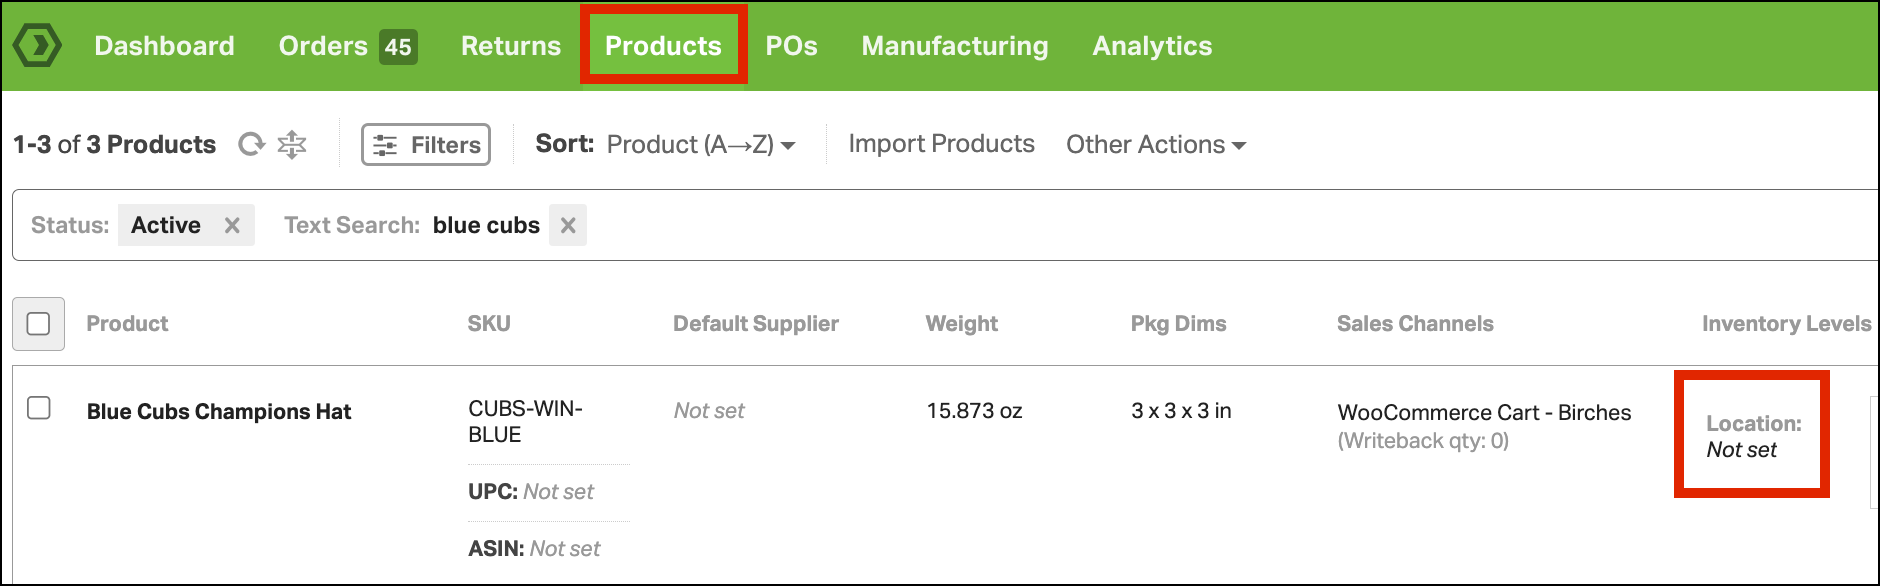
1. Go to the Products page and search for the product.
- If you have a single warehouse, click under the Location information to the right.
- Click the image below to expand.
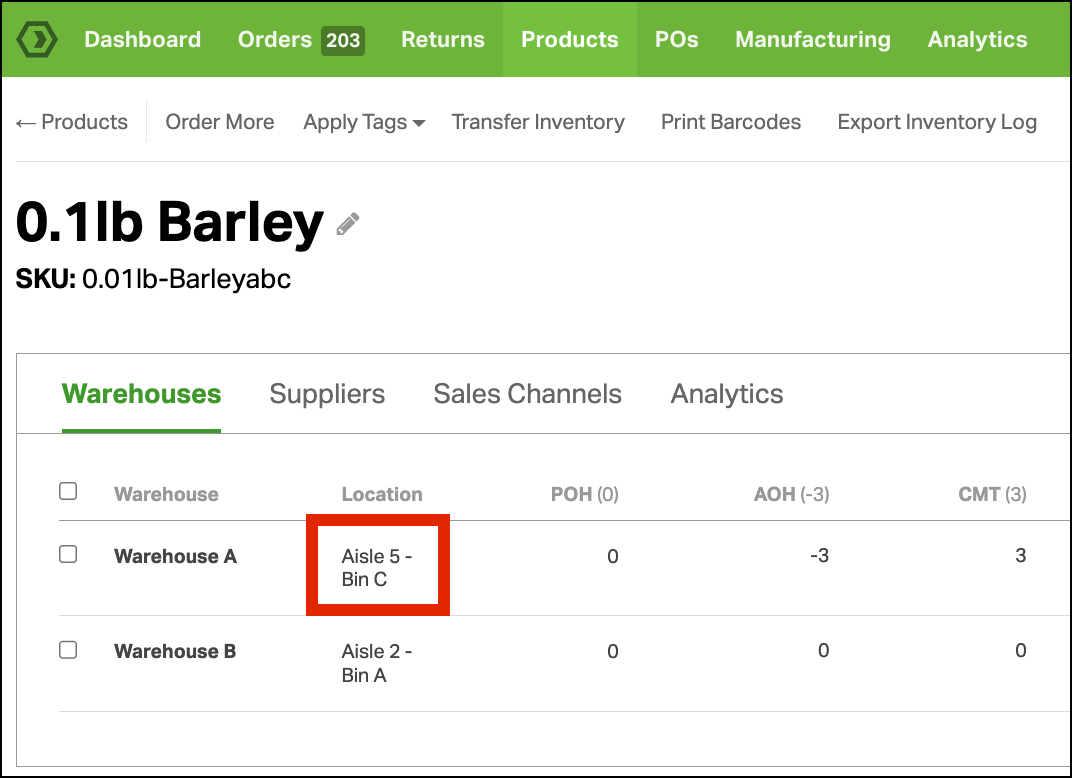
- If you have multiple warehouses, you must edit the location in the Product Detail page. Click the product name, then click the Location information.
- Click the image below to expand.
2. Enter the updated information, then click Save.

How to update multiple products’ warehouse location
To update the warehouse location in bulk for multiple warehouses, you’ll use the Data Import feature.
Export your current product information
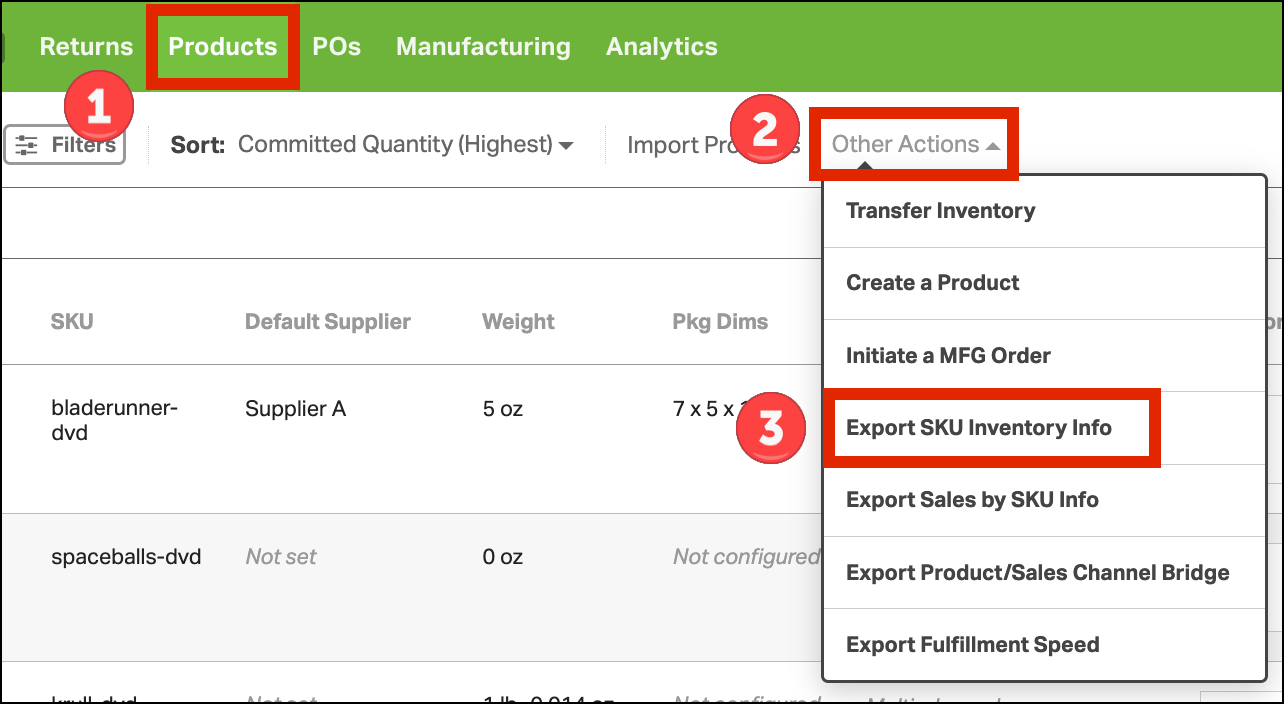
1. In the Products tab, select Other Actions -> Export SKU Inventory Info.
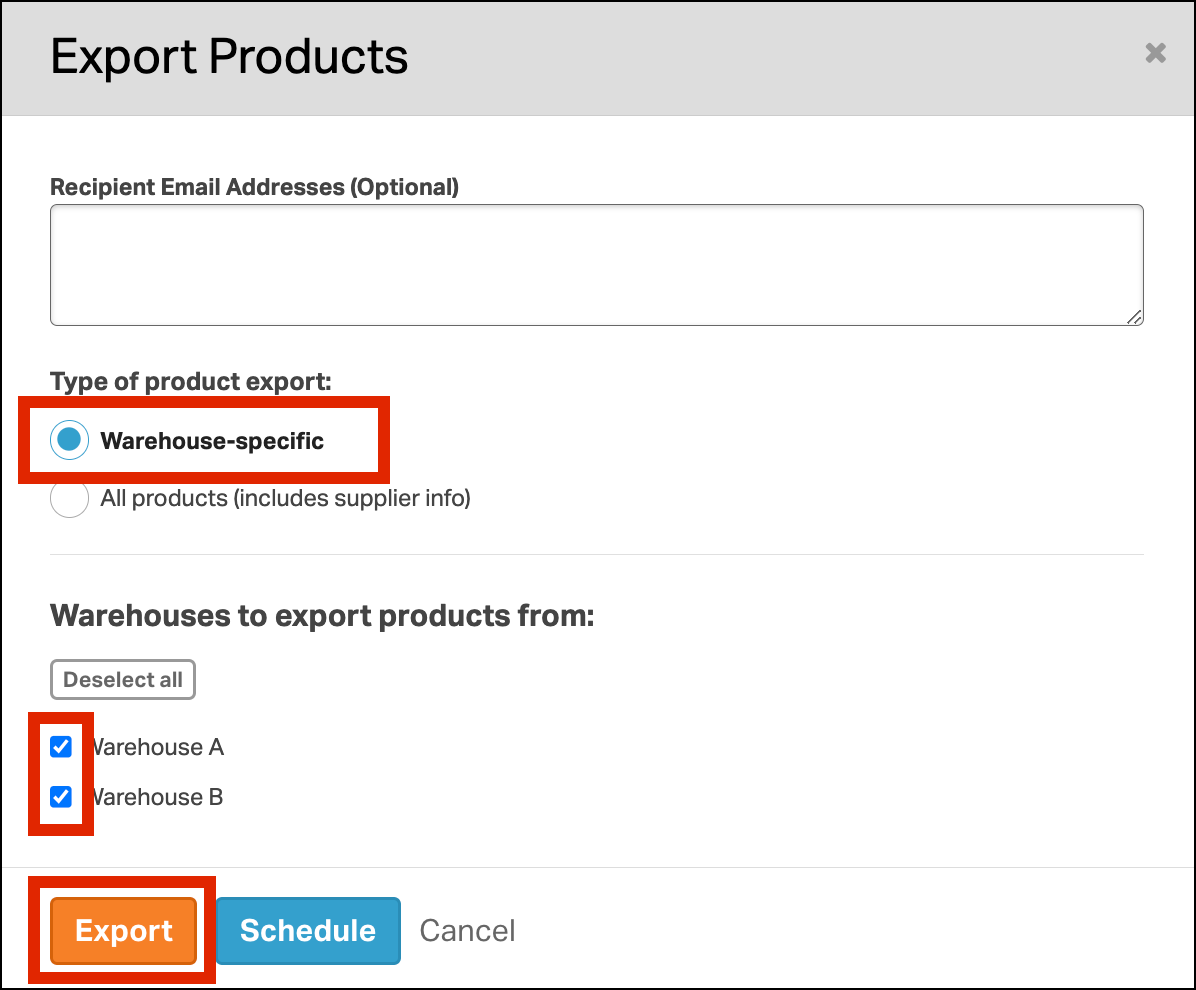
2. In the pop-up modal, select Warehouse-specific.
3. Select all warehouses.
4. Click Export.
5. Select the Activity tray in the top right corner.
6. Click Exports.
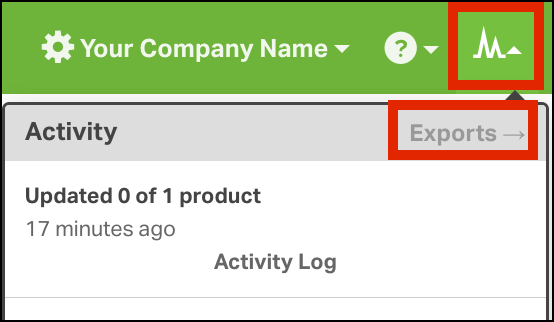
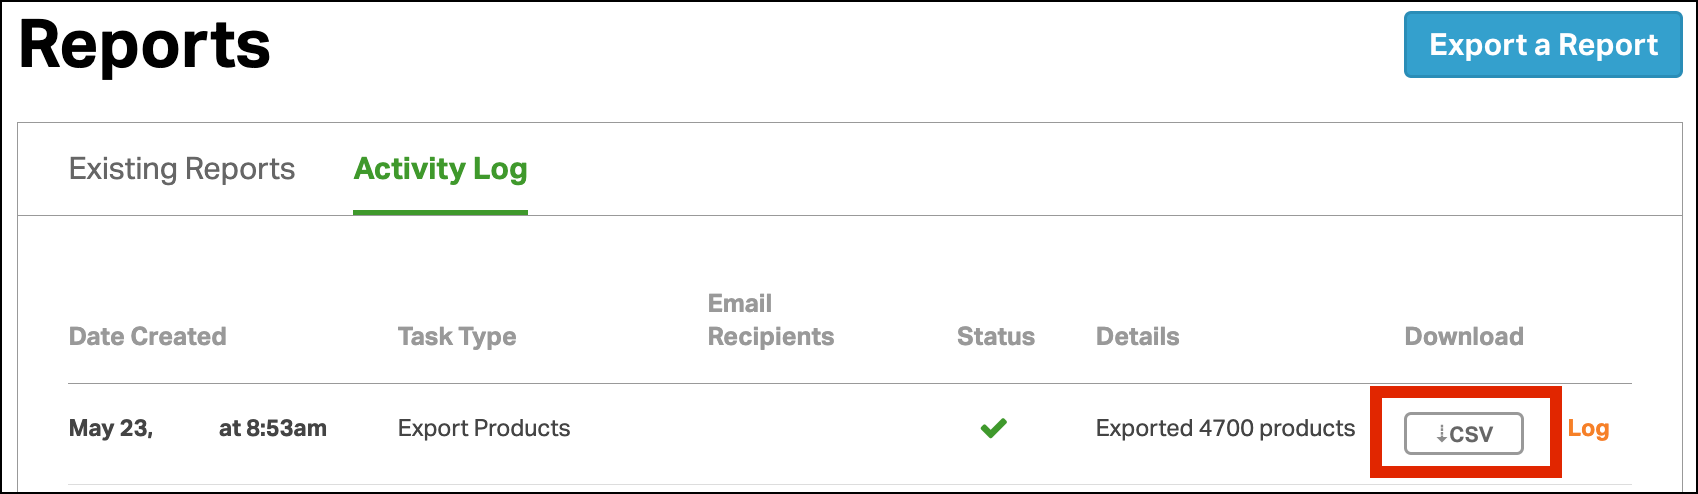
7. Click on the CSV Download of your report (the Task Type will be Export Products) and the file will download to your computer.
Download an example import CSV file
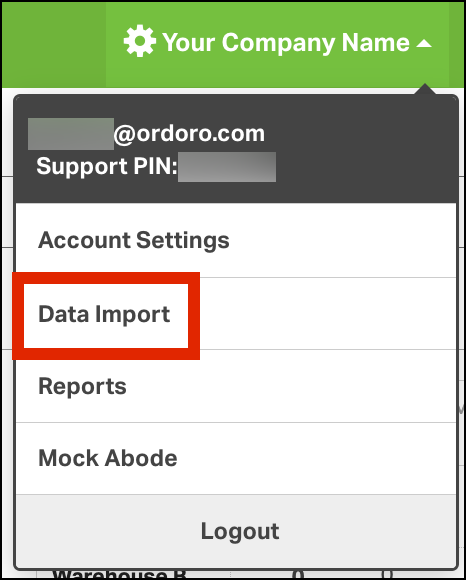
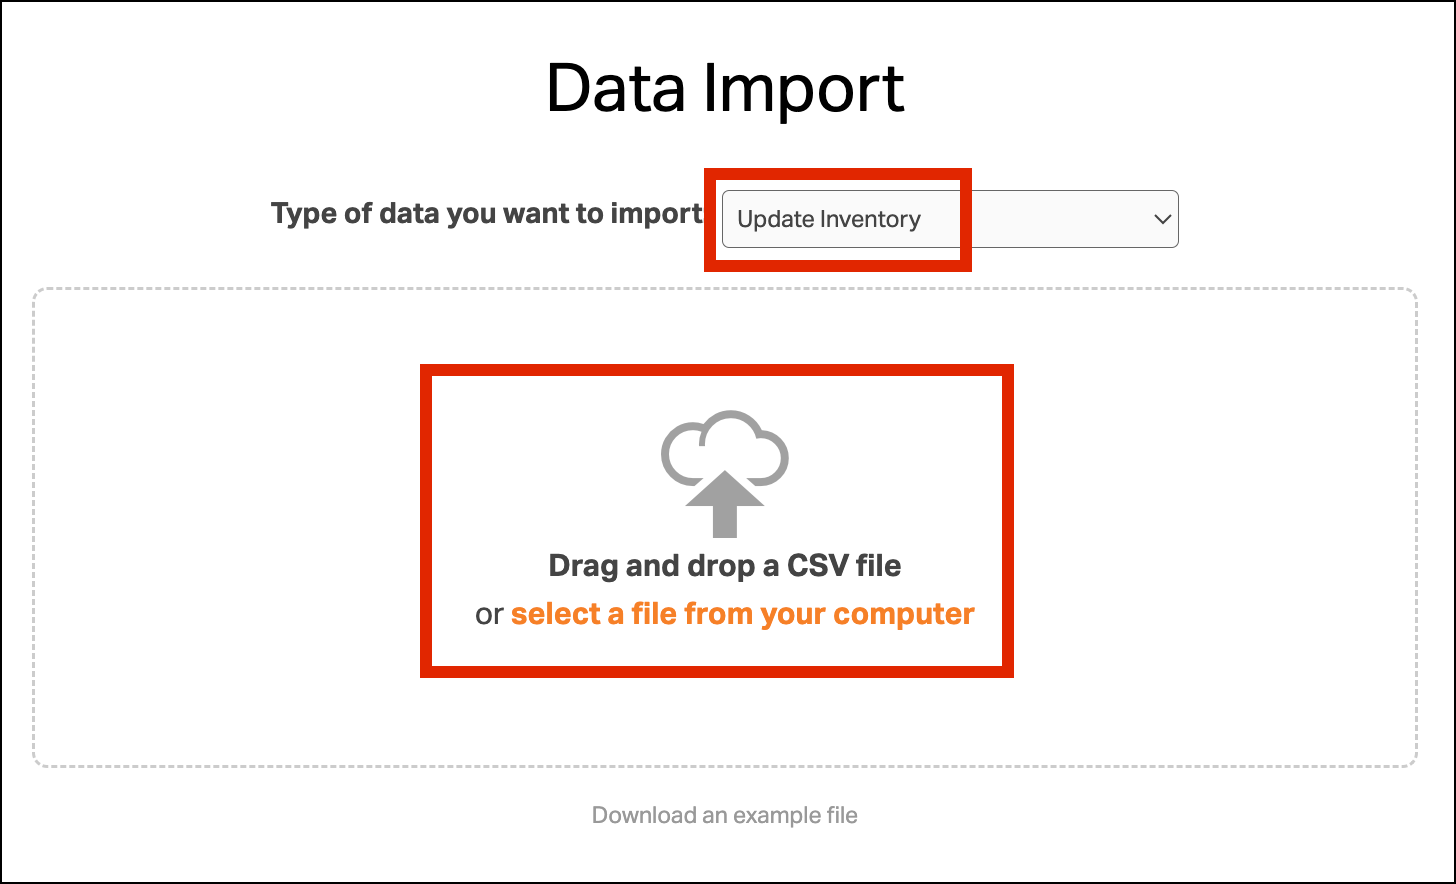
1. Click your company name -> Data Import
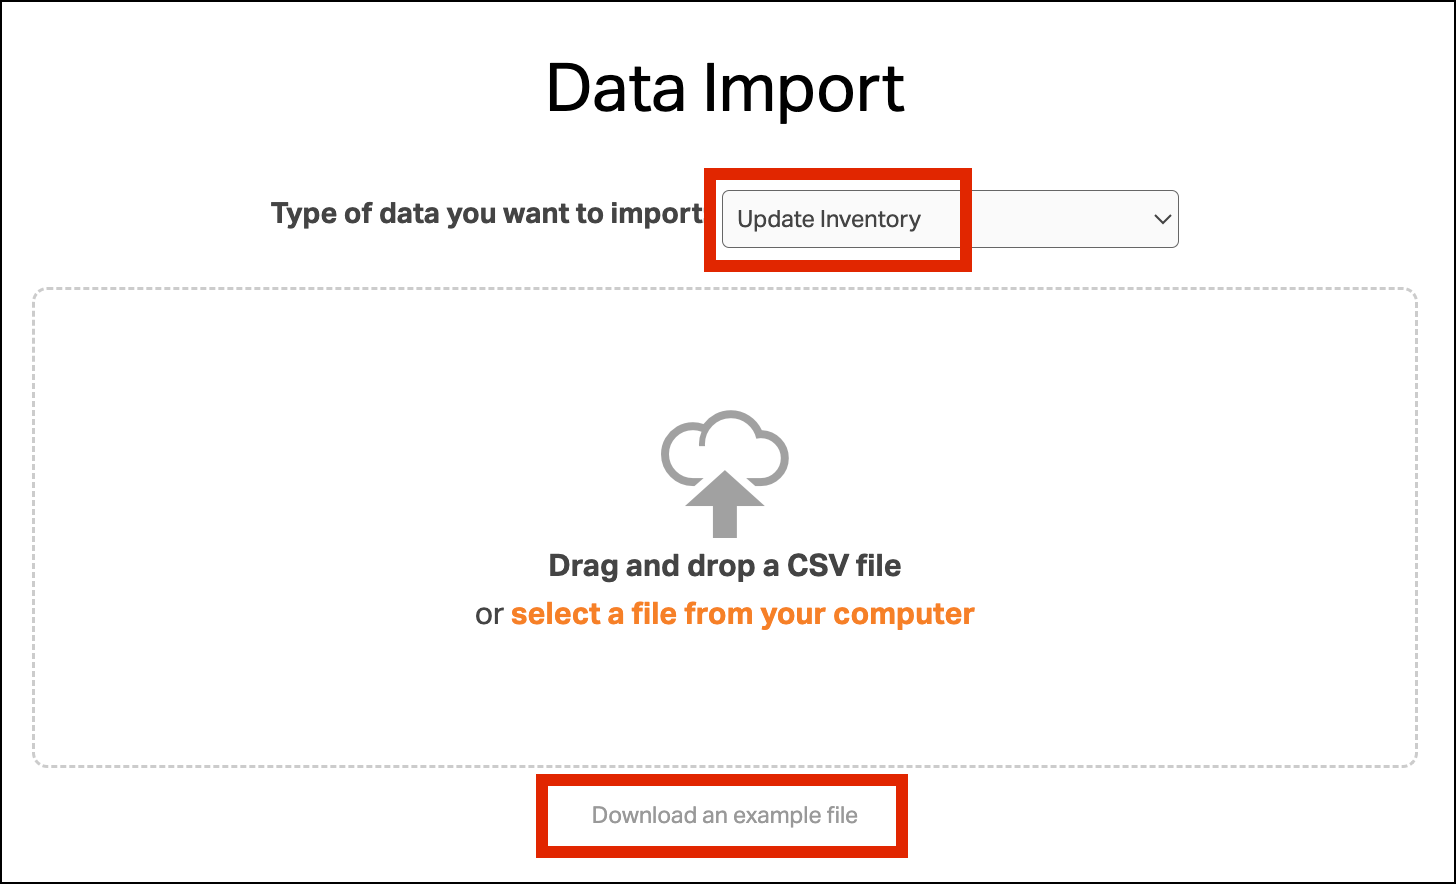
2. From the dropdown, select Update Inventory and Download an example file.
Modify your products’ warehouse locations
1. Copy and paste the fields from the exported products CSV into the example CSV file.
IMPORTANT: It’s crucial to remove entire columns from the file if you’re not updating certain columns. Leaving them blank will result in overwriting with a null or zero value.
- It’s also important to maintain the exact order of columns for a successful CSV upload.
2. Ensure that your SKUs or other values are not truncated via Excel formatting. See this support article to resolve this issue.
3. Edit the product warehouse locations and save your file as a CSV.
- Note: The Warehouse field must exactly match the name of the Warehouse in Ordoro.
Upload your updated warehouse locations
1. Click your company name -> Data Import
2. Select Update Inventory from the dropdown and upload the saved CSV file into Ordoro.
- IMPORTANT: It’s crucial to remove entire columns from the file if you’re not updating certain columns. Leaving them blank will result in overwriting with a null or zero value.
3. Verify the column titles from your file match the standard column titles in Ordoro.

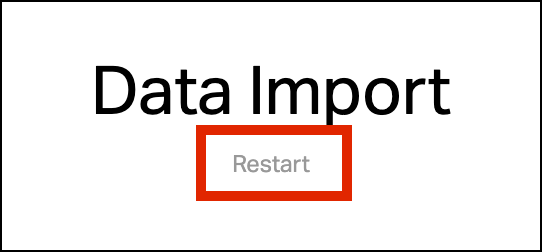
- If you need to cancel your data import, click Restart.
4. Click Save All.
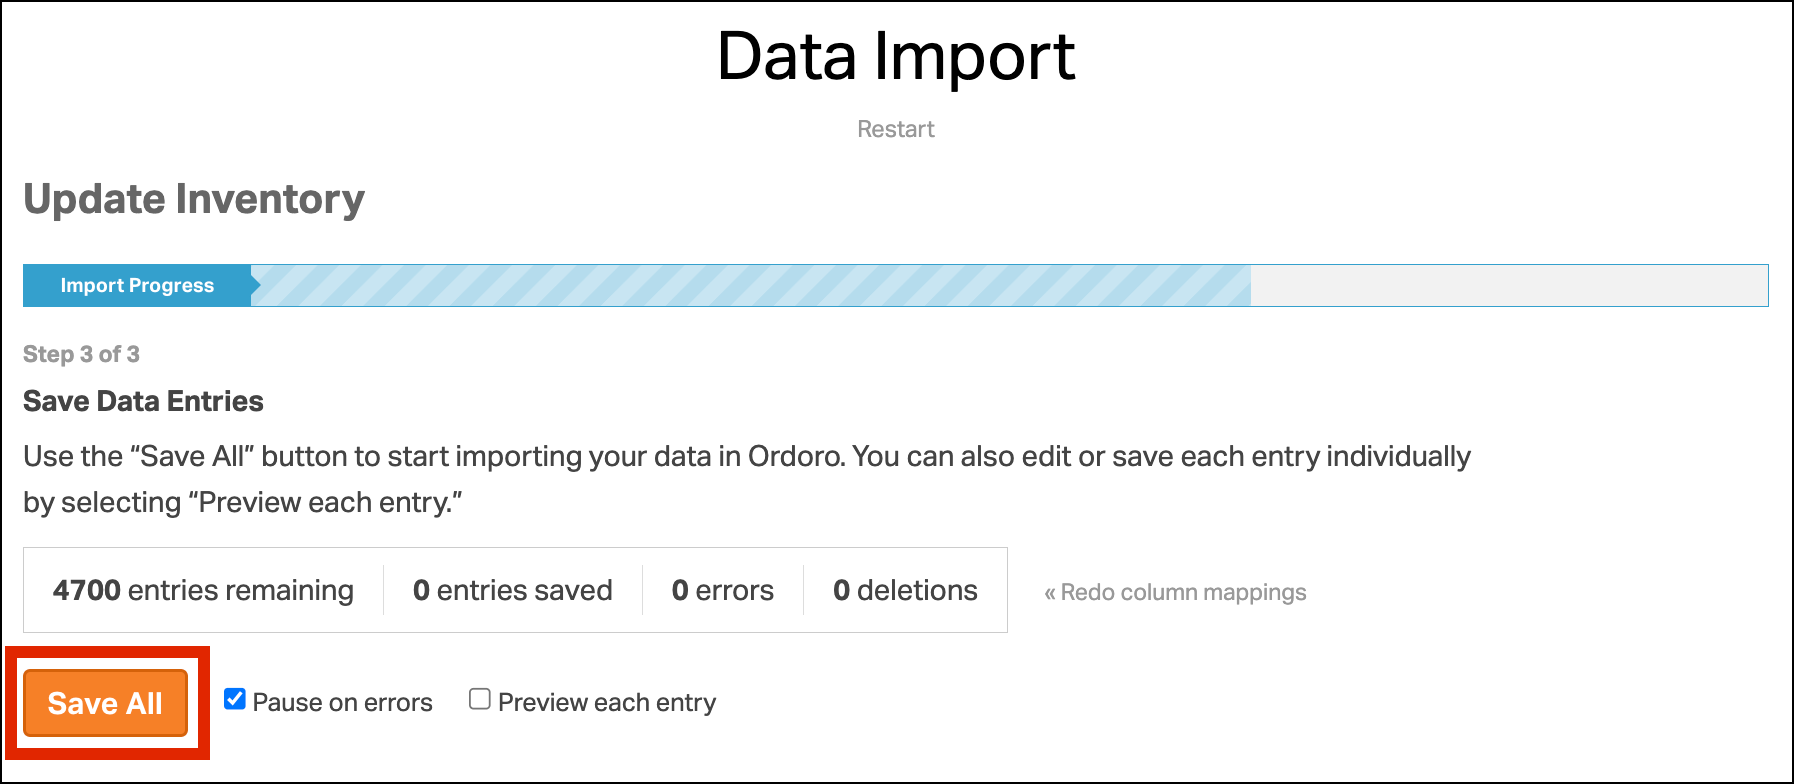
- You can preview and edit your entries before saving by selecting Preview each entry.
How the warehouse location appears on the Packing Slip
1. When printing a Packing and/or Pick List, select Sort by Location for easier picking.
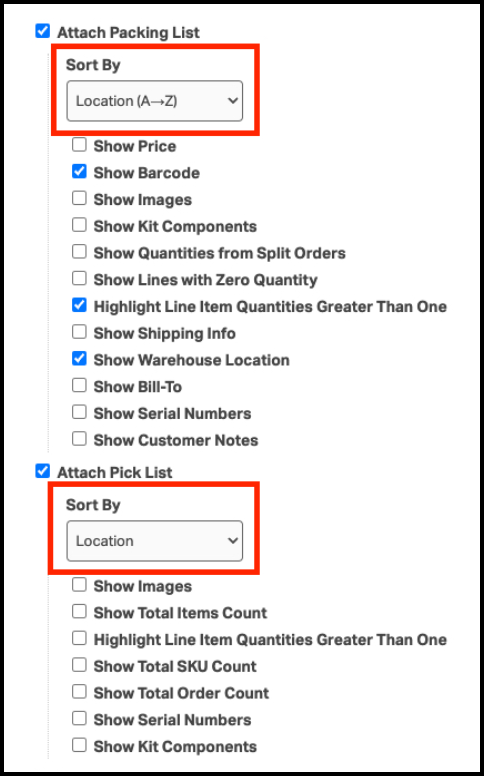
2. You can choose to sort the location alphabetically (A -> Z) or reverse alphabetical order (Z -> A).
- When sorting locations, non-alphanumeric values will be organized first, followed by numeric values, and finally alphabetically.
- Let’s say we have three locations: ABC, 123, and @@@.
- If we sort them alphabetically on a packing slip, they would appear in the following order: @@@, 123, and ABC
- The alphabetical sort is not case-sensitive.
- For example, ABC, Abc, and abc would all be grouped together but not listed in any particular order.
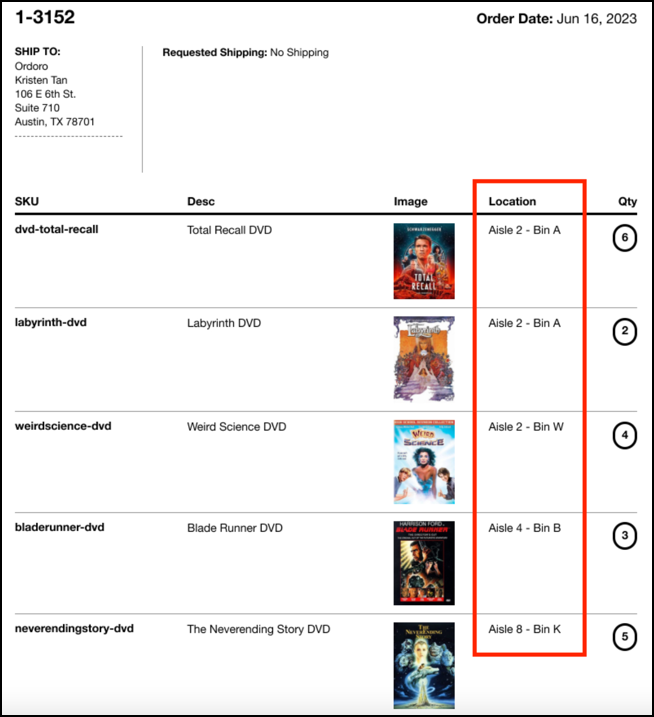
3. Here is how the locations will appear on a Packing List:
- Note: there are many other options you can select to display on the Packing List that are not shown here.
4. How the locations will appear on a Pick List.
- Note: there are many other options you can select to display on the Pick List that are not shown here.
