What is Amazon Fulfillment Latency/Handling Time?
Amazon’s Fulfillment Latency (also known as Handling Time or Production Time) specifies the number of business days you have to ship out Amazon orders. The default value is 1-2 business days.
If you are selling through Amazon Seller Central, Fulfillment Latency has implications on your Amazon account status and how well your products display in Amazon’s search results.
Ordoro’s Fulfillment Latency feature allows you to post a custom Fulfillment Latency, other than the default 1-2 business days. When we write inventory quantities back to Amazon, Ordoro will set and/or overwrite the Fulfillment Latency value in Amazon with the one specified in Ordoro.
Topics
- Important tips
- Set the Same Fulfillment Latency for all products
- Update Fulfillment Latency for a single product
- Update different Fulfillment Latency times in bulk
Important tips
1. We strongly recommend setting the Fulfillment Latency in Ordoro first.
- If the latency time is set in Ordoro first, Amazon will get updated with the Ordoro values.
- If the latency is set in Amazon first but not in Ordoro, then Ordoro will reset latency to the default 1-2 days in the next inventory sync.
2. If you set the latency in Ordoro on a product level, the products move to the Need Sync filter, and a one-hour delay is set for these items’ inventory sync.
3. If you set the latency in Ordoro on a cart level, the products move to the Need Sync filter and get synced back during the next inventory sync without the one-hour delay.
Set the same Fulfillment Latency for all products
This will update ALL associated Amazon products in your Ordoro account to the Fulfillment Latency specified in the Sales Channel settings.
For example, if you enter 6, all of your orders must be shipped out within six days after being placed.
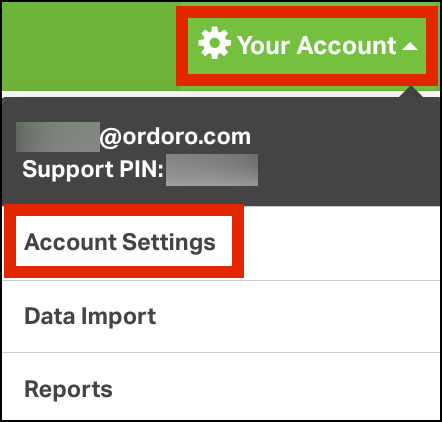
1. Click on your company name in the top right-hand corner -> Account Settings.
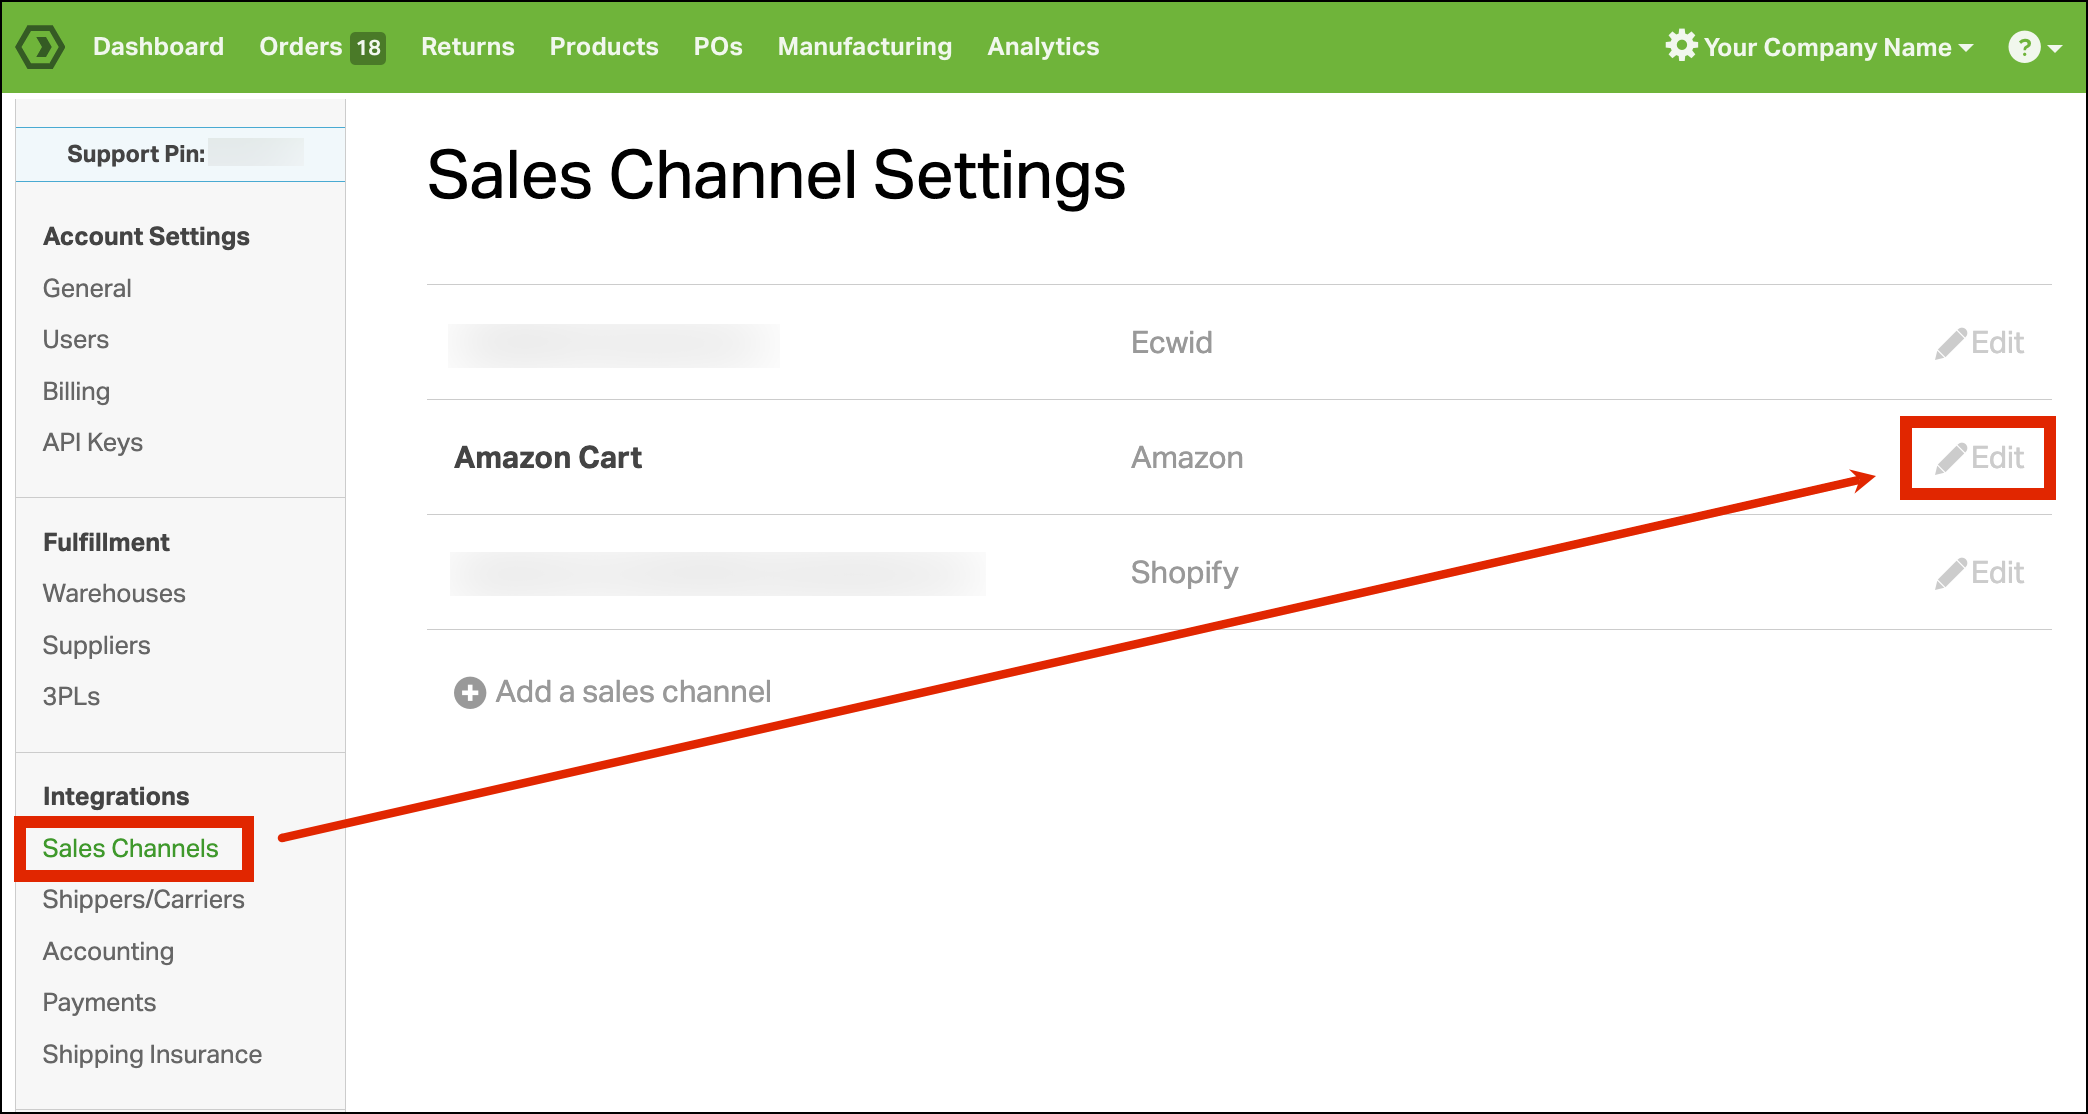
2. Click Sales Channels in the left sidebar. Select the Edit option next to your Amazon cart.
3. Enter the Fulfillment Latency.
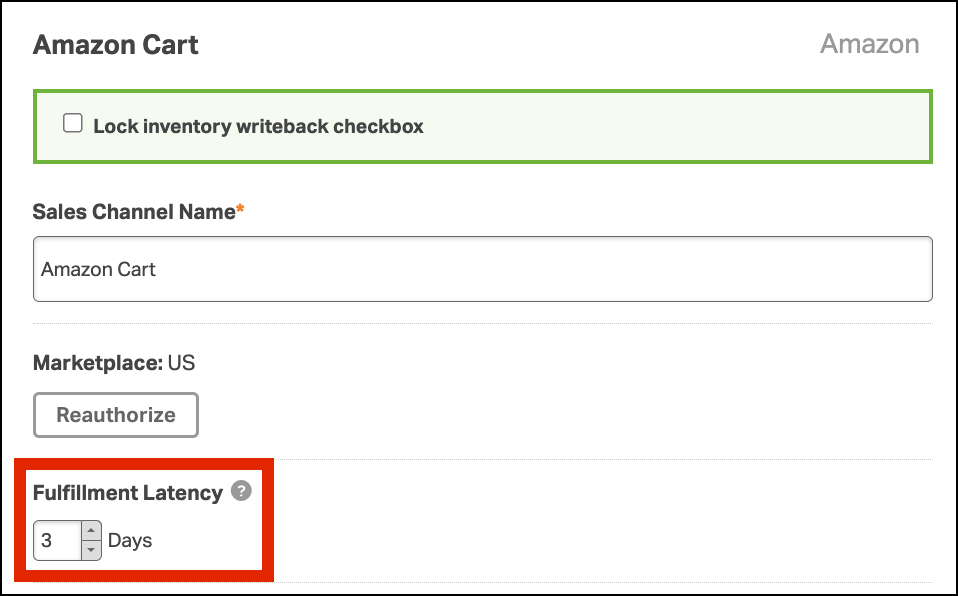
4. Save your changes.

Note: If this is set on a global Sales Channel basis, you will not see the handling time on the Product Detail -> Sales Channel Info.
Also, this setting is available for Ordoro Pro accounts. For Express or Starter accounts, you’ll update latency directly in Amazon Seller Central.
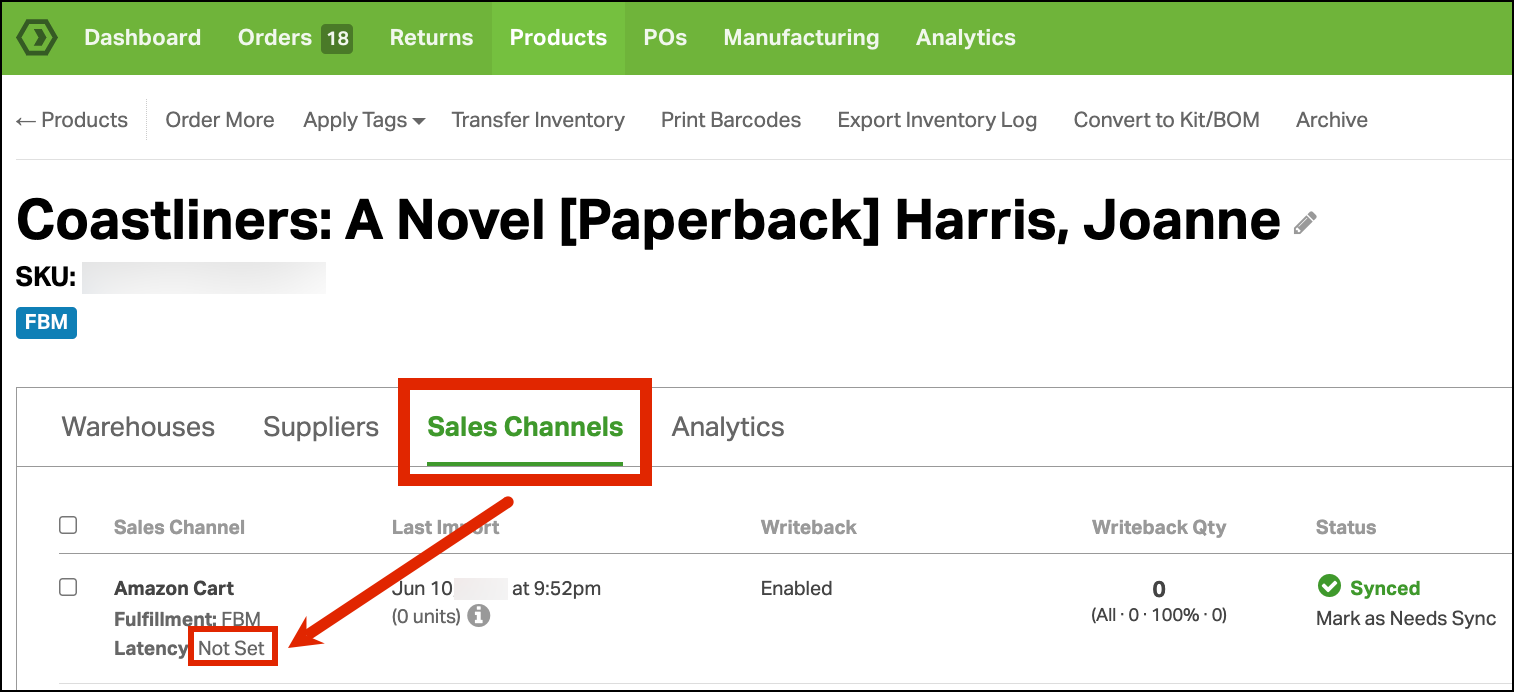
Update Fulfillment Latency for a single product
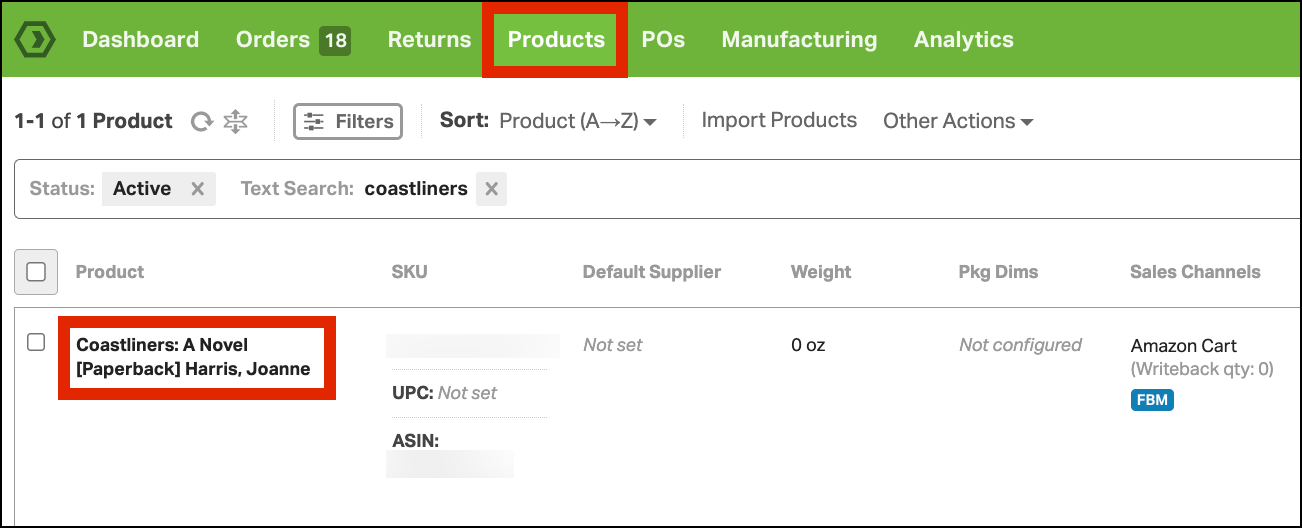
1. Select the Products tab.
2. Search for the product/SKU in the search bar.
3. Click on the Product name.
4. Select the Sales Channel tab.
5. Find Fulfillment Latency -> click the field to edit.
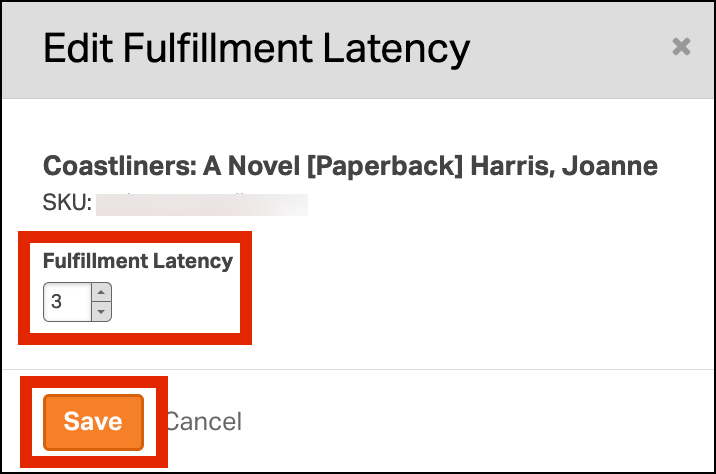
6. Enter the custom Fulfillment Latency.
7. Click Save.
Note: The product level Fulfillment Latency has priority. For example, if the Fulfillment Latency is different on the product level vs. the sales channel level, then Ordoro will use the product level setting.
Update different Fulfillment Latency times in bulk
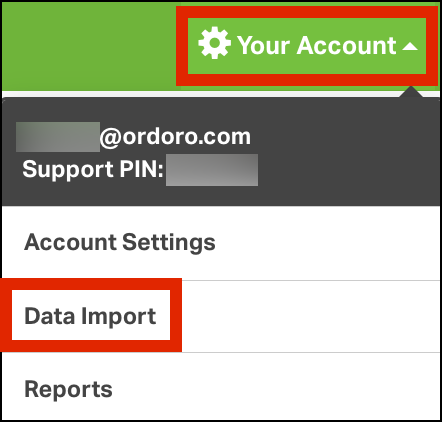
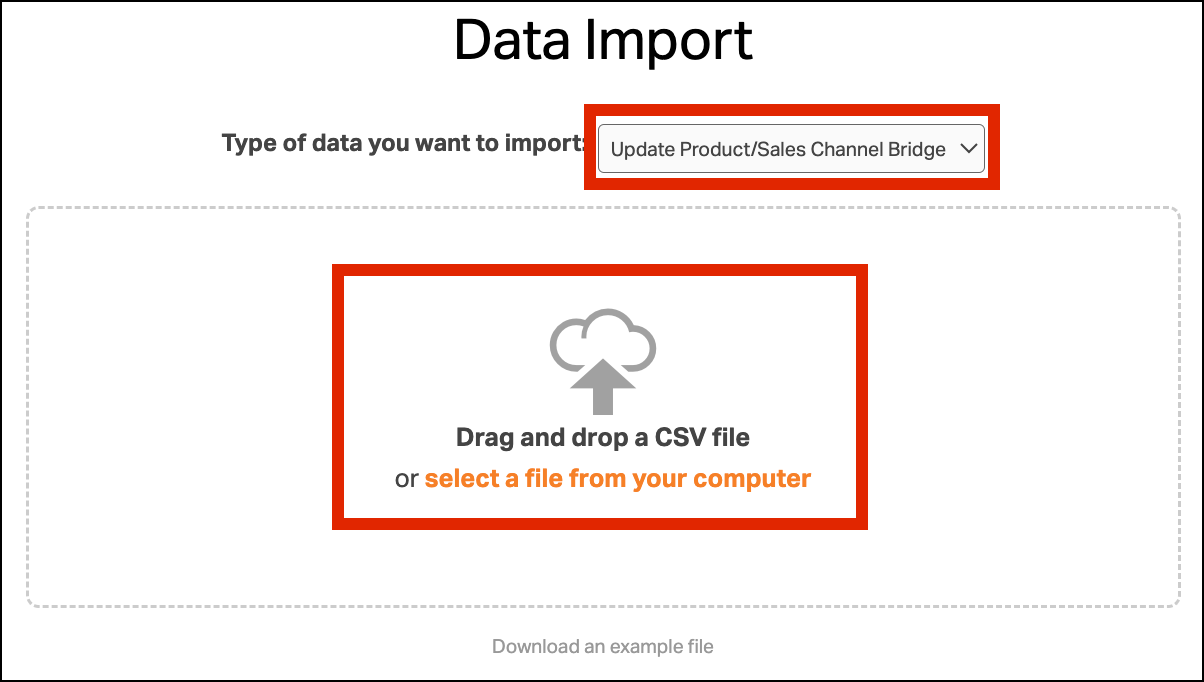
1. Click on your company name -> Data Import in the top right corner.
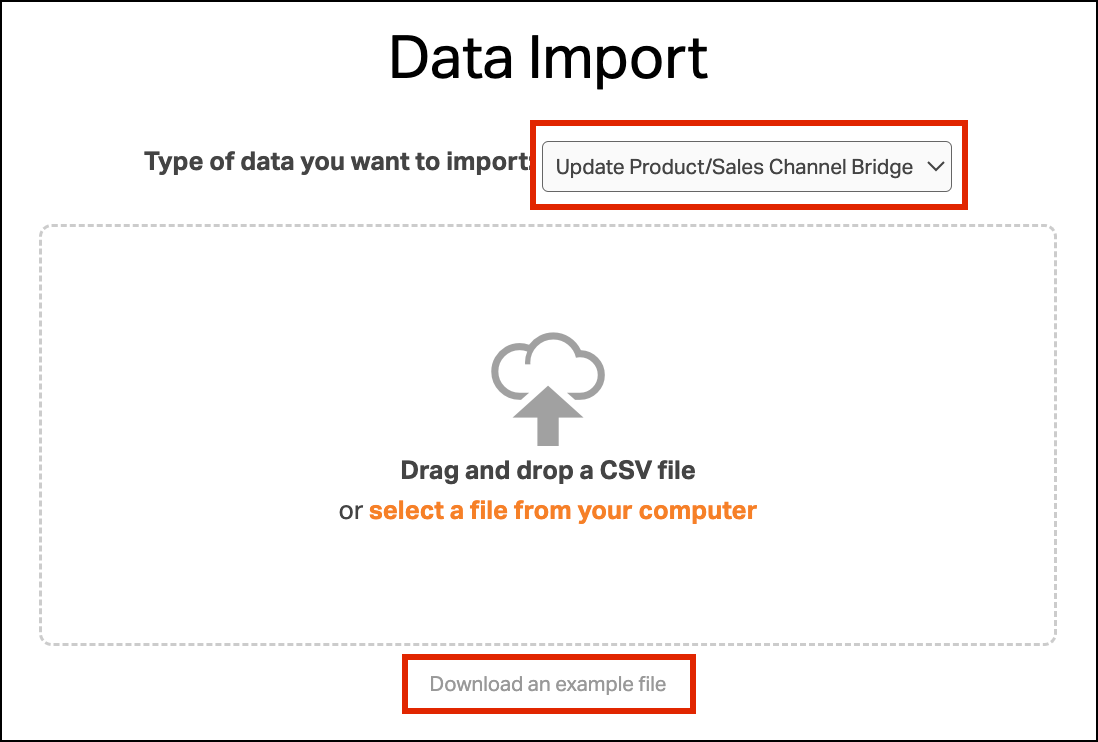
2. Select Update Product/Sales Channel Bridge from the drop-down menu and click Download an example file.
3. In the Products tab, click Other Actions -> Export SKU Inventory Info.
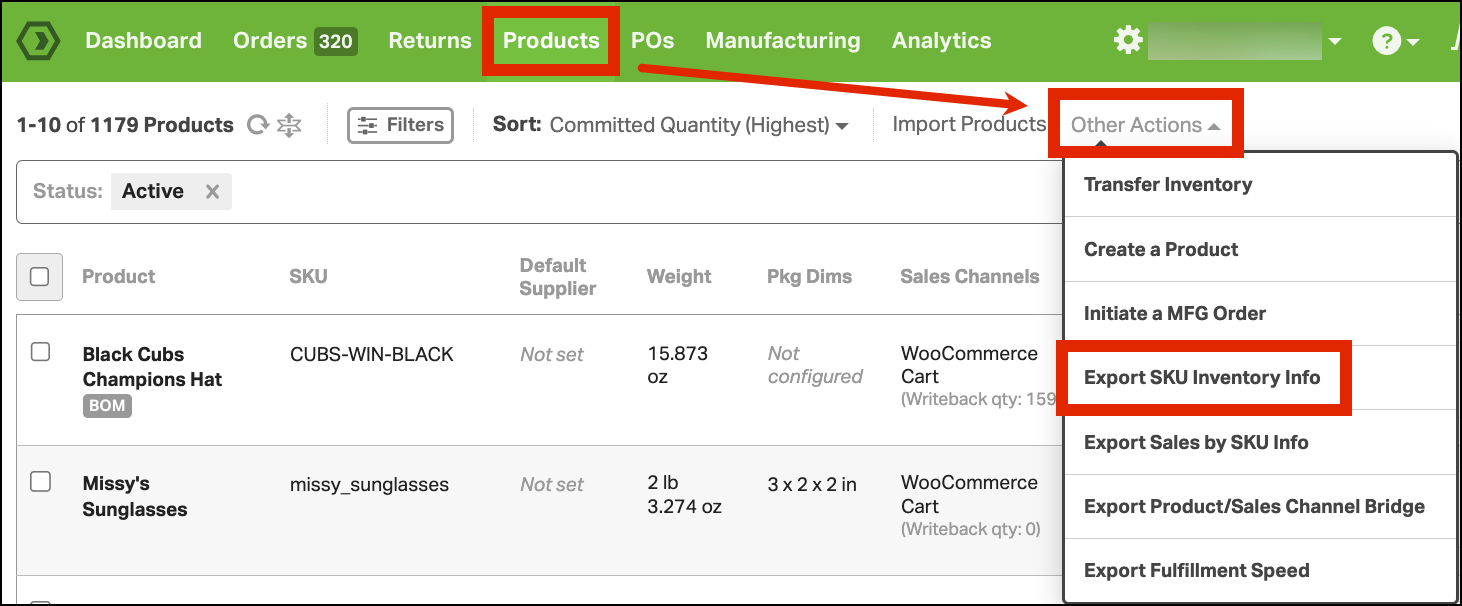
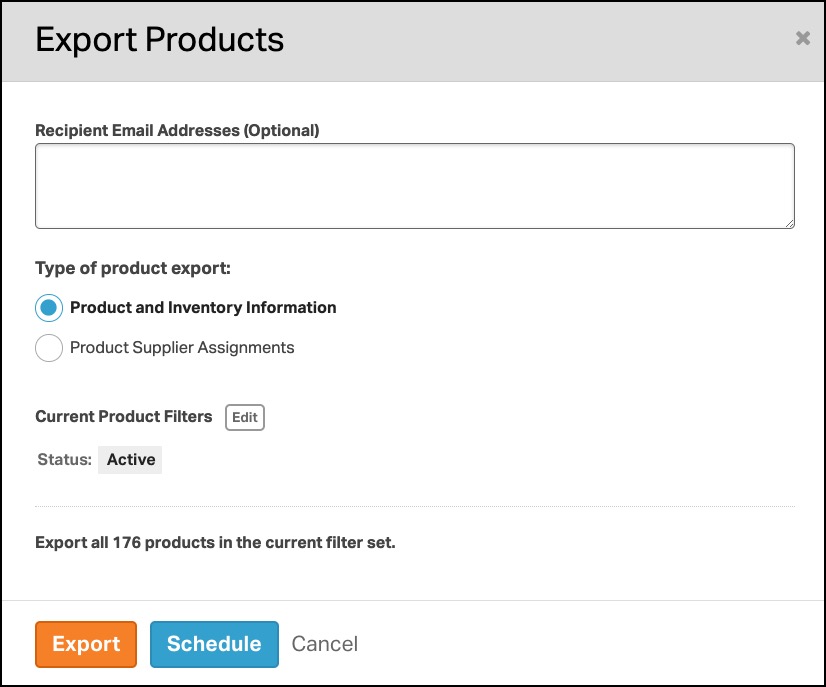
4. Click Product and Inventory Information -> Export.
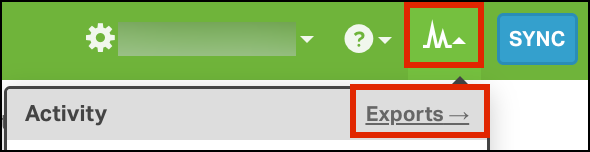
5. Click the Activity menu -> Exports.
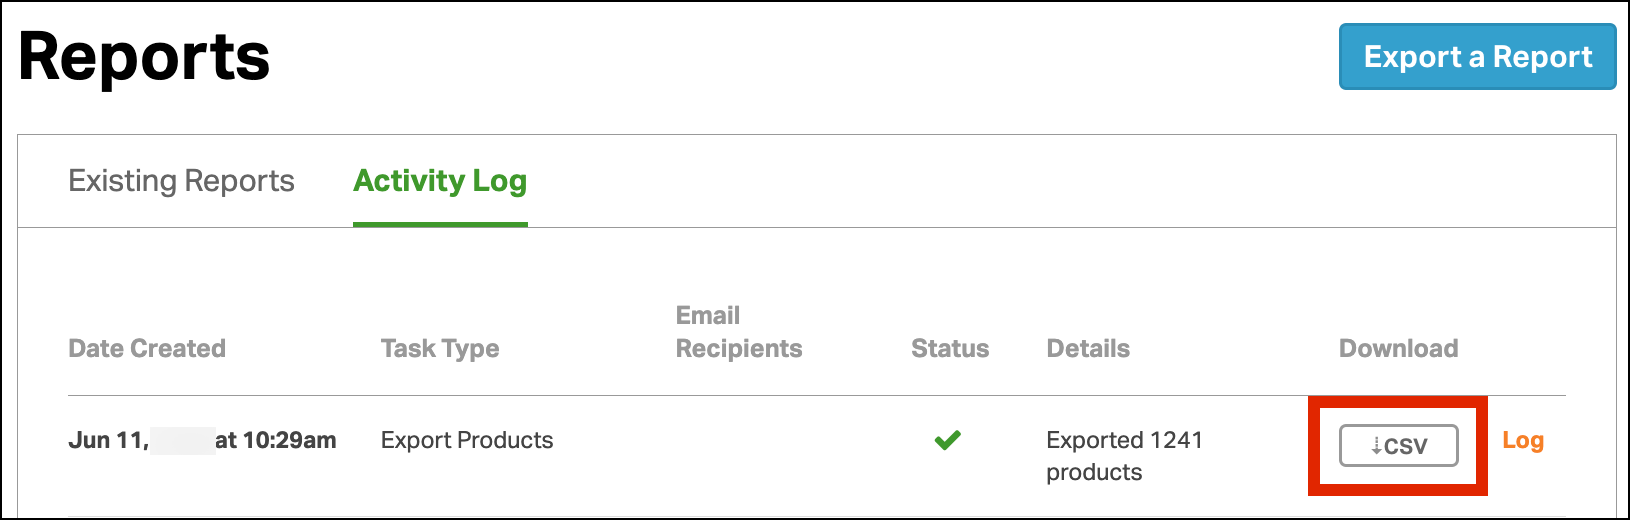
6. Click CSV to download your product export report.
7. Open the CSV file of your exported products and copy the SKUs to be updated. See the screenshot below. Click to enlarge.
10. Open the Update Product/Sales Channel Bridge example file and paste SKUs into Column A (SKU *Req).
- Ensure that your SKUs or other values are not truncated via Excel formatting. See this support article to resolve this issue.
11. Copy and paste the Amazon Sales Channel name from the Sales Channel settings into Column B (Sales Channel Name *Req).
12. Enter the custom latency quantity in Column D (Amazon Fulfillment Latency).
IMPORTANT: Delete any columns you’re not updating. For example, Amazon Fulfillment Channel (Column C) and/or Max Export (Column E). If you leave them in, they will overwrite the current Ordoro information.

11. Save as a .csv file to your Desktop.
12. On the Data Import -> Update Product/Sales Channel Bridge page, choose to import the CSV file.
13. Follow steps 6-10 in the Data Import support article to finish updating your Fulfillment Latency times in bulk.