Looking to streamline your warehouse pick workflow? With barcode scanning in Ordoro, you can speed up order picking, improve inventory accuracy, and minimize packing errors. This guide will walk you through how to pick orders with barcode scanning — whether you’re picking multiple orders, a single order, or scanning via packing lists.
Notes:
- This feature is available for Advanced and Premium plans.
- To enable this feature in your account, please contact us at info@ordoro.com.
- See here for how to use barcode scanning for your packing process, which is the next step in shipping orders.
Topics
- How to pick multiple orders with barcode scanning
- How to pick a single order with barcode scanning
- How to pick orders via packing lists with barcode scanning
- How to permanently hide Multi-Warehouse Picking warning
How to Pick Multiple Orders with Barcode Scanning
- From the Orders tab, select the orders you want to scan.
- Click the Scan/Verify Contents icon, then choose PICK Items.

3. The Pick Orders modal will open. Here you’ll see:
- Number of orders selected
- Warehouse filter
- Sort options
- Each SKU included in the orders
- Physical On Hand (POH) and Available On Hand (AOH) inventory
- If one warehouse is selected, the POH and AOH reflect that warehouse
- If All Warehouses is selected, the POH and AOH reflects the totals of all warehouses
- Quantity Ordered
- Quantity Picked

Note: If the orders contain items from multiple warehouses, a warning will appear. You can permanently hide this warning by adjusting your Account Settings.

4. Scan the UPC or SKU barcode for each product.
- Each successful scan will increase the Qty Picked.
- Once the full quantity is picked, the item will be removed from the list.
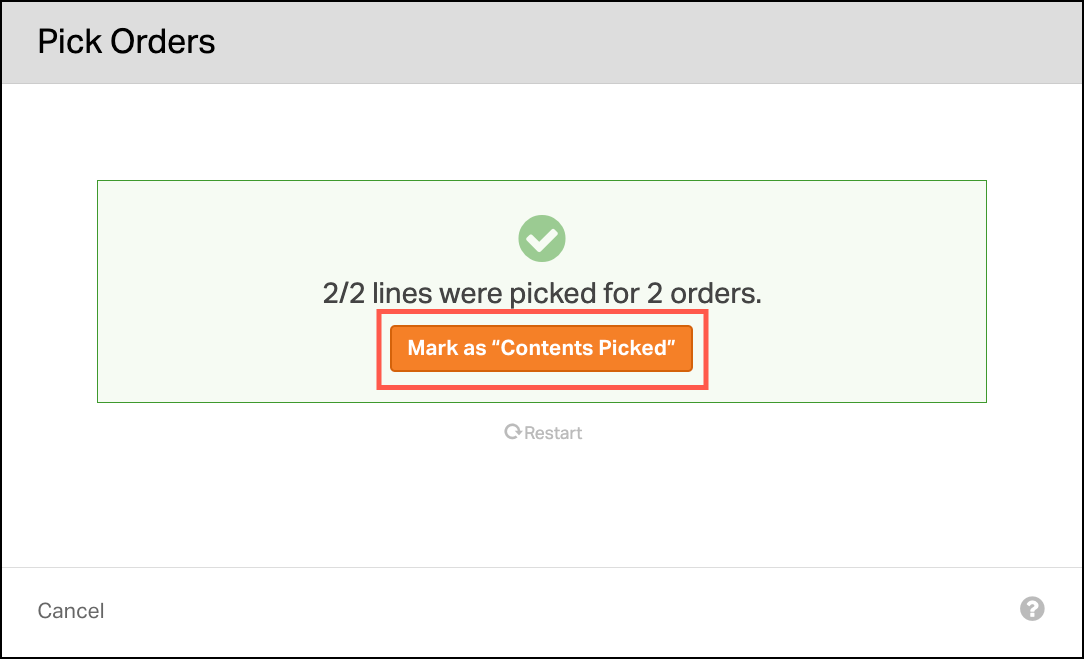
5. After all items are scanned, click Mark as “Contents Picked”.
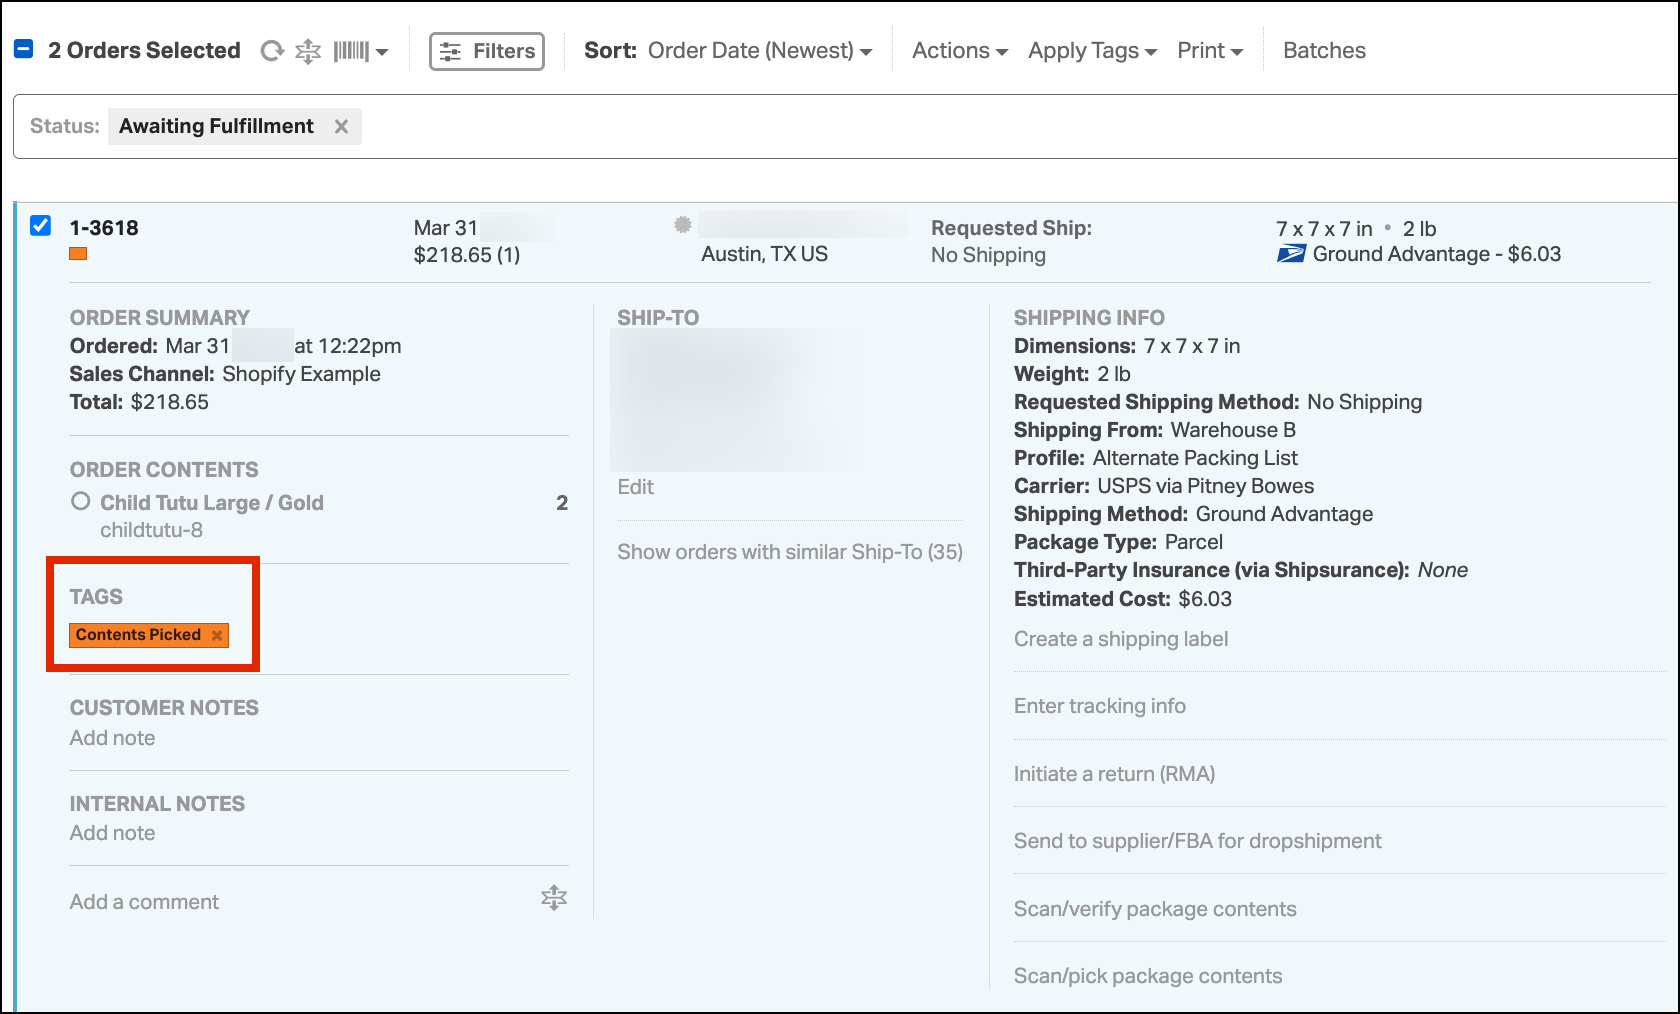
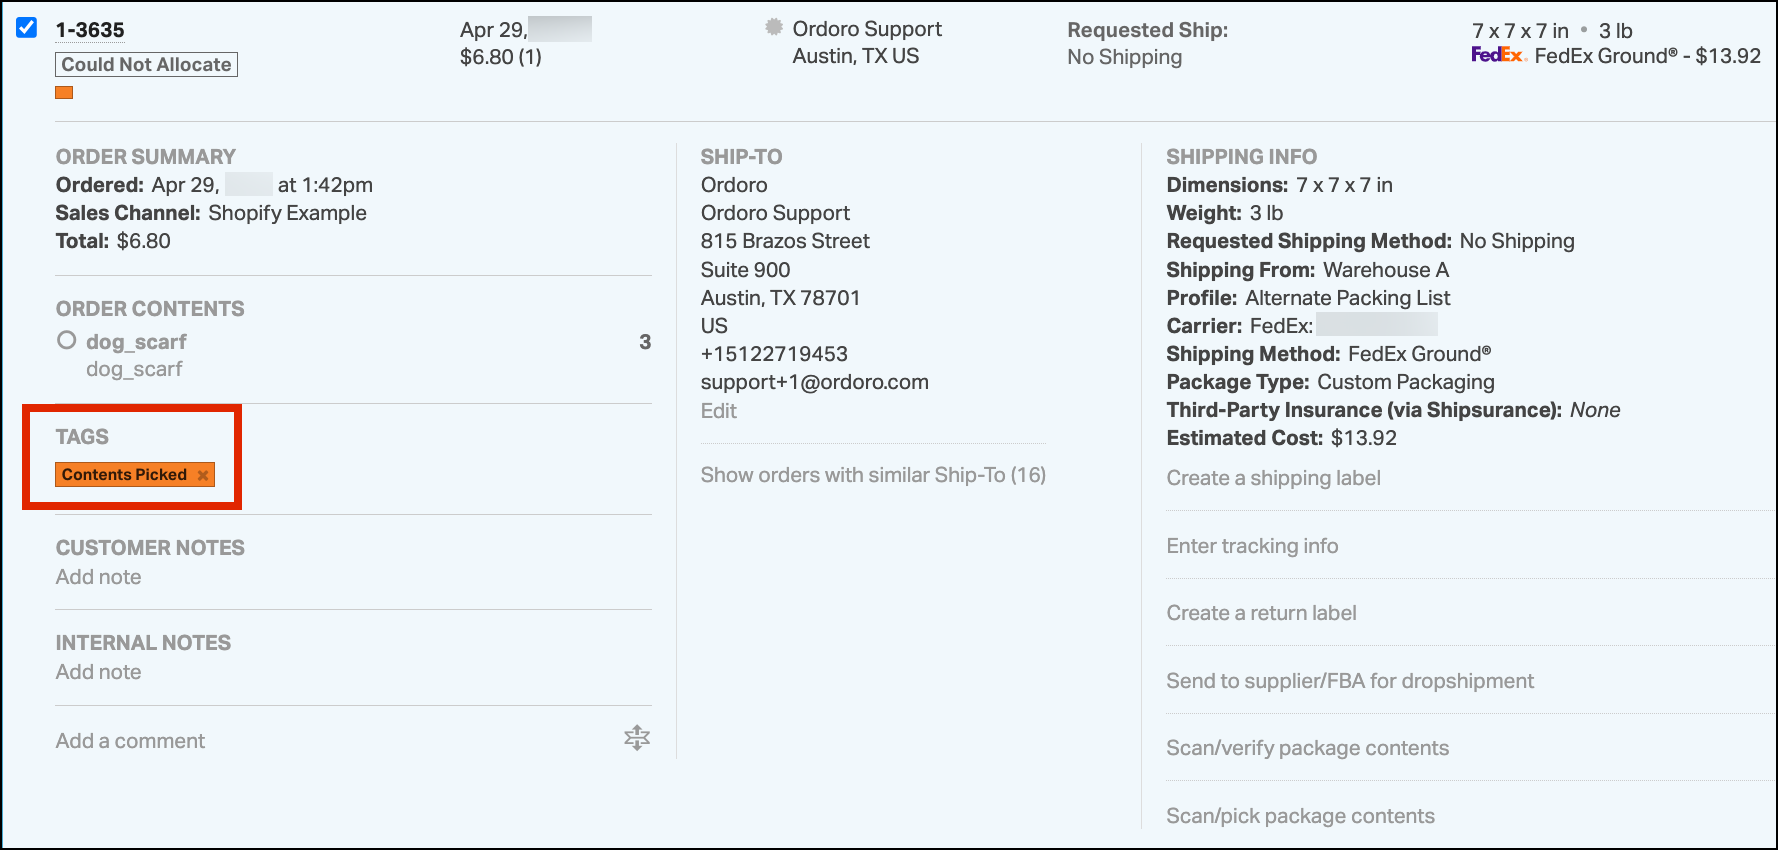
6. The selected orders will now be tagged with Contents Picked.
How to Pick a Single Order with Barcode Scanning
1. From the Orders tab, expand the row or go to the Order Detail page.
2. Click Scan/pick package contents to open the Pick Orders modal.

3. The Pick Order modal will open. The following are displayed:
- Order ID
- Warehouse filter
- Sort options
- Each SKU on the order
- Physical On Hand (POH) and Available On Hand (AOH) inventory
- If one warehouse is selected, the POH and AOH reflect that warehouse
- If All Warehouses is selected, the POH and AOH reflects the totals of all warehouses
- Quantity Ordered
- Quantity Picked

Note: If the orders contain items from multiple warehouses, a warning will appear. You can permanently hide this warning by adjusting your Account Settings.
4. Next, scan the UPC/SKU barcode for each product. See the animated image below.
- When an item is scanned successfully, the Qty Picked increases.
- Once the total quantity is picked, the item is removed from the list.
5. After scanning all items, the Mark as “Contents Picked” button is available.

6. Click Mark as “Contents Picked” to close the modal and tag the orders as Contents Picked.
How to Pick Orders via Packing Lists with Barcode Scanning
- From the Orders page, click the Scan/Verify Contents icon and select PICK Items.

Note: You can initiate this action with a barcode scan using our Barcode Action Shortcut Printout.

- The Pick Orders modal will open.
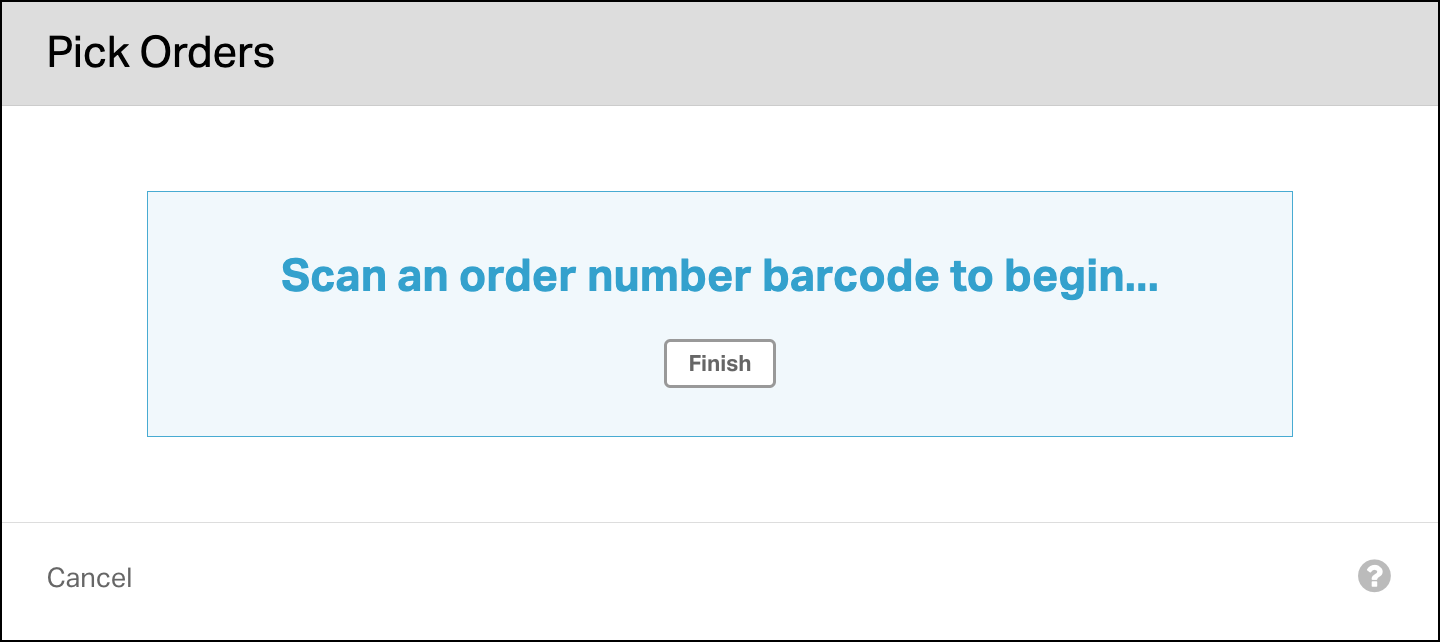
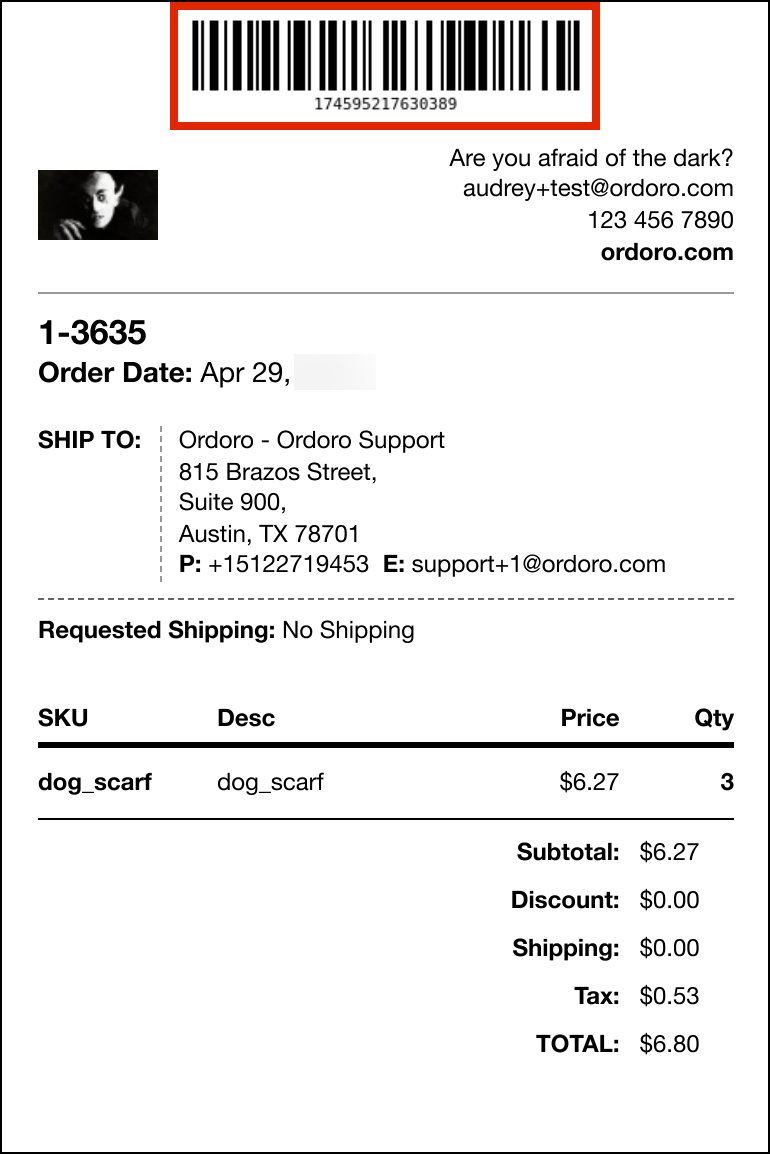
- Scan the order barcodes printed at the top of each Packing List.
- Each scanned order will increment the order count:
- After scanning all orders, click Finish.

Note: You can initiate this action with a barcode scan using our Barcode Action Shortcut Printout.

- The Pick Orders modal will open. The following are displayed:
- Number of orders selected
- Warehouse filter
- Sort options
- Each SKU on the orders
- Physical On Hand (POH) and Available On Hand (AOH) inventory
- If one warehouse is selected, the POH and AOH reflect that warehouse
- If All Warehouses is selected, the POH and AOH reflects the totals of all warehouses
- Quantity Ordered
- Quantity Picked
Note: If the orders contain items from multiple warehouses, a warning will appear. You can permanently hide this warning by adjusting your Account Settings.
4. Scan the UPC or SKU barcode for each product.
- Each successful scan will increase the Qty Picked.
- Once the full quantity is picked, the item will be removed from the list.
5. After all items are scanned, click Mark as “Contents Picked”.
Note: You can initiate this action with a barcode scan using our Barcode Action Shortcut Printout.

6. The orders will now be tagged with Contents Picked.
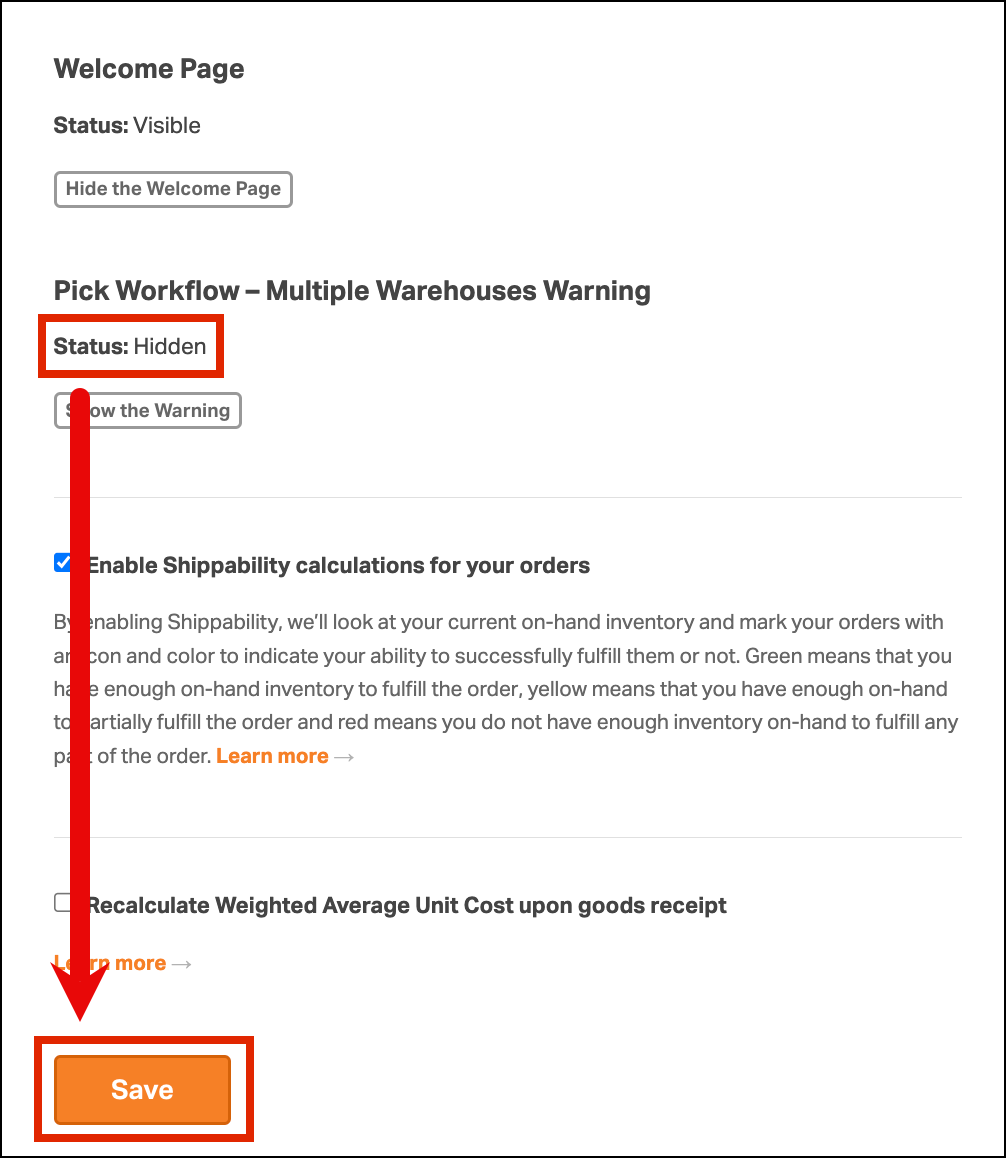
How to permanently hide Multi-Warehouse Picking warning
- Click Your Company Name -> Account Settings.

- Under General Settings, scroll to the Pick Workflow – Multiple Warehouses Warning section.
- Click Hide this Warning.

- Once the status changes to Hidden, click Save.