
Want to take advantage of our barcoding features but have no barcodes on your products? No problem. Creating barcodes in Ordoro is easy.
You can create barcode labels based on values like SKU, UPC, ASIN, or a Custom value. You can also add helpful details to the label, such as the product name, warehouse location, price, and more to make picking, stocking, and organizing inventory easier.
For example, you could print:
- Barcode Value = SKU
- Display Barcode Value = Enabled
- Line 1 = Product Name
- Line 2 = Location in Warehouse
This setup can help warehouse teams quickly identify products and where they belong.
Topics
- Create product barcodes from the Product List page
- Create product barcodes from the Product Detail page
- Things to keep in mind
Create product barcodes from the Product List page
If you want to create barcode labels for one or multiple products at the same time, you can do so from the Product List page.
Step 1: Select your products
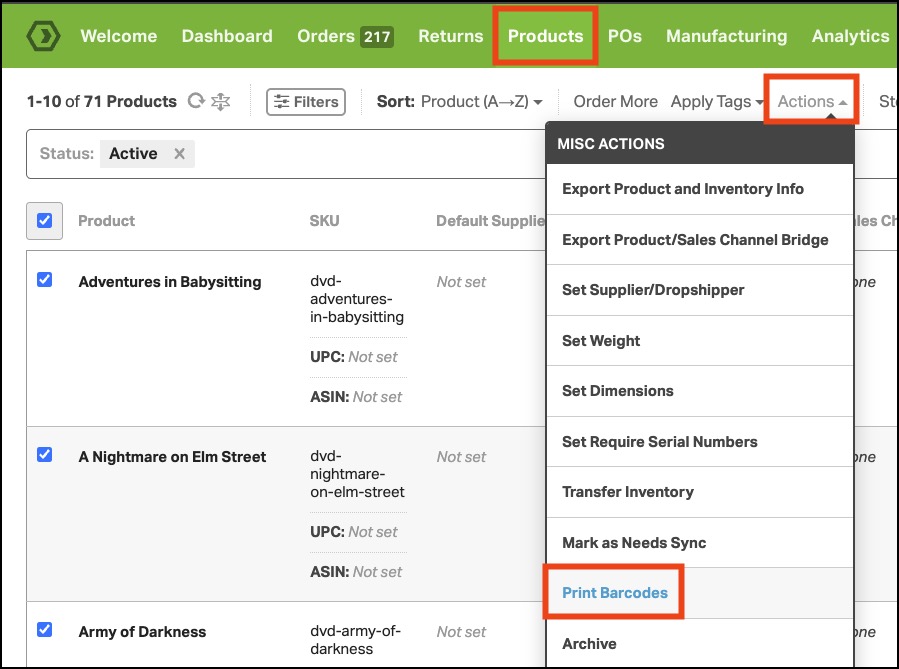
Go to Products and select the checkbox next to one or more products you want to create barcode labels for.
Then click Actions > Print Barcodes.
Step 2: Configure your barcode label
The Print Barcode Label window will open.
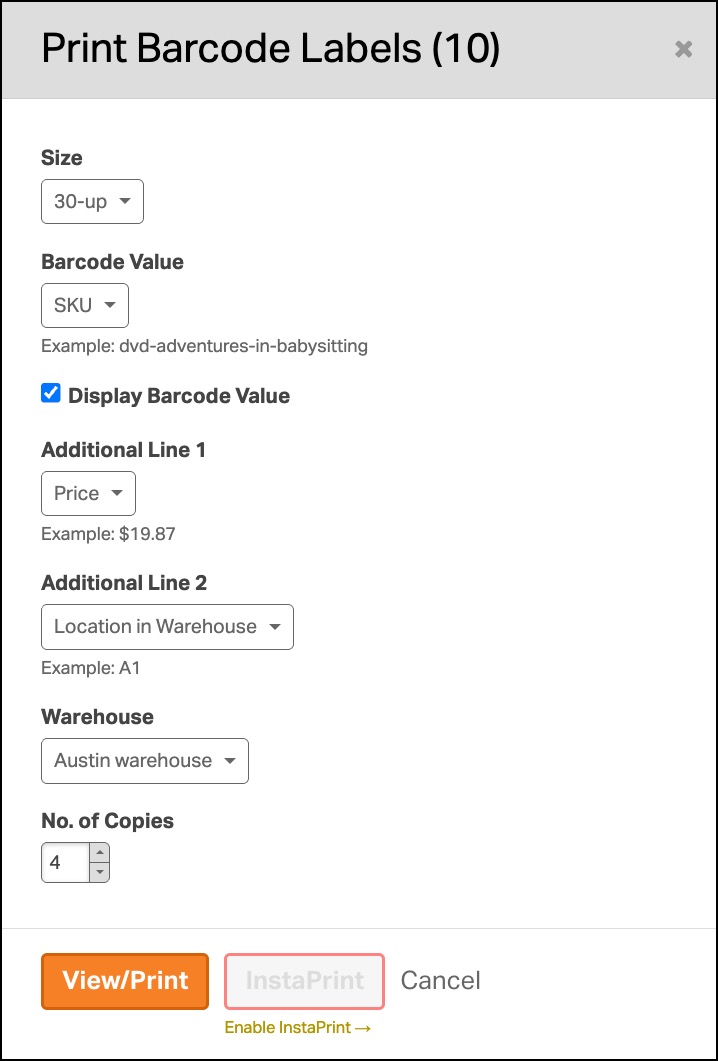
Choose your preferred settings:
Size:
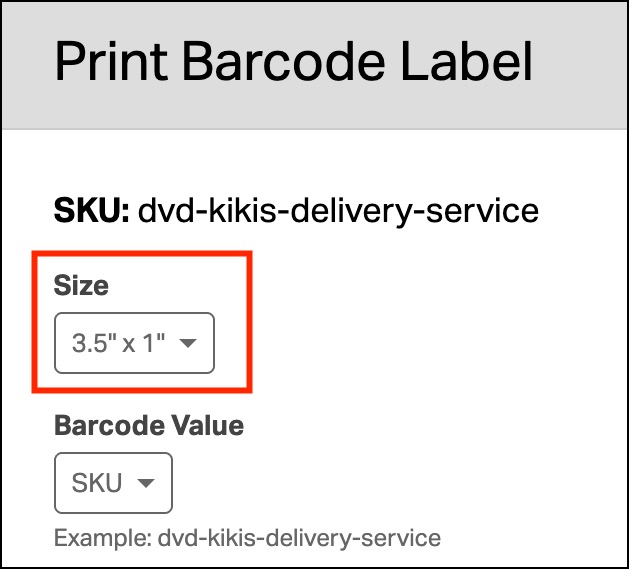
- Select the barcode label size you want to print.
- Available options include:
- 2.5″ x 0.75″
- 3.5″ x 1″
- 3.5″ x 1.125″
- 30-up
- 10-up
- 6-up
Barcode Value:
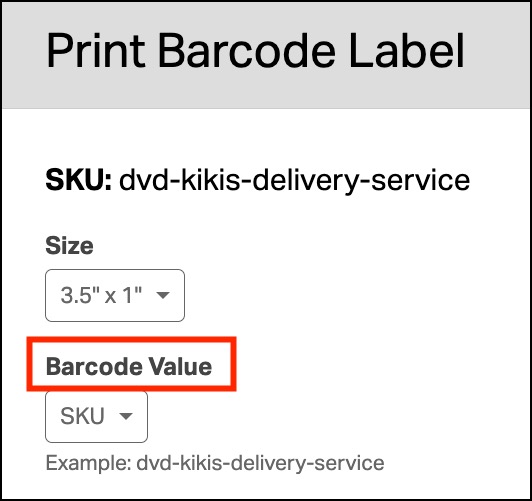
- This controls what value is encoded into the barcode itself.
- For example, if you select SKU, scanning the barcode will reference the product SKU.
- Available options include:
- None
- Name
- SKU
- UPC
- ASIN
- Price
- Cost
- Location in Warehouse
- Low Stock Threshold
- Custom
Display Barcode Value:
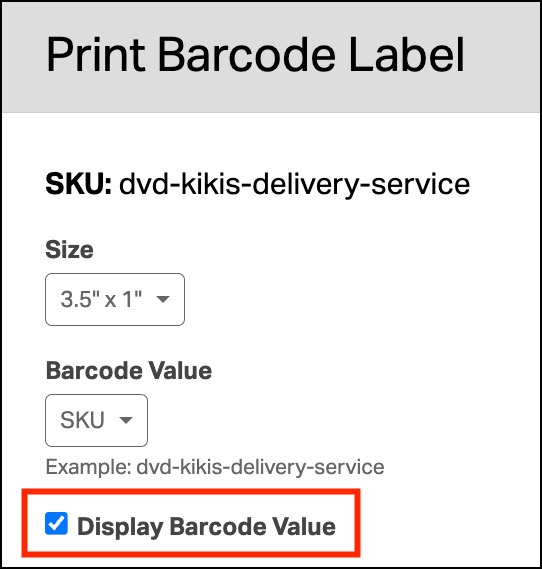
Choose whether to show or hide the human-readable barcode text under the barcode.
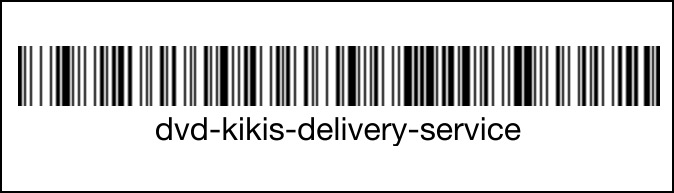
- When enabled:
- Barcode displays
- Barcode text (like “dvd-kikis-delivery-service”) displays underneath
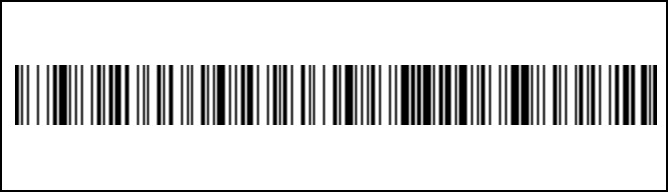
- When disabled:
- Barcode displays
- Barcode text is hidden
- This can be helpful if you want a cleaner label or need more room for additional text.
Additional Line 1 / Line 2
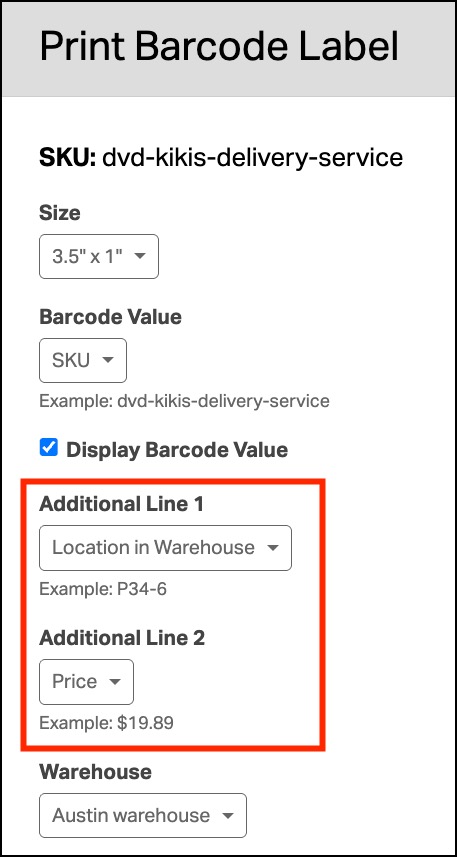
- You can add up to two lines of additional text to barcode labels.
- Available options include:
- None
- Name
- SKU
- UPC
- ASIN
- Price
- Cost
- Location in Warehouse
- Low Stock Threshold
- Custom
- This setup can make it easier for team members to quickly identify products and know where items belong. For example:
- Barcode Value = SKU
- Display Barcode Value = TRUE
- Line 1 = Location in Warehouse
- Line 2 = Price
- Here’s how the 3.5″ x 1″ barcode label would look.

Warehouse
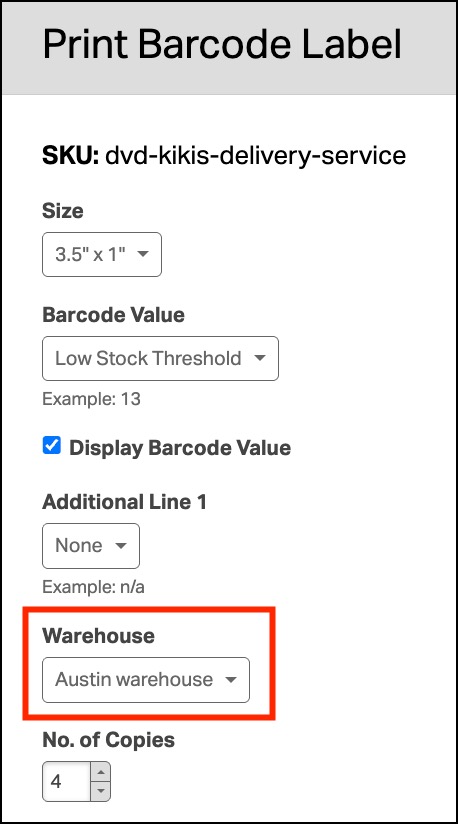
- Choose which warehouse to use for barcode information.
- The Warehouse dropdown displays all warehouses in your Ordoro account. Select the warehouse you want barcode details to reference.
- This is especially helpful when using warehouse-specific values like:
- Location in Warehouse
- Low Stock Threshold
- Custom text tied to a warehouse
No. of Copies
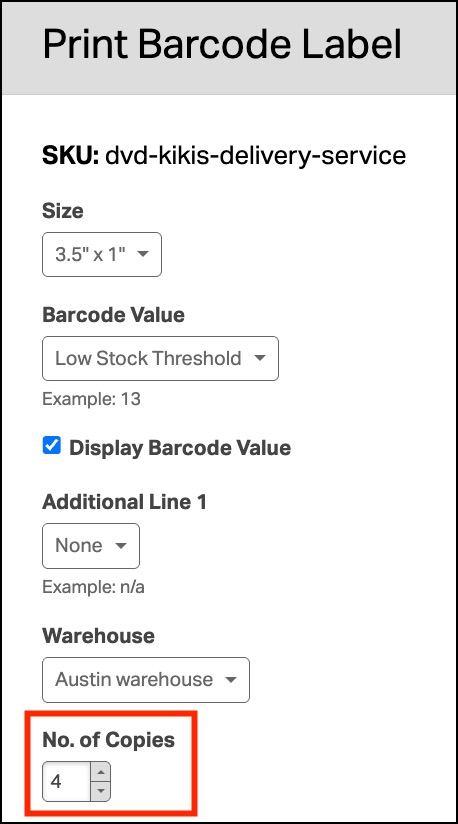
- Choose how many barcode labels to create per product.
- Note: This refers to the number of barcode labels generated, not the number of pages.
Step 3: Generate your barcode labels
Click View/Print to generate your barcode labels.
We recommend reviewing the preview to make sure spacing and information look correct before printing large batches.

Create product barcodes from the Product Detail page
If you only need a barcode for a single product, you can create one directly from the Product Detail page.
Step 1: Open the product
Go to Products and click the product to print a barcode for.
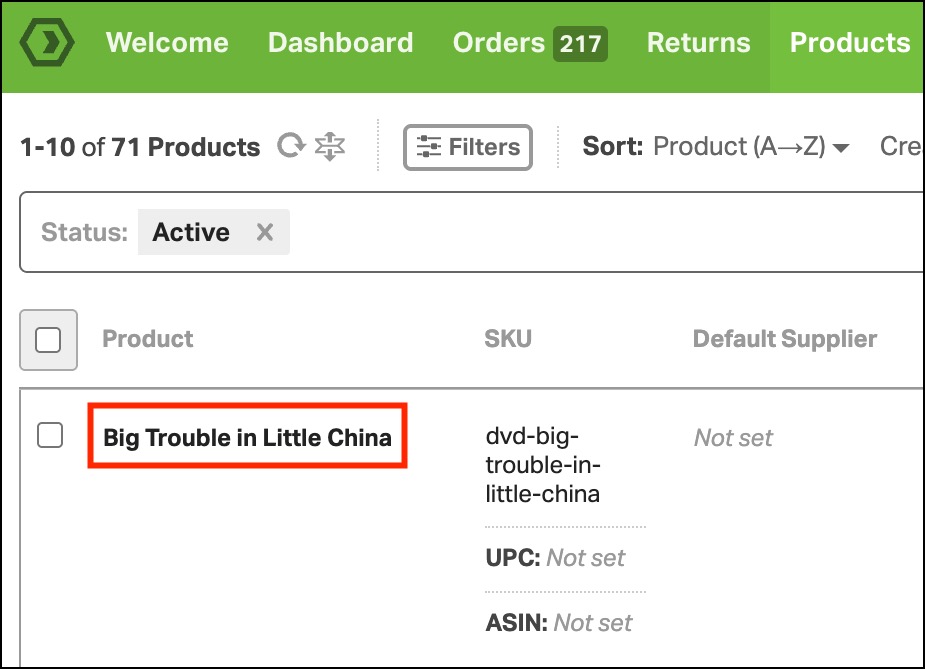
Step 2: Click Print Barcodes
On the Product Details page, click Print Barcodes.

Step 3: Configure your barcode label
The same Print Barcode Label window will open.
Follow the barcode setup steps described in the section above, then click View/Print.
Things to keep in mind
1. Line 2 only appears after Line 1 is selected
- To keep the barcode setup simple, Line 2 will only appear after a value is selected for Line 1.
2. Small label size limitation (2.5″ x 0.75″)
- The 2.5″ x 0.75″ label size is very compact and cannot fit all four barcode elements at the same time:
- Barcode
- Barcode text
- Line 1
- Line 2
- If too much information is selected, Ordoro will display an error and prevent printing until space is freed up.
- “The 2.5″ x 0.75″ size can not fit 3 lines of text….”
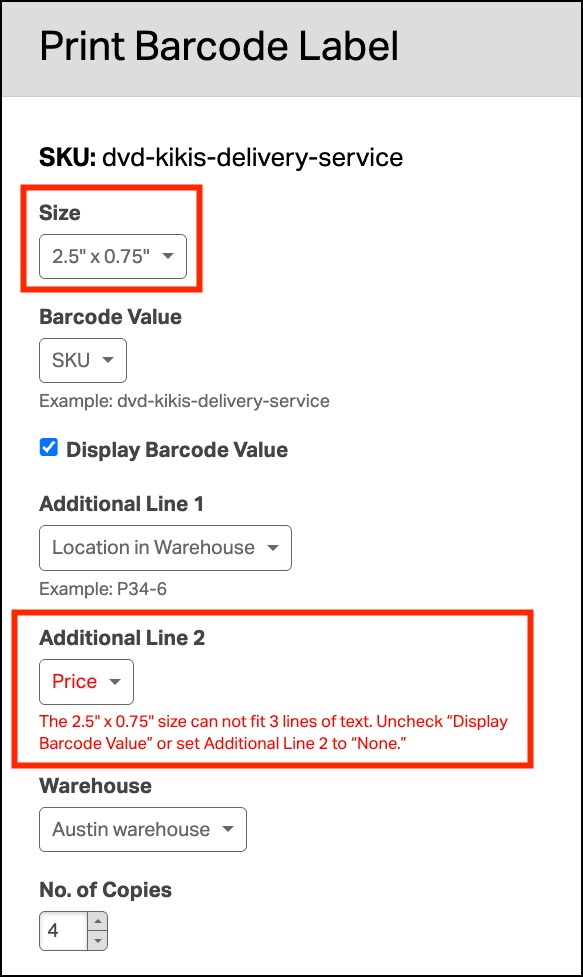
- If this happens, try one of the following:
- Turn off Display Barcode Value
- Remove Line 2
- Select a larger label size
3. Preview before printing
- We recommend reviewing the View/Print preview before printing large batches to ensure spacing and formatting look as you expect.