The Purchase Order export helps you review PO activity, share data with your team, and work with your PO information in Excel or Google Sheets. You can use it to track what you’ve ordered, what has been received, and what is still outstanding.
Ordoro offers two export types: Purchase Order Summary and Purchase Order Detail.
Topics
- When this is helpful
- Export the Purchase Order report
- Choose the report settings
- Download the report
- PO Export Summary / Detail columns
When this is helpful
Use this report when you want to:
- Review open Purchase Orders
- Example: Export all Sent and Partial POs to see what inventory is still on the way.
- Share PO totals with your Finance team
- Example: Export a Summary report for all Received POs from last month.
- Check product-level details
- Example: Export a Detail report to see SKU, ordered quantity, received quantity, and remaining quantity for each PO line.
- Review supplier activity
- Example: Filter by one supplier before a vendor meeting so you can see recent Purchase Orders and totals in one document.
Export the Purchase Order report
- Go to your POs -> Other Actions -> Export PO Info.

- Set your report options.
- Click Export or Schedule.
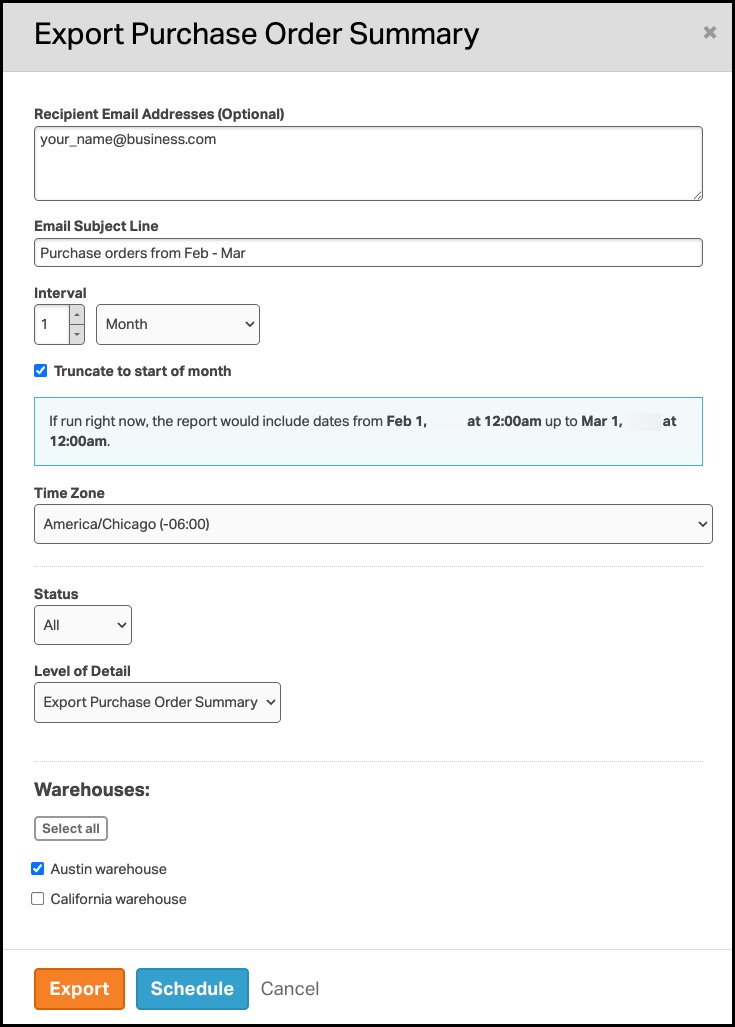
Choose the report settings
When the export window opens, you’ll choose how the report is built.
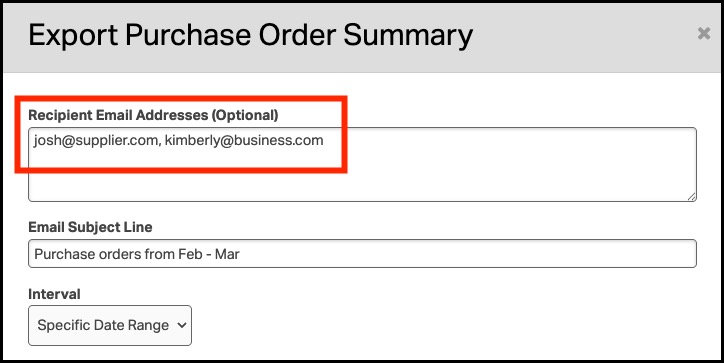
Recipient email addresses
Enter one or more emails to receive the report. Use commas to separate multiple addresses.
Email subject line
Enter the subject line you want for the email.

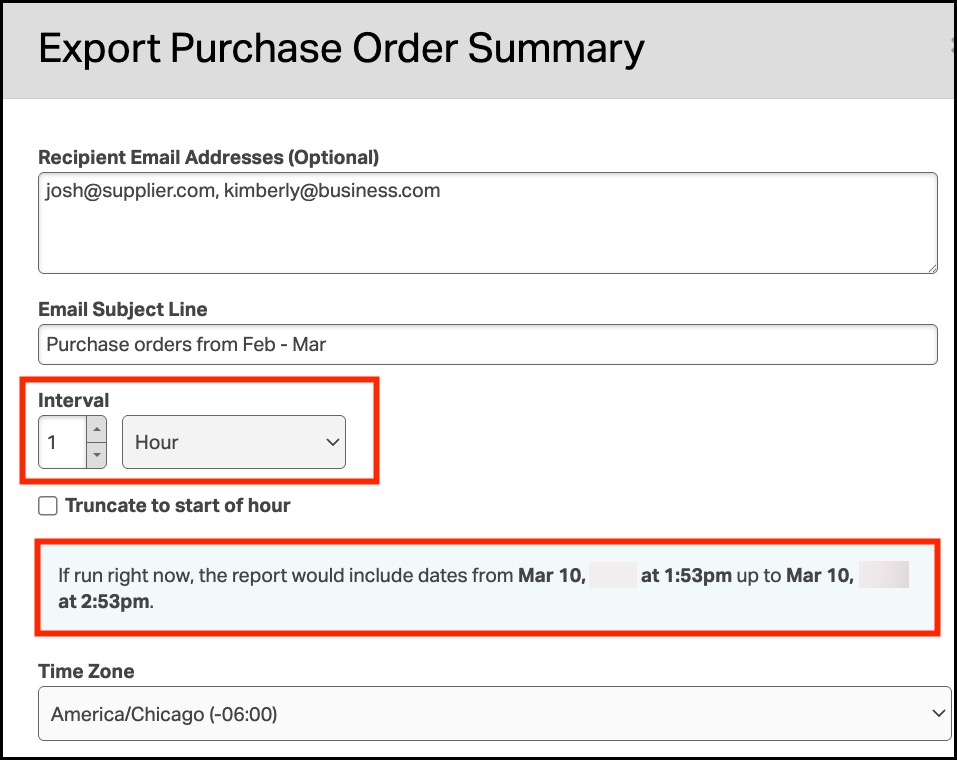
Interval
Choose the time window for the report.
- Specific Date Range: Pick your own start and end dates.
- Example: Last month, last quarter, or a custom promo period.

- Hour, Day, Week, Month: Uses your current time to calculate the range.
- Example: If it’s 1:53 PM and you select Hour, the report returns 1:53 PM to 2:53 PM.
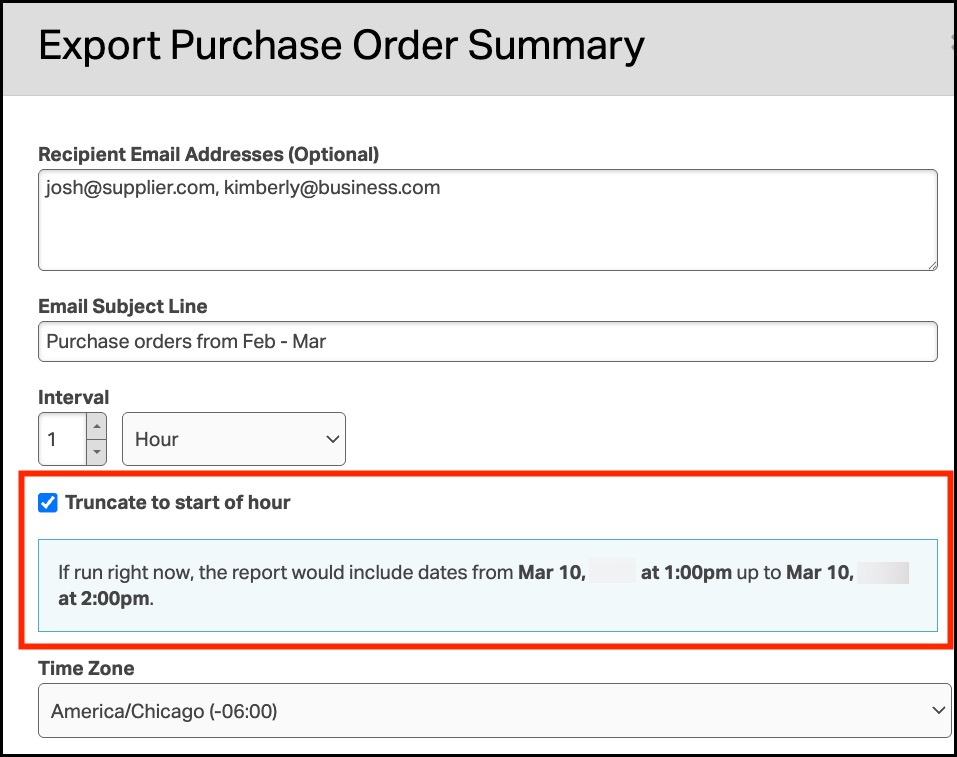
Truncate to start of hour, day, week, or month
Turn this on to get clean time blocks.
- Example: If it’s 1:53 PM and you select Hour with truncate enabled, the report returns 1:00 PM to 2:00 PM
Time zone
Select the time zone you want the report to use for date and time calculations.

Status
Choose which PO status you’d like to filter by: Unsent, Sent, Partial, Received, Cancelled, All
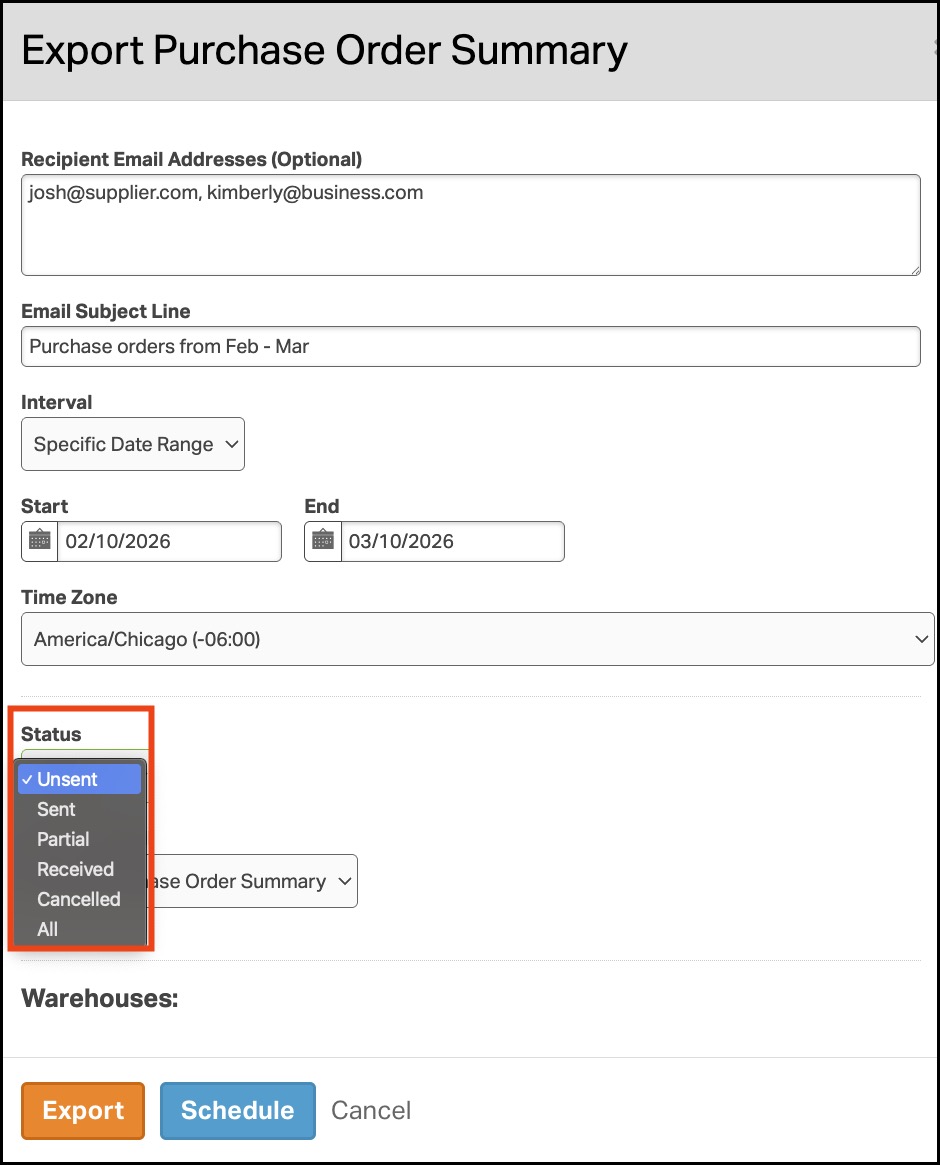
Warehouses
Select all warehouses or choose the one(s) to include in the report.

Download the report
After you export or schedule the report, you can download it from the Reports Activity Log.
- Go to Company Name.
- Click Reports.
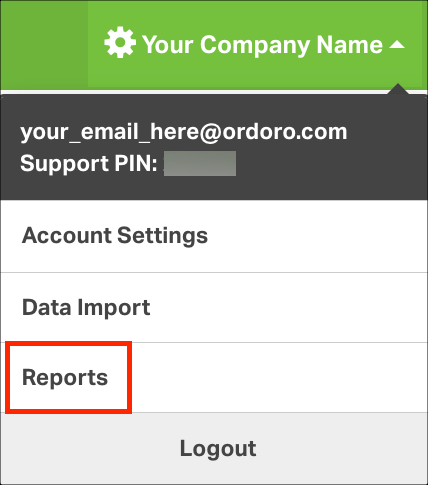
- Select the Activity Log tab.
- Download the CSV file.

PO Export Summary / Detail columns
| Column | Summary | Detail |
|---|---|---|
| PO Number | ✓ | ✓ |
| Supplier Name | ✓ | ✓ |
| PO Created Date | ✓ | ✓ |
| PO Status | ✓ | ✓ |
| PO Sent Date | ✓ | ✓ |
| Number of Lines | ✓ | ✓ |
| Total Price | ✓ | ✓ |
| Product Subtotal | ✓ | ✓ |
| Discount | ✓ | ✓ |
| Shipping + Handling | ✓ | ✓ |
| Tax | ✓ | ✓ |
| PO Shipping Method | ✓ | ✓ |
| PO Estimated Delivery Date | ✓ | ✓ |
| PO Payment Method | ✓ | ✓ |
| Receiving Warehouse | ✓ | ✓ |
| PO Instructions | ✓ | ✓ |
| Product Name | ✓ | |
| SKU | ✓ | |
| Supplier SKU | ✓ | |
| Supplier Lead Time | ✓ | |
| Line Ordered Qty | ✓ | |
| Received Qty | ✓ | |
| Remaining Qty | ✓ | |
| Supplier Unit Cost | ✓ | |
| Total Line Cost | ✓ |