Learn how to create Goods Receipts to increase your inventory and validate product receipts after creating a purchase order (PO). Easily export all Goods Receipts from the POs tab in Ordoro by following the instructions below.
Are you looking to close out your purchase order (PO) and validate that you’ve received all the products you ordered from your supplier? You can easily do so by creating a Goods Receipt, which not only ensures that you have all your items but also helps increase your inventory quantities. To learn how to create a Goods Receipt, check out this article.
Notes:
- The Date Range is when the Goods Receipt was created, not updated.
- The best practice is to create a new Goods Receipt each time you receive items, not to continually update an existing one.
Topics
How to export your Goods Receipts to a CSV file
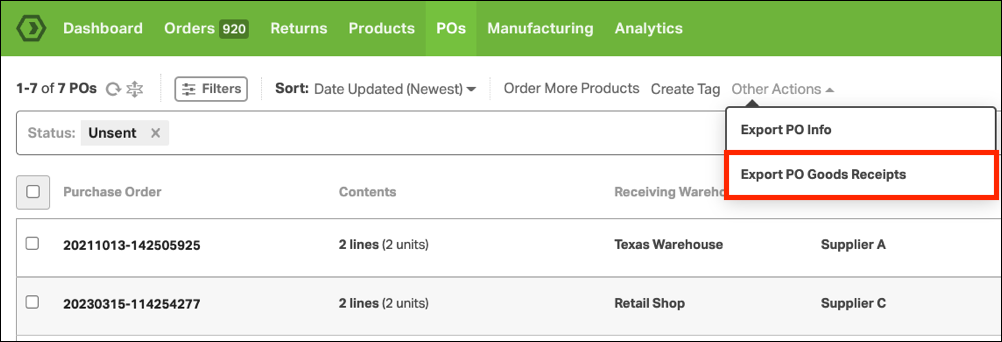
1. Click on the POs tab in the green bar.
2. Select Other Actions -> Export PO Goods Receipts.
3. In the Export PO Goods Receipts modal, choose from the options to customize the export:
- Recipient Email Addresses (optional)
- Interval
- Interval Options:
- Specific Date Range
- Hour
- Day
- Week
- Month
- If you select Hour, Day, Week, or Month – then Ordoro uses your current time to run the report.
- Example: if the current time is 9:18am, selecting “Hour” will return results from 8:18am to 9:18am.
- Truncate to start of hour / day / week / month
- By selecting this option, the report will run from the start of the chosen interval (minute 0) to the end of the same interval (minute 0).
- Example: if the current time is 9:18pm, selecting the truncate option will return results from 8:00am to 9:00am.
- Interval Options:
- Date Range: Based on the Goods Receipt created date.
- Time Zone
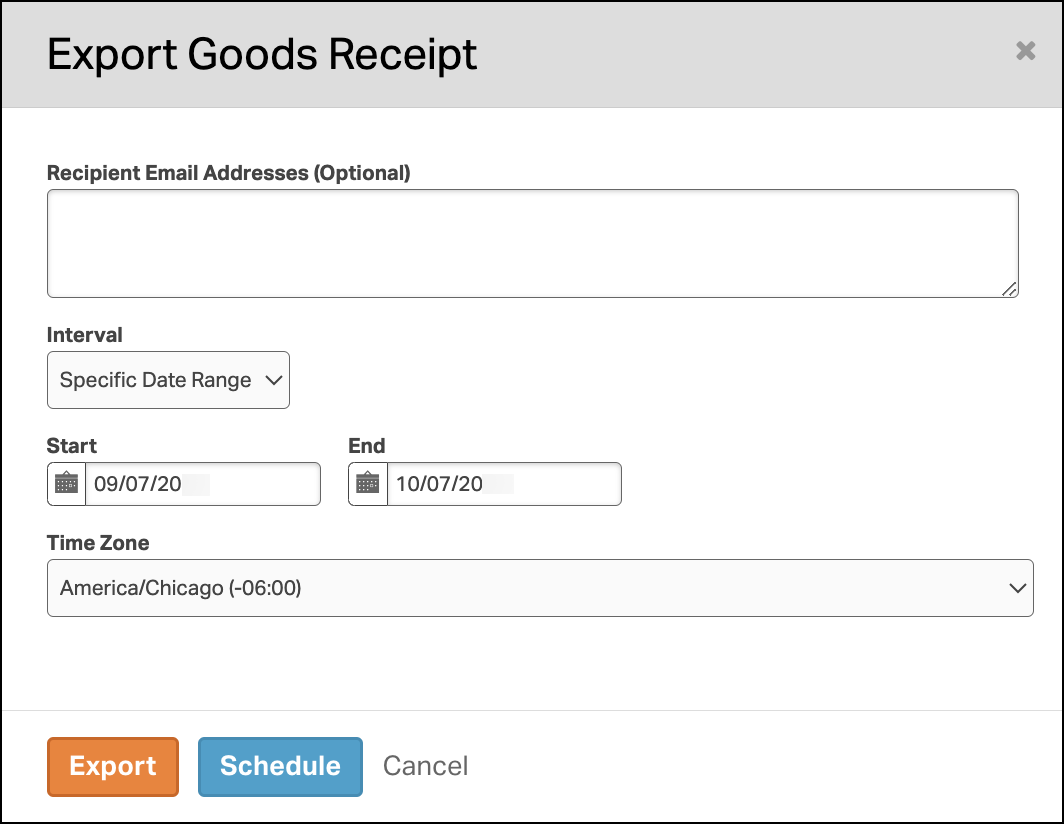
4. Click the Export button to generate the report. You can also Schedule the export to generate reports automatically at specific intervals, whether it’s hourly, daily, weekly, or monthly. See our support article for more information about scheduling reports.
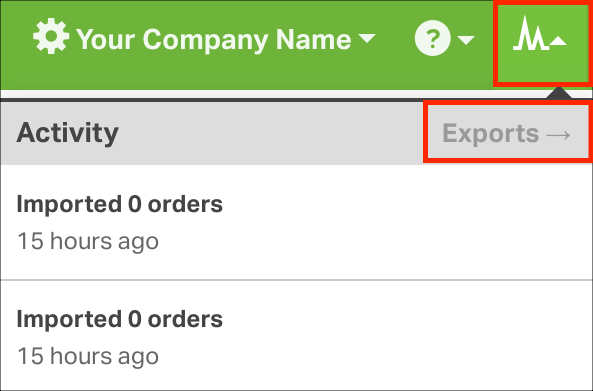
5. Once the report is complete, it is available in the Activity Menu -> Exports.
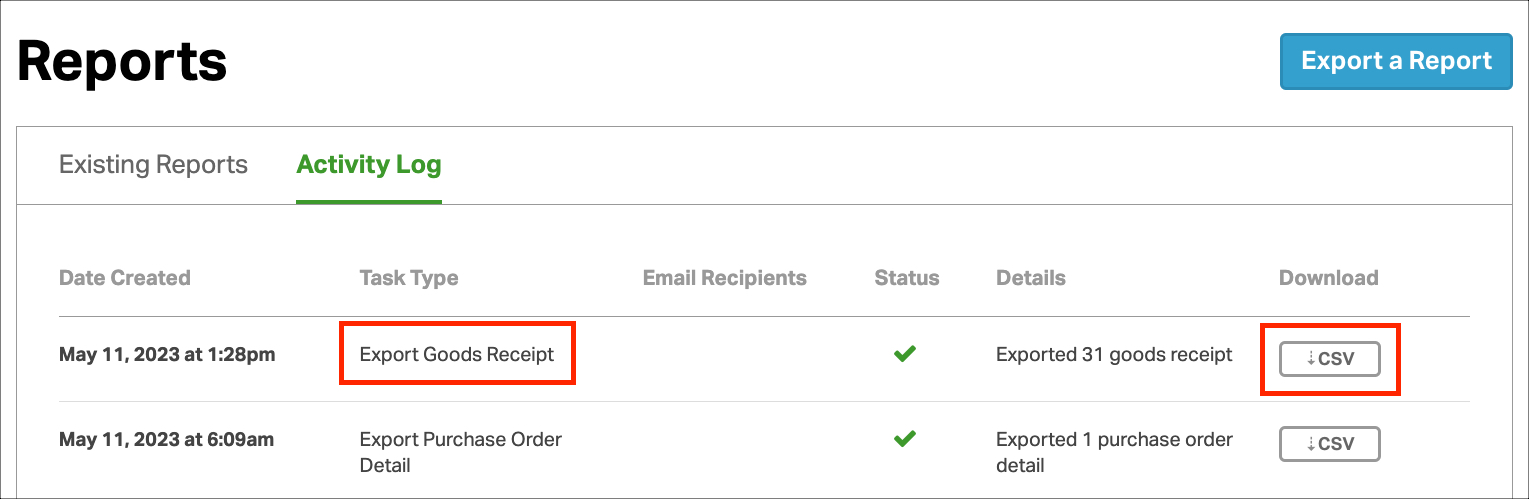
6. Click the CSV button. The file will automatically download to your computer.
What columns are in the Goods Receipt export?
- PO Number
- Supplier Name
- PO Created Date
- PO Status
- PO Sent Date
- Goods Receipt Number
- Goods Receipt Date
- Number of Lines
- Receiving Warehouse
- PO Instructions
- Product Name
- SKU
- Supplier SKU
- Location in Warehouse
- Line Ordered Qty
- Line Received Qty