When adding tracking to an order in Ordoro, you can use a custom carrier by entering your own carrier name. This is useful when shipping with a carrier that’s not listed in our default options.
When saved, the tracking will only remain in Ordoro and will not sync back to your sales channels. This feature will be added in a future iteration. Please contact support@ordoro.com if you’d like to be notified when this is available.
Topics
Adding Tracking on a Single Order
You can add tracking to an individual order from either the Order List or Order Detail page.
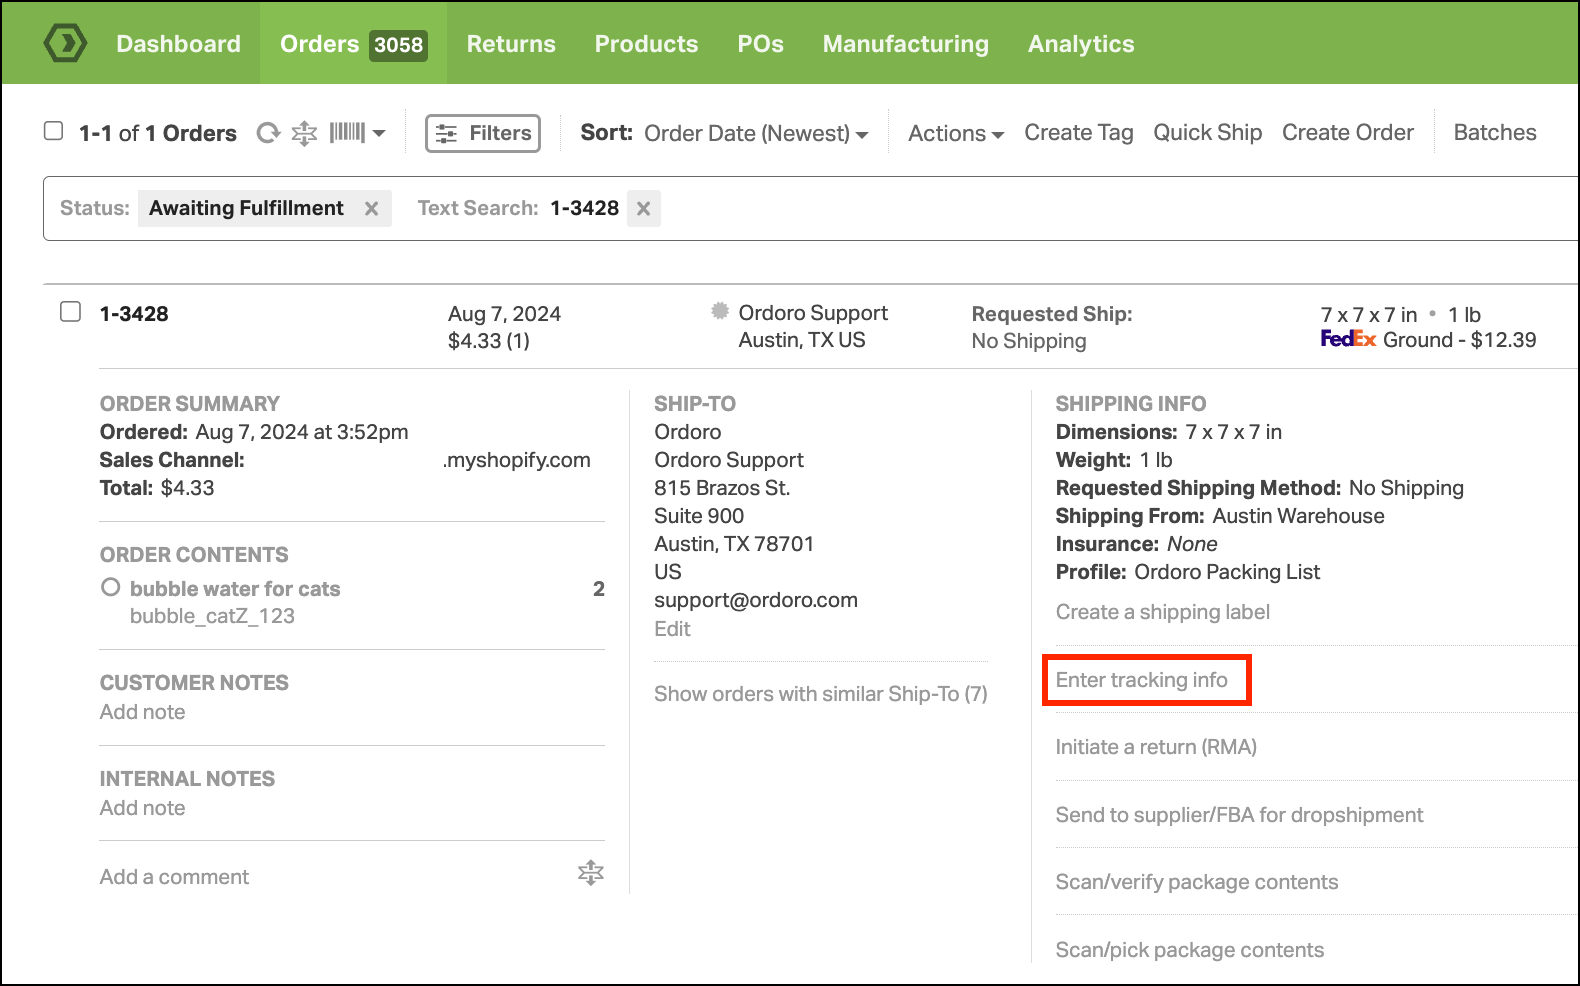
Order List page
Order Detail page
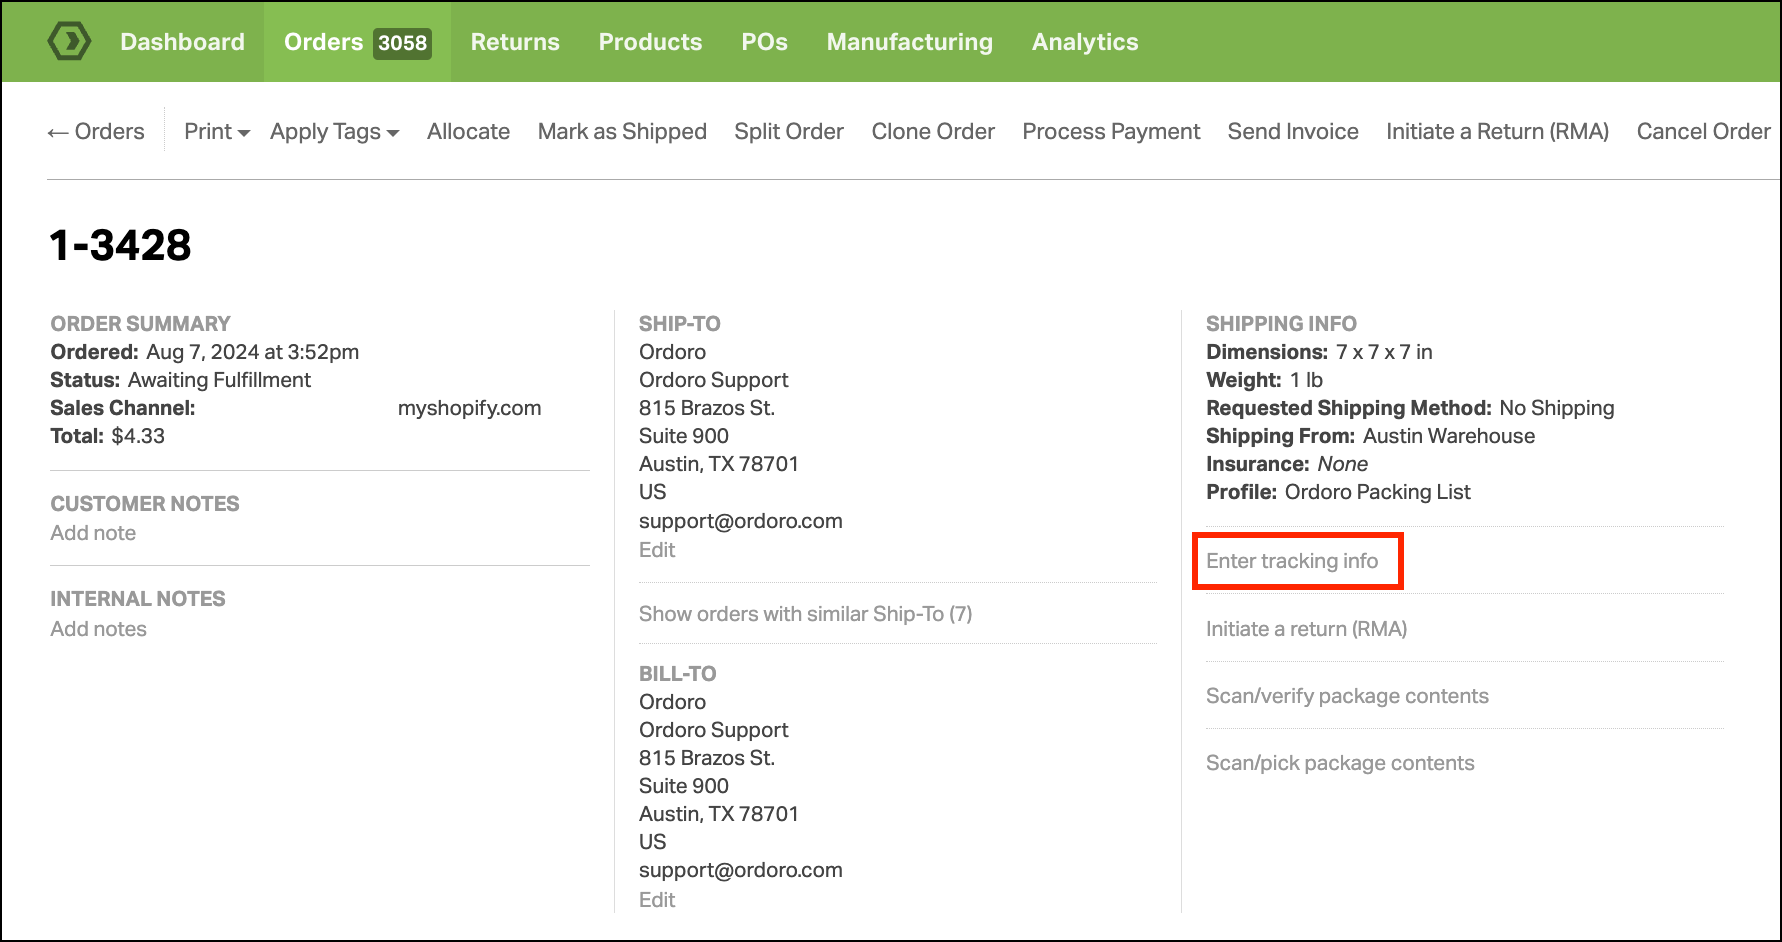
- Open the order and click Enter Tracking Info.
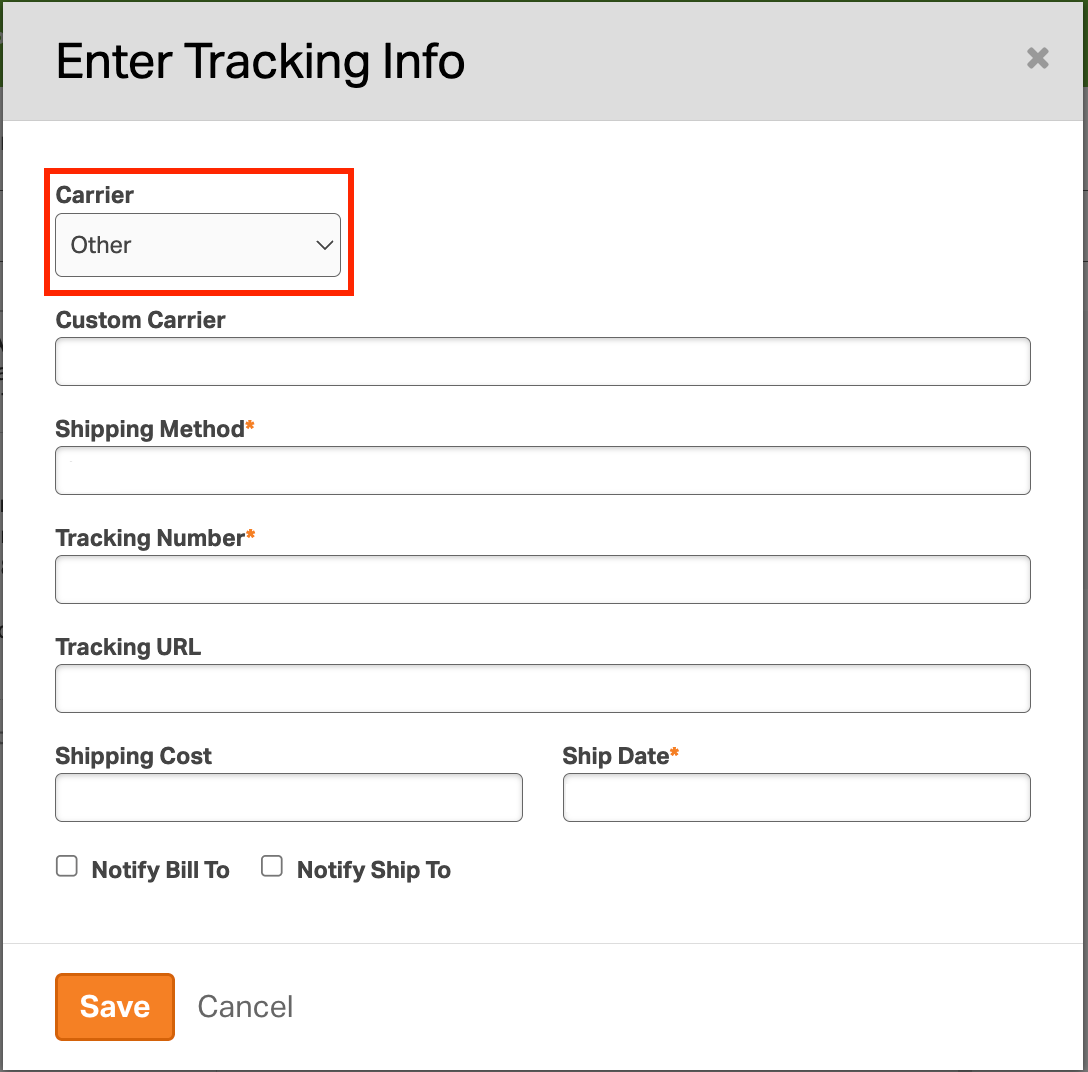
- In the Carrier dropdown, select Other.
- A Custom Carrier field will appear. Enter the name of your carrier.
- Fill in the required fields:
- Shipping Method
- Tracking Number
- Ship Date
- (Optional) Add a Tracking URL and Shipping Cost.
- Click Save to finish.
Add Tracking in Bulk via the Data Import Tool
To update multiple orders with tracking using a custom carrier:
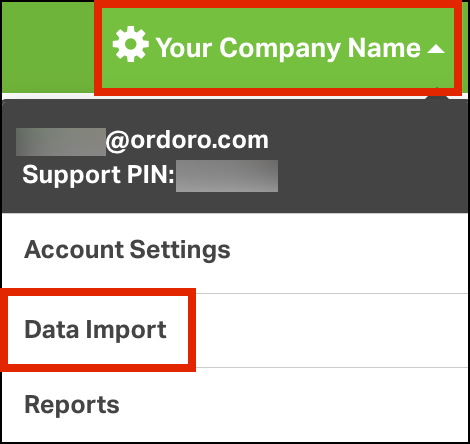
- Go to Settings in the upper-right corner of your account.
- Select Data Import from the dropdown.
- Choose Create Tracking Numbers and click Download the example file.
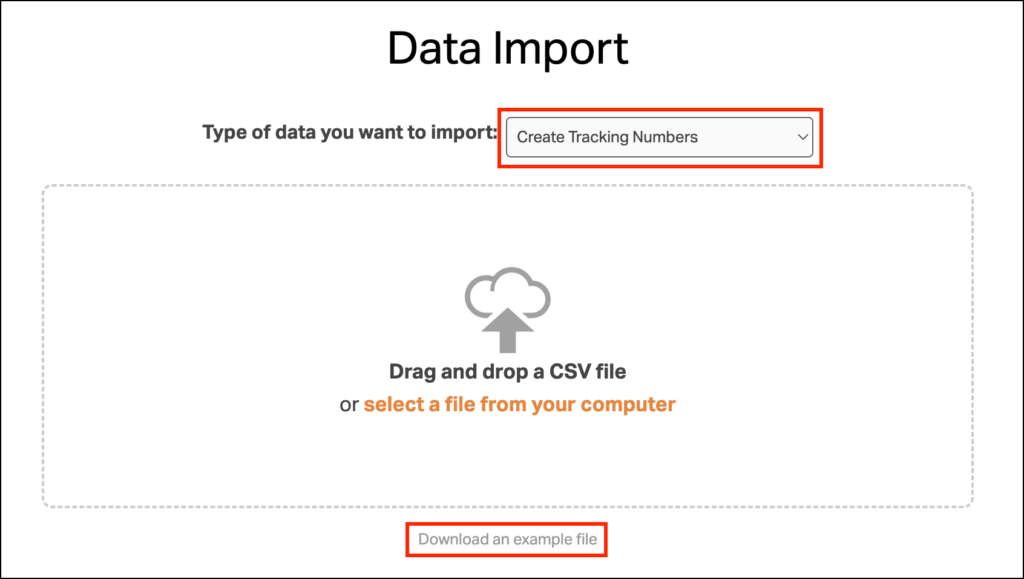
- Open the file and enter your tracking details.
- Include your custom carrier name in the Carrier Name column.
- Make sure the format matches the example template.
- For more tips on uploading tracking via Data Import, see this guide (link to related article).
- Save the file as a .csv.
- Return to the Data Import page and upload your completed file.
