Serial numbers help manage when a product was created or manufactured. This can be used when customers need to replace or repair an item.
You can track serial numbers in Ordoro (see this support article) by saving this information per product. There’s also the ability to scan the serial numbers during the pick/pack process. This will save the serial number(s) per order. See below for details.
Topics
How to enable serial number scanning
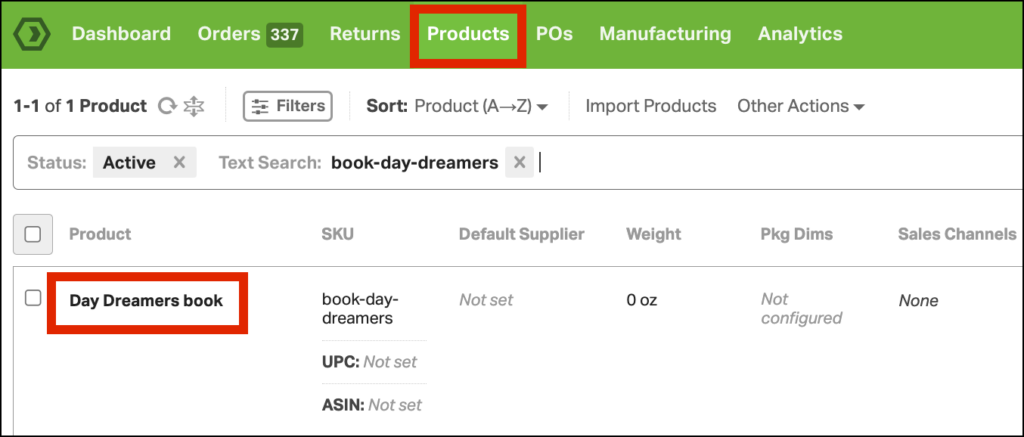
1. Go to the Products tab, search for the SKU you want to edit, and click the Product Name.
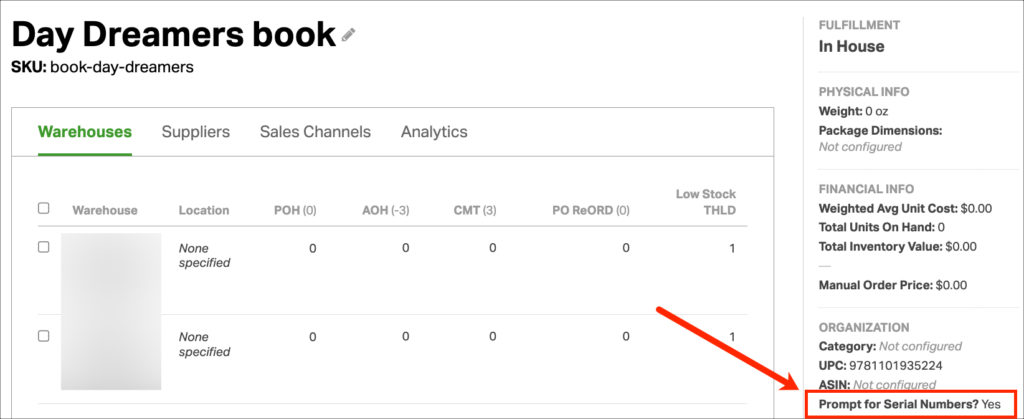
2. Under the Organization section, find Prompt for Serial Numbers?
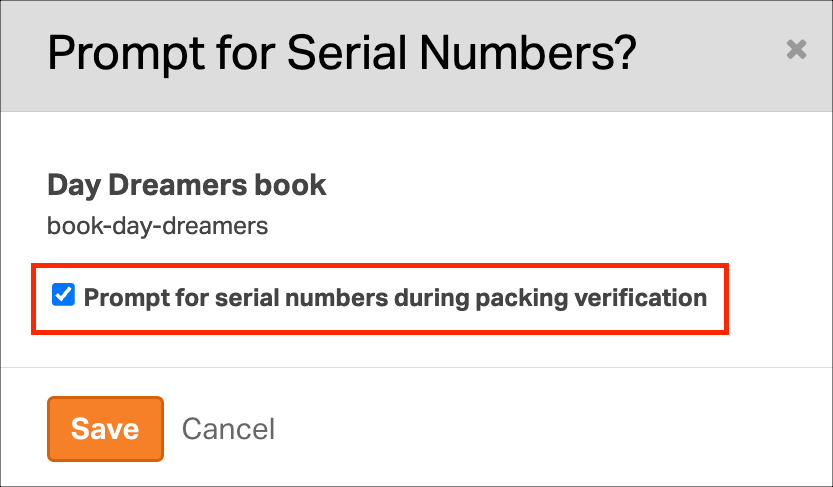
3. Click Yes/No to update this setting. A modal will open. Update your preference and click Save.
How to scan the serial number during the pick/pack process
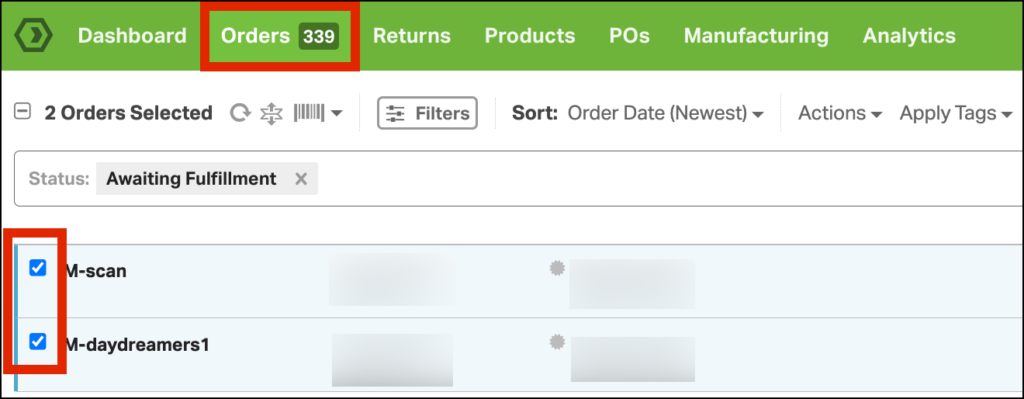
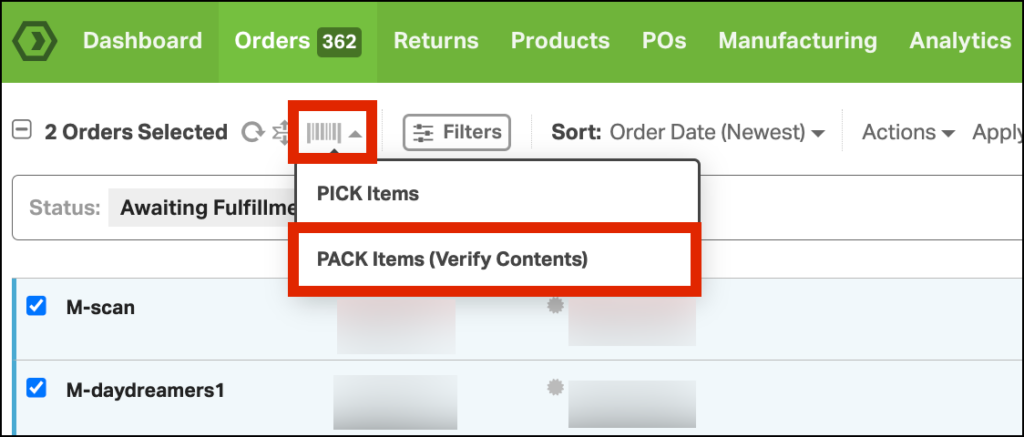
1. Go to the Orders tab and select the orders to verify and enter serial numbers.
2. In the barcode dropdown, select PACK Items (Verify Contents).
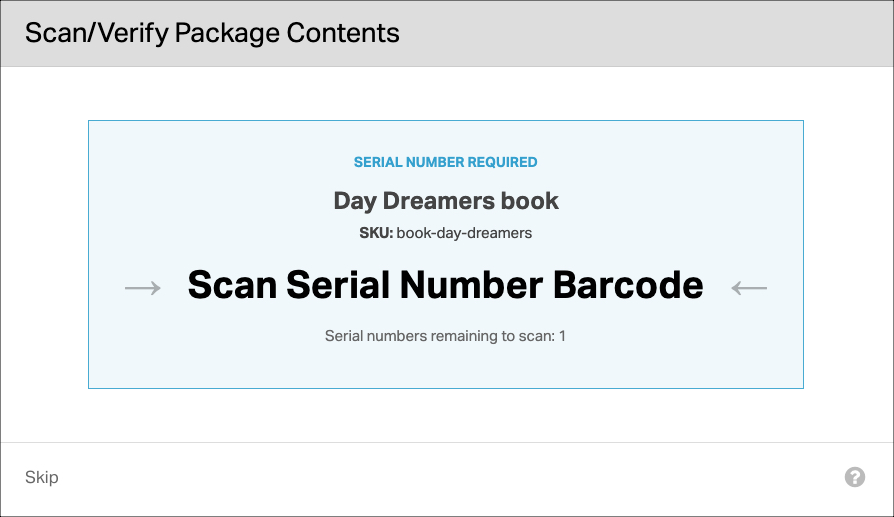
3. Once you scan the UPC/SKU, you’ll be shown an additional prompt to scan the product’s serial number.
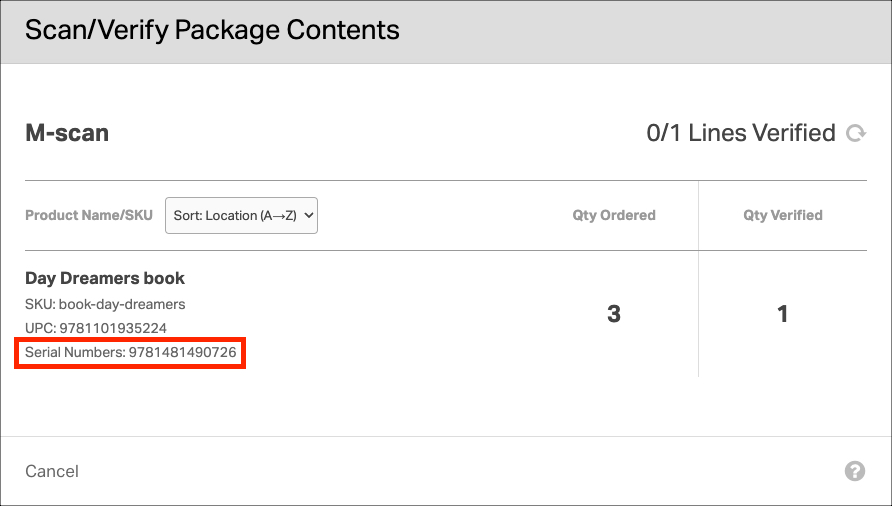
4. Once you scan the Serial Number Barcode, it will save for that order line item.
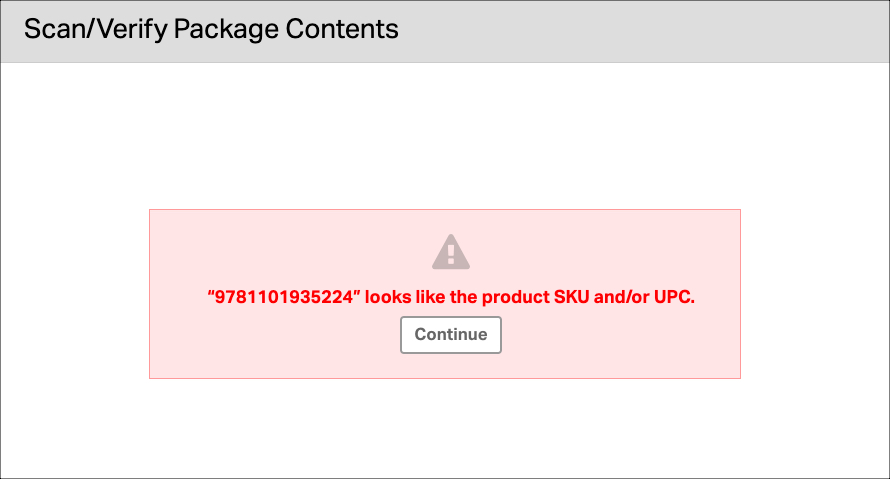
5. Potential errors:
- An error message appears if you scan the UPC/SKU as the serial number.
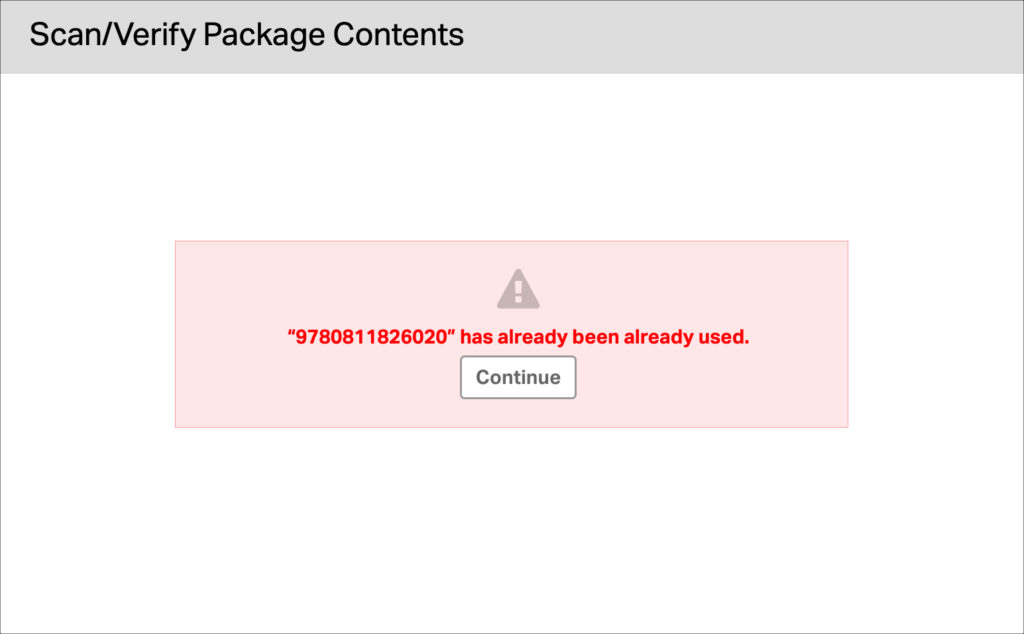
- An error message appears if you scan the same serial number again.
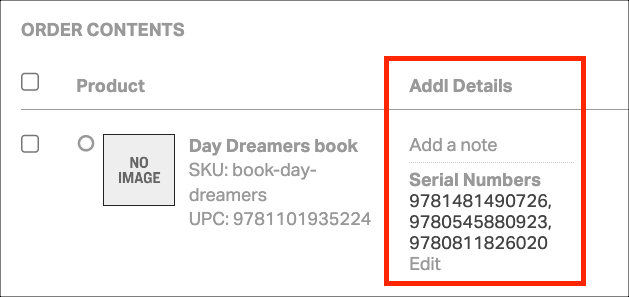
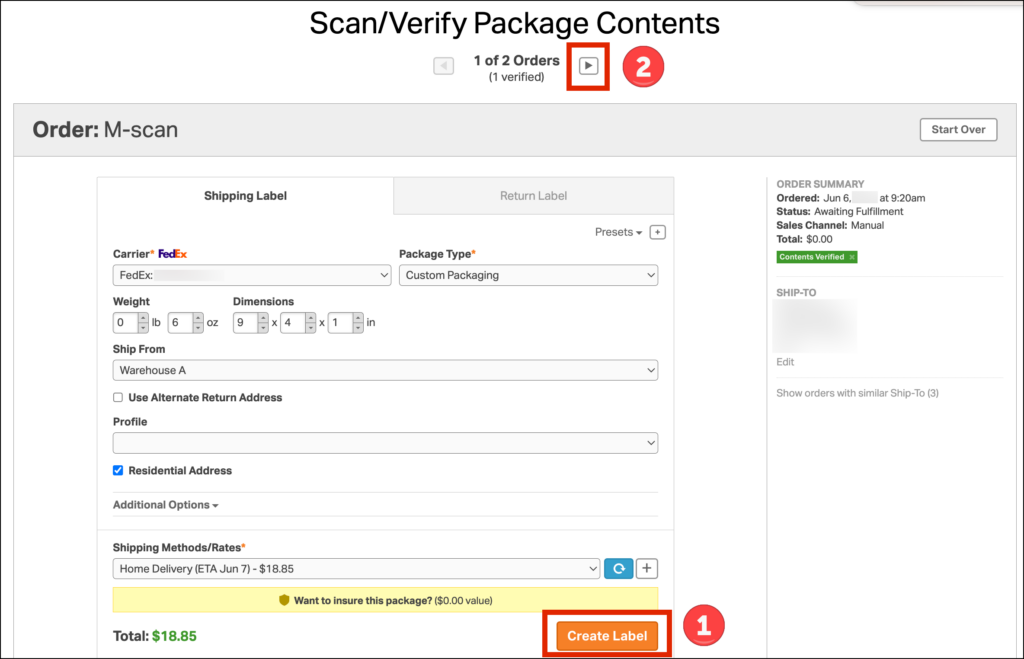
5. Once you finish scanning all the items/serial numbers, the order will be tagged as Contents Verified, and the serial numbers will be saved in the Additional Details section.
6. You can create the Shipping Label from here, then move on to your next order to scan/verify.

