
Shipping Presets help you save time by storing shipping settings you use regularly. Instead of entering the same carrier, service, package details, or other shipping options each time you create a label, you can save those settings as a preset and apply them when needed.
For example, you might create presets for:
- USPS shipments using your most common package size
- FedEx orders over a certain weight
- UPS shipments that require a specific service
- Orders that need signature confirmation or other carrier options
You can manage your Shipping Presets from Settings > Presets and apply them to orders from the Label Panel.
Topics:
- Create a preset
- Find a preset
- Edit a preset
- Delete a preset
- Apply a preset to an order
- Apply a preset to multiple orders
- Automatically apply presets with rules
- Preset FAQ
Create a preset
You can create and manage presets from Settings > Presets.
- Go to Settings > Presets.
- Click Create a Preset.

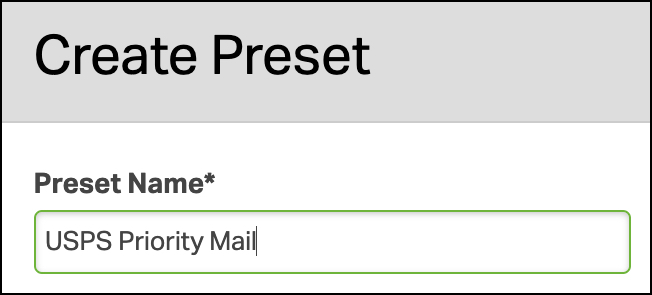
- Enter a Preset Name that will make it easy to identify later.
- Select the shipping settings you want the preset to apply.
- Click Save.

How preset options work
Each option has its own toggle. This is helpful when you only want a preset to control certain shipping settings.
- Blue: The setting is included in the preset and will be applied to the order.
- Grey: The setting is not included in the preset and will not change the order when the preset is applied.
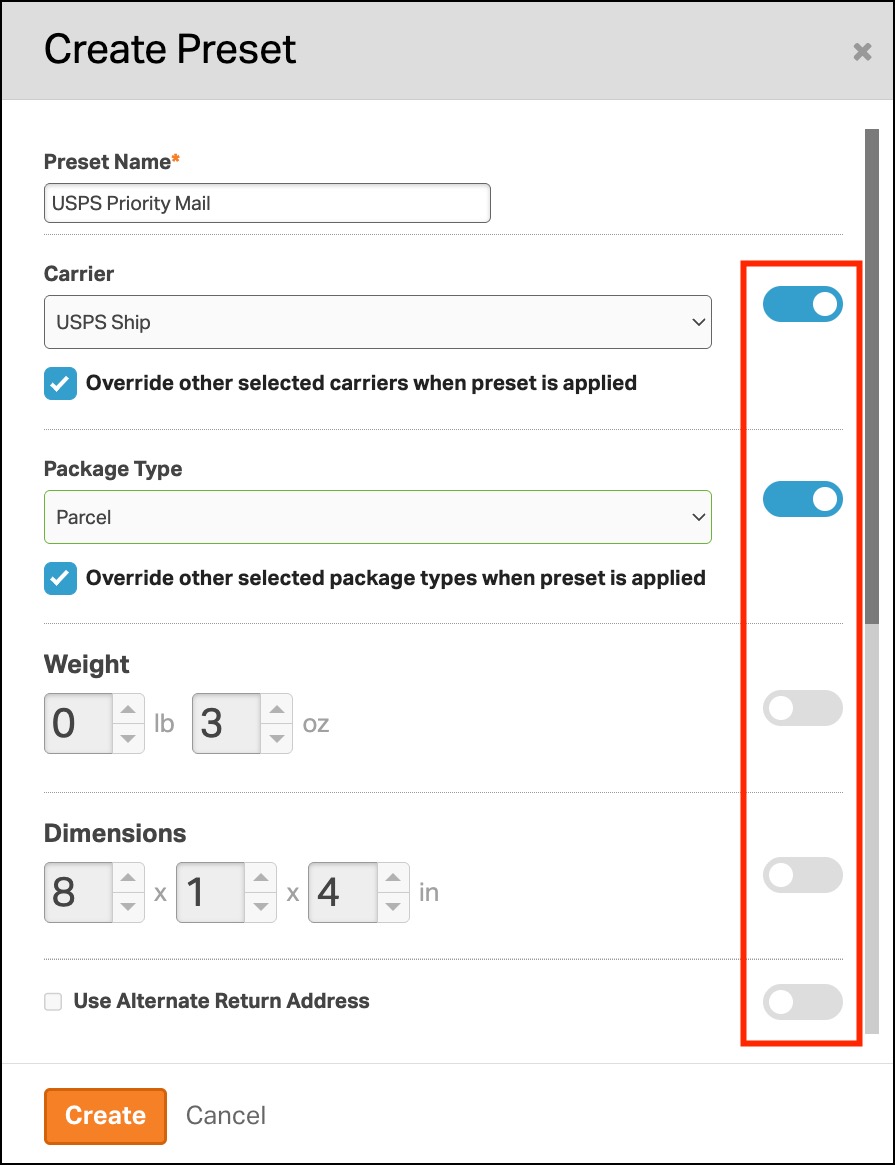
For example, you could create a preset that only sets the package dimensions without changing the carrier or shipping method already selected on the order.
Carrier-specific options
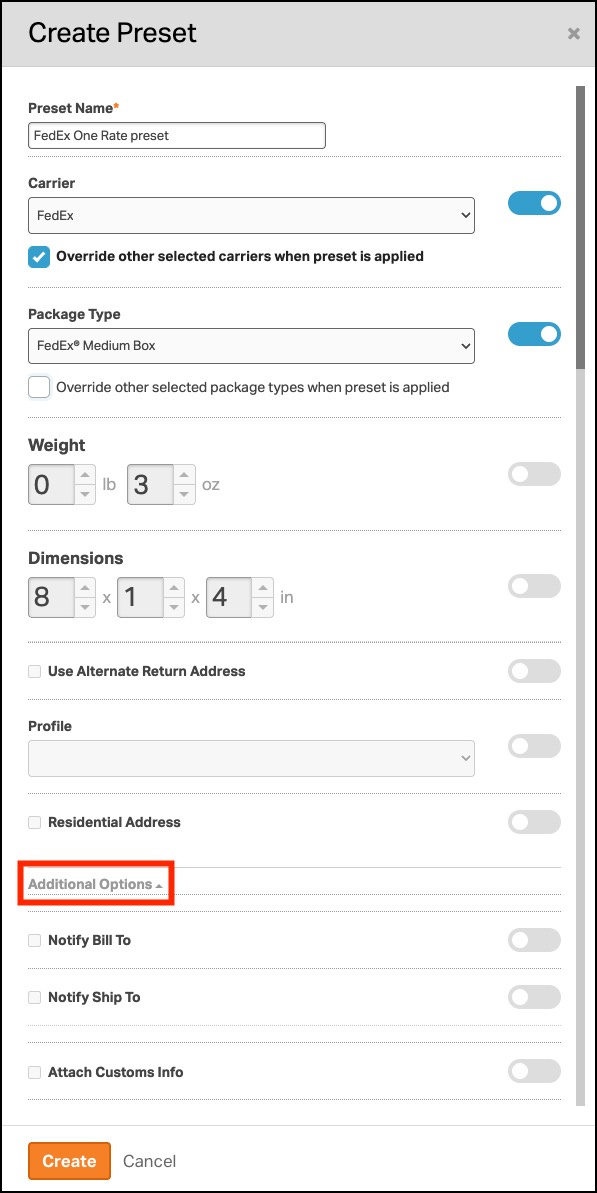
Some Additional Options are only available after selecting a carrier.
For example, you may need to enable Carrier: FedEx before FedEx-specific options (like One Rate) become available.
Find a preset
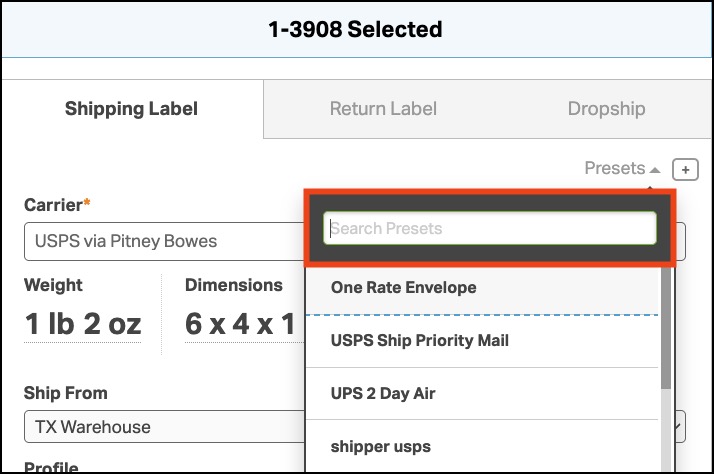
If you have several presets, use the search field to quickly find the one you need.
From Settings
- Go to Settings > Presets.
- Enter part or all of the preset name in the search field.
- Matching presets will appear as you type.

You can also search for presets from the Label Panel when applying one to an order.
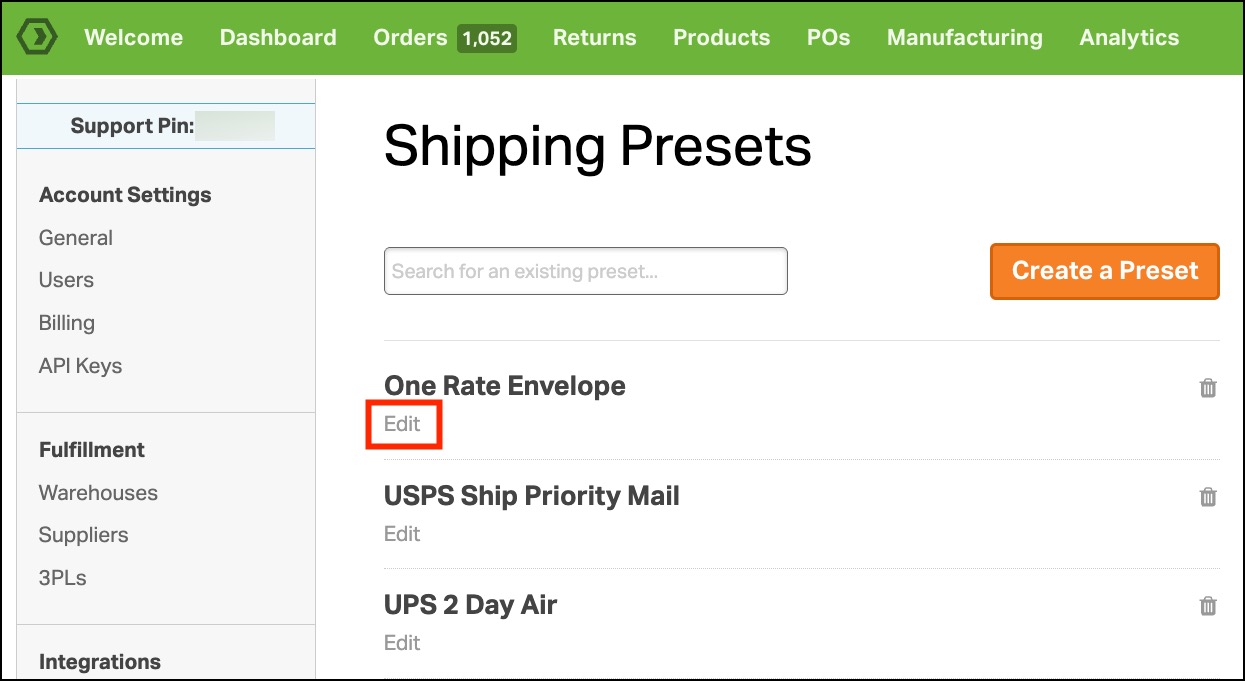
Edit a preset
Editing a preset changes the settings used the next time you apply it.
- Go to Settings > Presets.
- Find the preset you want to change.
- Click Edit.
- Update the preset name, shipping settings, or enabled options as needed.
- Click Save.
Editing a preset does not automatically update orders where the preset was previously applied. The updated settings are used the next time the preset is applied.
Delete a preset
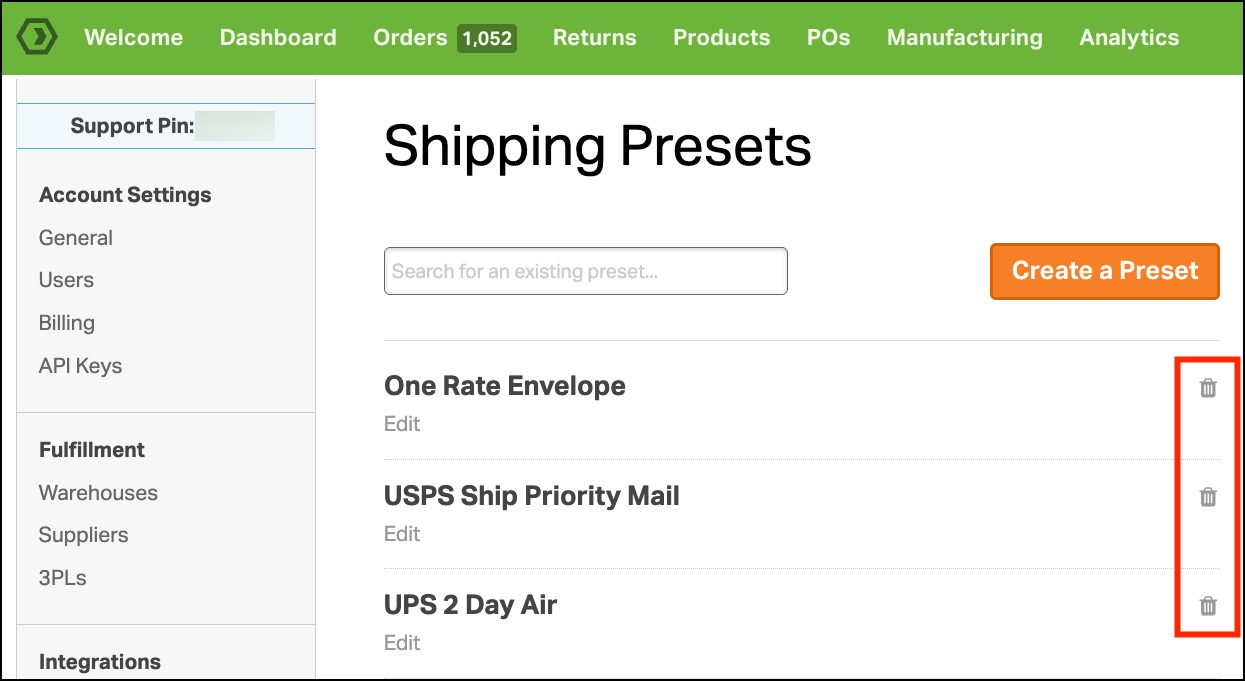
You can delete presets you no longer need.
- Go to Settings > Presets.
- Find the preset you want to remove.
- Click the Trash can icon.
- Confirm the deletion.
What if the preset is used by an automation rule?
A preset cannot be deleted while it is associated with a rule. If you try, Ordoro will display an error showing the preset is still in use.

To delete it:
- Go to Settings > Rules.
- Find the rule using the preset.
- Either:
- Delete the rule, or
- Edit the rule to use a different preset.
- Return to Settings > Presets and delete the preset.
Apply a preset to an order
Presets are managed in Settings but applied to orders from the Label Panel.
To apply a preset to one order:
- Select an unshipped order to open the Label Panel.
- Click Presets in the upper-right corner.
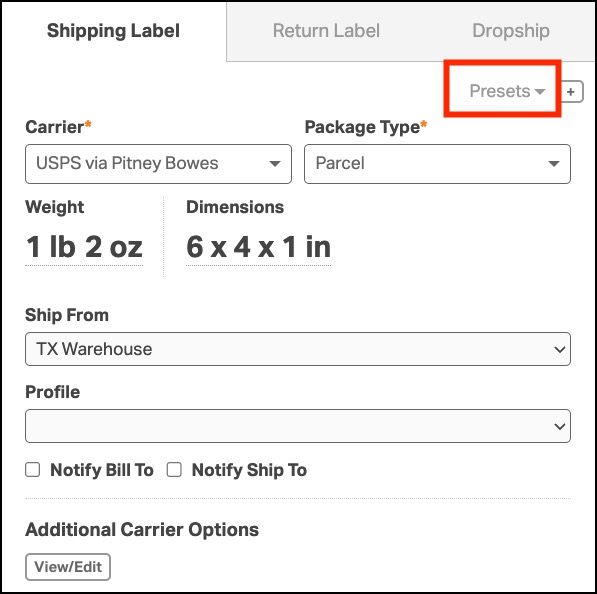
- Select the preset you want to use.
- The enabled settings from the preset are applied to the order.
- You can review or adjust the shipping information before creating the label.

Apply a preset to multiple orders
You can also use presets to update several orders at once.
- Select the unshipped orders you want to update.
- In the Bulk Update Options Label Panel, select Presets.
- Choose the preset you want to apply.
- Click Update Orders.
- The enabled settings from the preset will be applied to the selected orders.
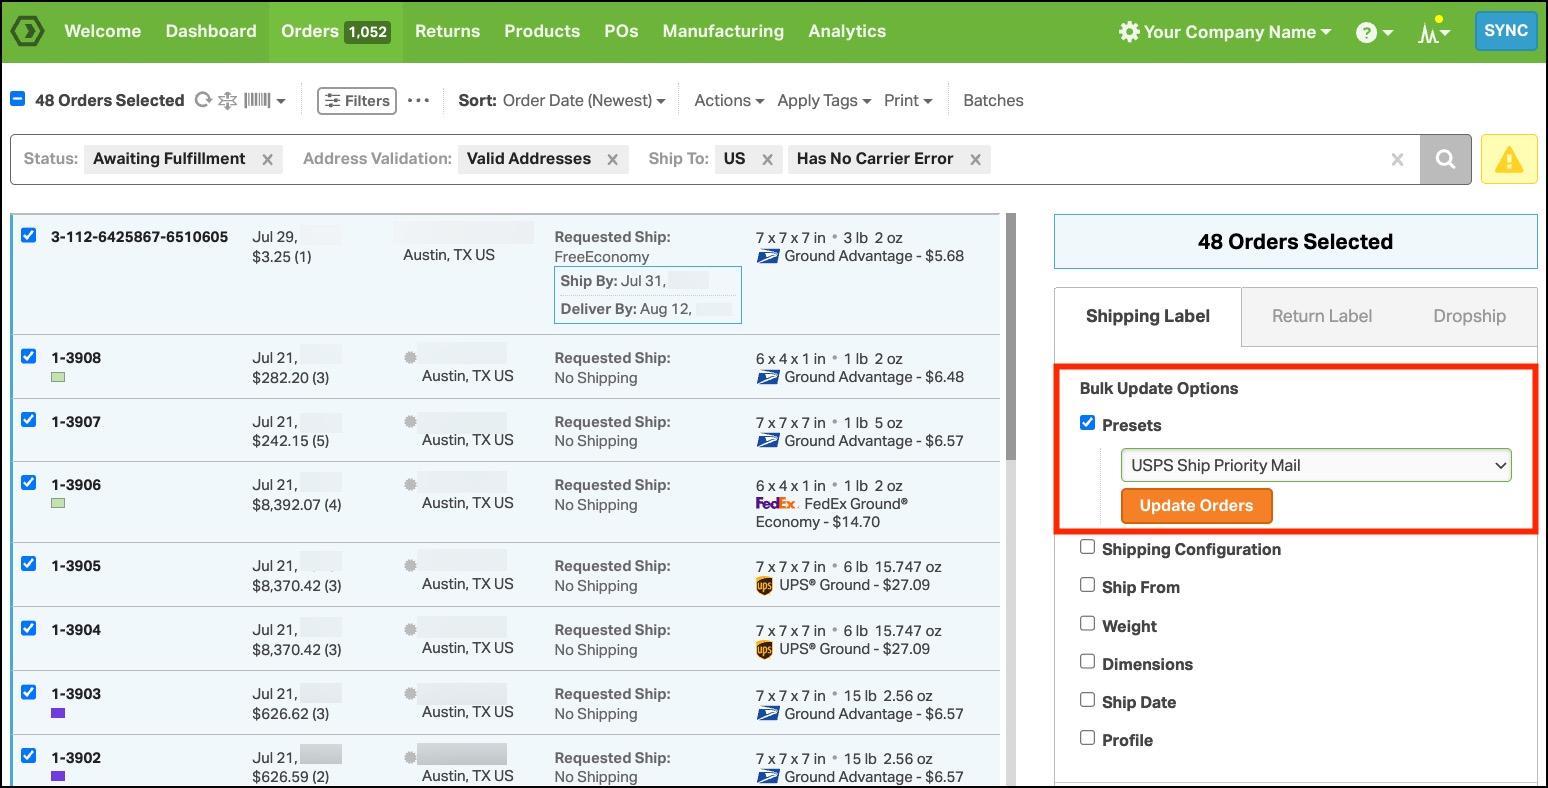
Before applying a preset in bulk, make sure its settings are appropriate for all selected orders, especially package dimensions, weight, carrier, and shipping service.
Automatically apply presets with rules
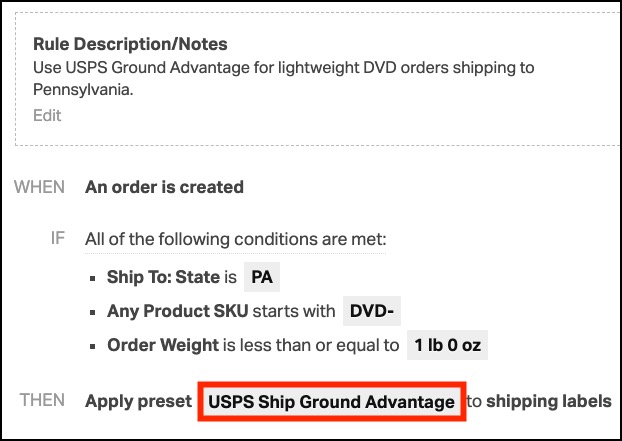
If you regularly use the same shipping settings for certain types of orders, you can set up a rule to automatically apply a preset when orders import.
For example, you might create a rule that applies a specific preset when:
- An order contains a particular product
- An order is shipping to a certain destination
- An order meets a weight or shipping criteria
- An order comes from a specific sales channel
To set this up:
- Create your preset.
- Create an automation rule and select the preset as one of the rule’s actions.
- Follow the instructions in How to set up automation rules in Ordoro.
Once enabled, qualifying orders can have the preset applied automatically when they import.
Preset FAQ
Is there a limit to how many presets I can create?
No. You can create as many presets as you need.
We recommend using clear, descriptive names so they are easy to identify when shipping.
For example:
- USPS Ground Advantage – Small Box
- UPS Ground – Signature
- FedEx 2Day – Large Package
Can I apply more than one preset to an order?
Yes. Each preset only changes the settings it includes. If two presets change the same setting, the last preset applied will be used.
For example:
- You apply a preset that sets the carrier to FedEx.
- You then apply another preset that sets the carrier to UPS.
- The order will use UPS because that preset was applied last.
Does a preset have to include every shipping option?
No. A preset only applies the settings that are turned on. Any settings that are turned off will stay the same on the order.
For example, you can create one preset for package dimensions and another for carrier-specific settings.
Where do I manage my presets?
Go to Settings > Presets to:
- View your presets
- Search presets
- Create new presets
- Edit existing presets
- Delete presets
When you’re ready to ship, apply your presets from the Label Panel.
Why is the Presets page locked?
If you can see Settings > Presets but the page is locked, Shipping Presets are not included with your current plan.