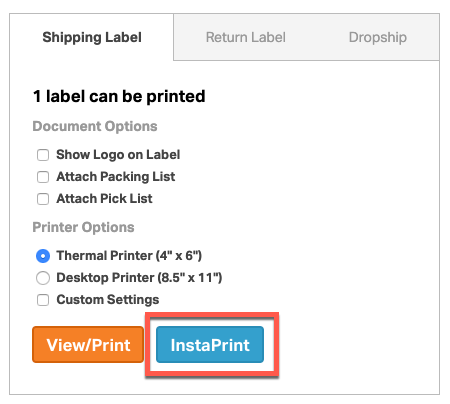
The InstaPrint feature allows you to connect your printers to Ordoro for streamlined label printing. Once labels are generated, they can be sent to your printer with a single click. No more PDF windows, no more unnecessary clicking.
How to sign up for PrintNode
1. Go to PrintNode.com.
2. Sign up for an account.
- See PrintNode’s pricing page for more details.
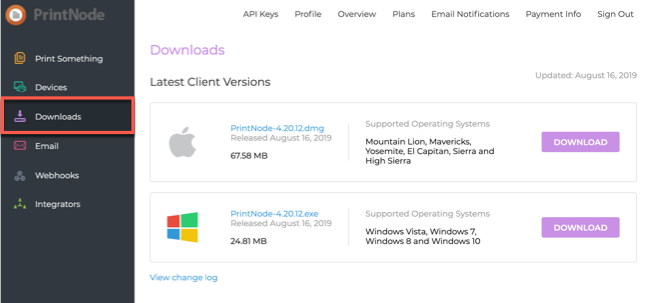
3. Download and install PrintNode on the computer that connects to your printer. See PrintNode’s link for instructions on how to download it or see the screenshot below.
4. Open the PrintNode Client on your computer.
5. Enter your PrintNode login credentials.
6. In the PrintNode Client, under the Printer Settings, change the Default printing backend to Engine5.
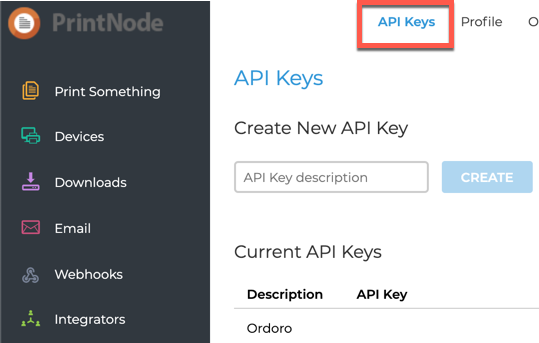
7. Generate an API key on the PrintNode website.
- Go to https://app.printnode.com/apikeys.
- Enter API Key Description, ex. Ordoro.
- Click on Create.
How to enable InstaPrint in Ordoro
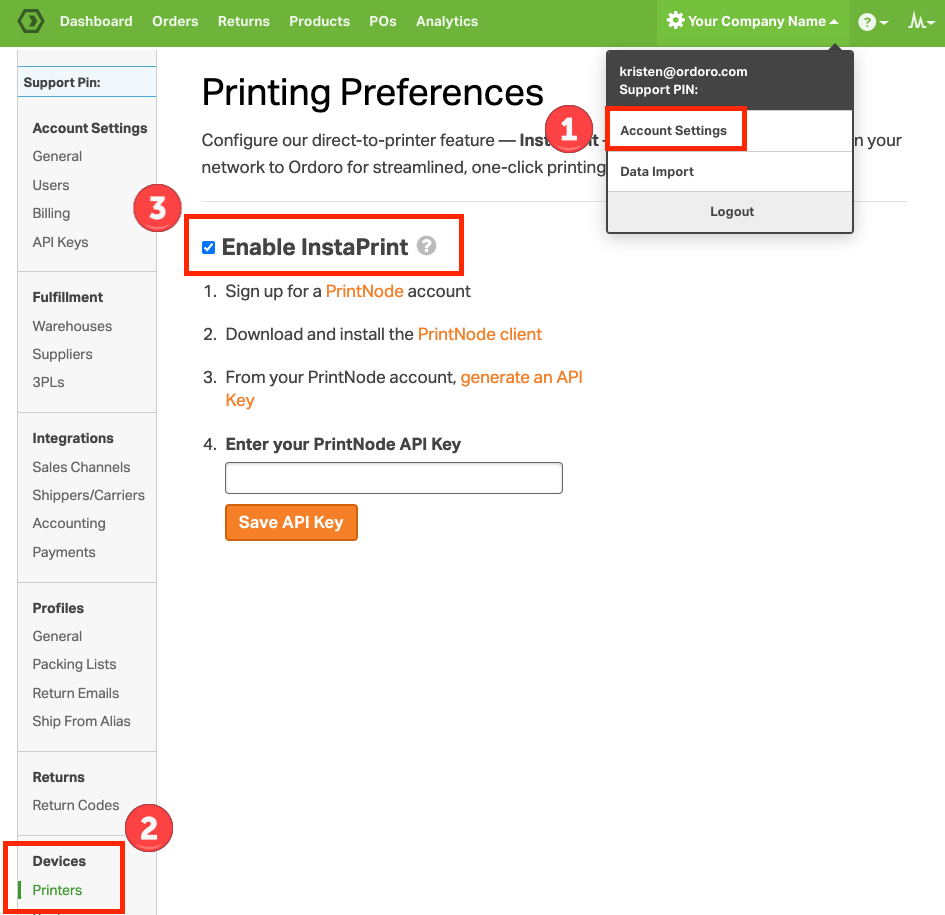
1. In Ordoro, select your Company Name in the top right corner of your account -> Account Settings.
2. Select Printers in the left sidebar or go directly to this link.
3. Click the Enable InstaPrint checkbox.
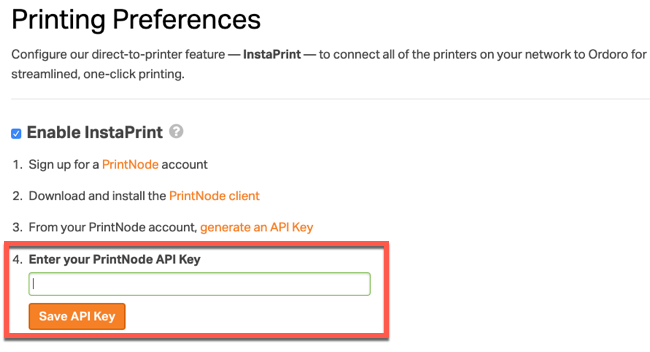
4. Copy the API key and enter into Ordoro. Click the Save API Key button.
5. Select a default printer for the following InstaPrint buttons:
- Shipping Label Printer
- Please note, if the Attach Packing List or Attach Pick List is selected in the Shipping Label modal, the documents will be sent to this default Shipping Label Printer.
- Pick/Pack List Printer
- Additional Documents Printer
- Address Label Printer
- Barcode Label Printer
6. Start printing with one click!
For more instructions on how to use and set up PrintNode, please visit their DOCS site.

