FedEx supports a wide range of sub-package types to describe the specific packaging used for a shipment, such as a tube, crate, or envelope. Choosing the correct type helps ensure your shipment is handled and billed appropriately based on how it’s packed. This is especially important for non-standard packaging that may require special handling.
This guide walks you through selecting the right sub-package type when creating a FedEx label.
Topics
How to set a sub-package type
- On the Orders tab, select the order you’d like to ship.
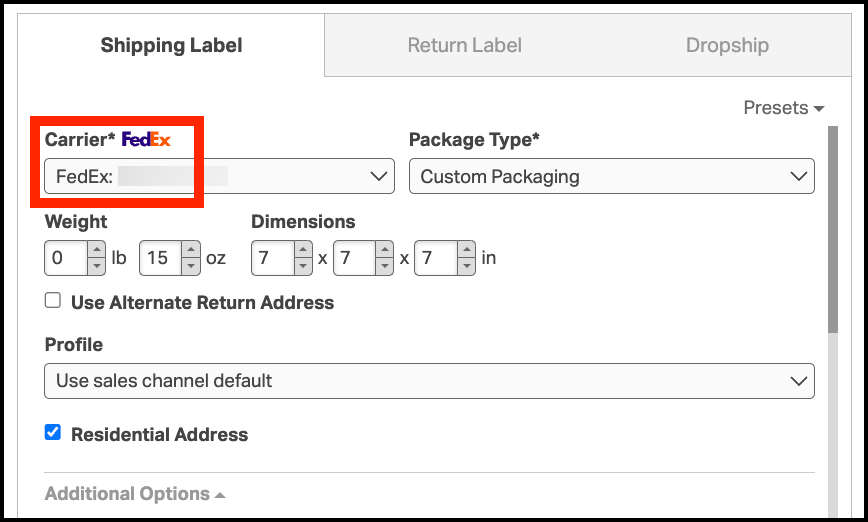
- In the Shipping Label panel, select FedEx as the Carrier.
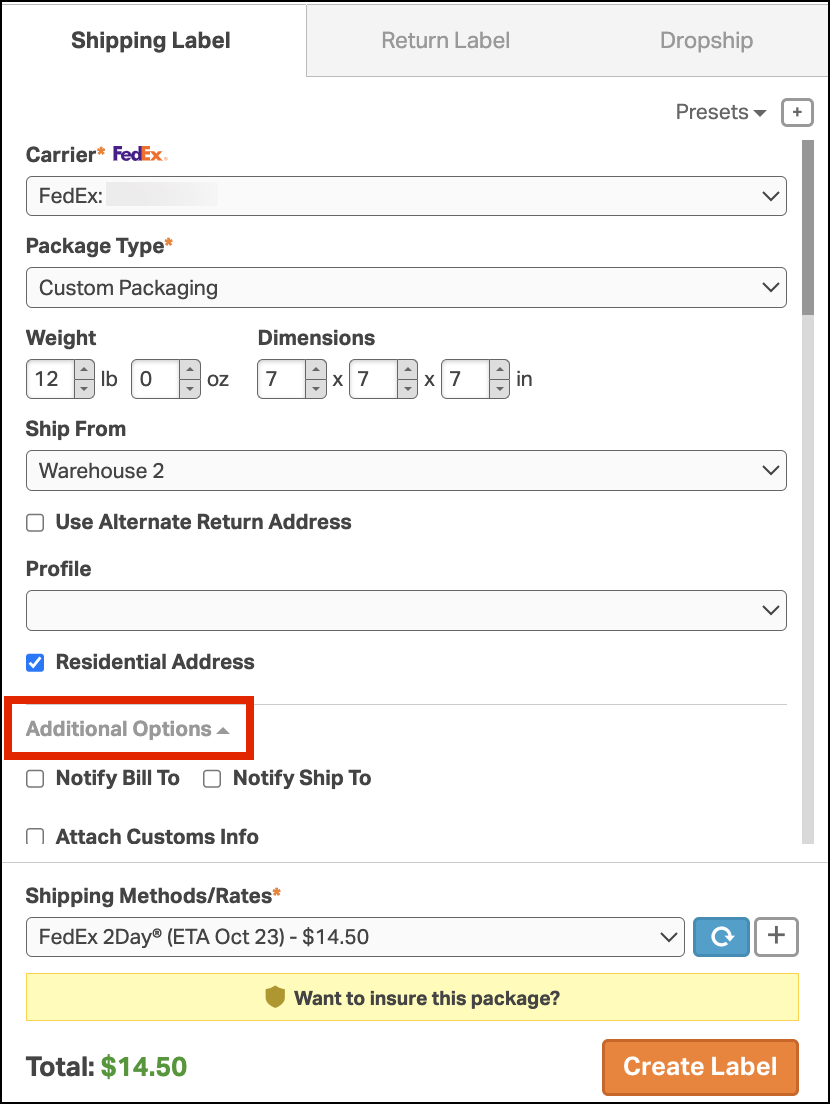
- Expand the Additional Options.
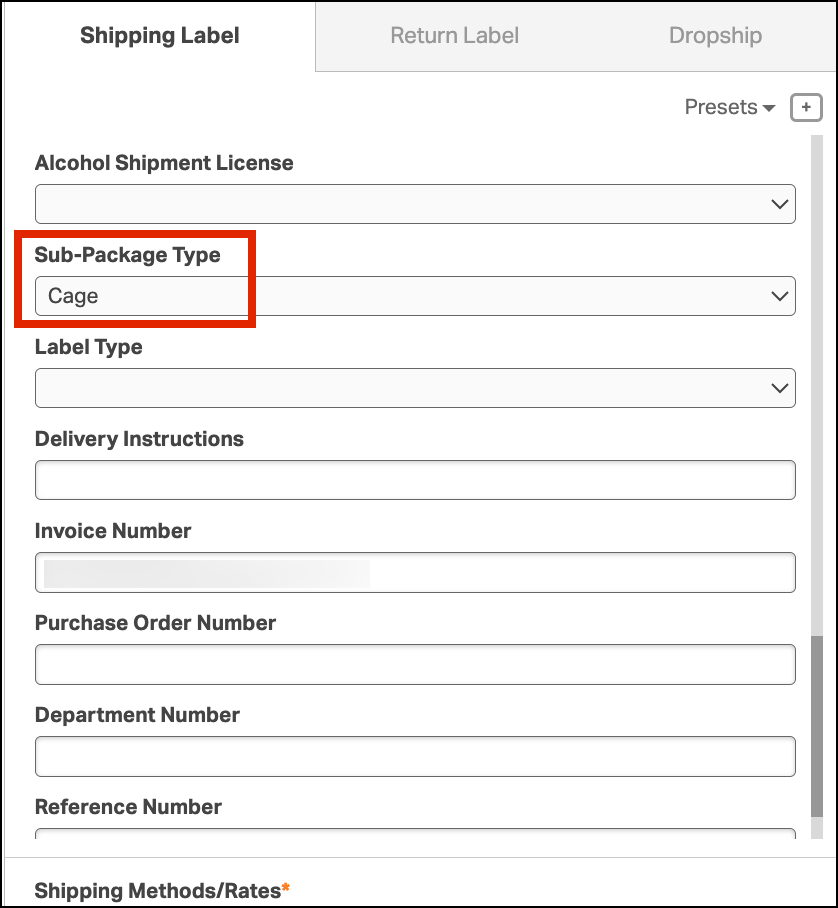
- Find the Sub-Package Type field and select the option that best matches your packaging. Available sub-package types include:
- Bag
- Barrel
- Basket
- Box
- Bucket
- Bundle
- Cage
- Carton
- Case
- Chest
- Container
- Crate
- Cylinder
- Drum
- Envelope
- Hamper
- Other
- Package
- Pail
- Pallet
- Parcel
- Piece
- Reel
- Roll
- Sack
- Shrink Wrapped
- Skid
- Tank
- Tote Bin
- Tube
- Unit
- Complete any other required fields, then click Create Label.
Once your label is created, your package is set up with the chosen sub-package type and ready for shipping.
Sub-package type and Multi-Package Shipments
If you’re shipping different package types under the same master shipment, you can set a Sub-Package Type for each box in a multi-package shipment.
How to set the Sub-Package Type:
- Click the multi-package icon in the Shipping Panel.

- For each package in the shipment, select the desired Sub-Package Type from the dropdown.
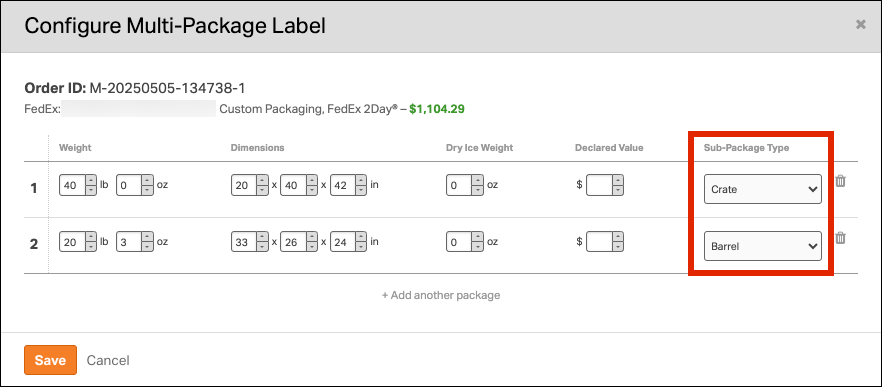
- Click Save to apply your changes.
This allows for accurate rate calculation and label creation when using varied packaging.